Aviso: Ahora estás editando un requisito previo de la guía que estabas viendo. Cualquier cambio que realices afectará a todas las 2 guías que incluyen este paso.
Traduciendo paso 17
Paso 17


-
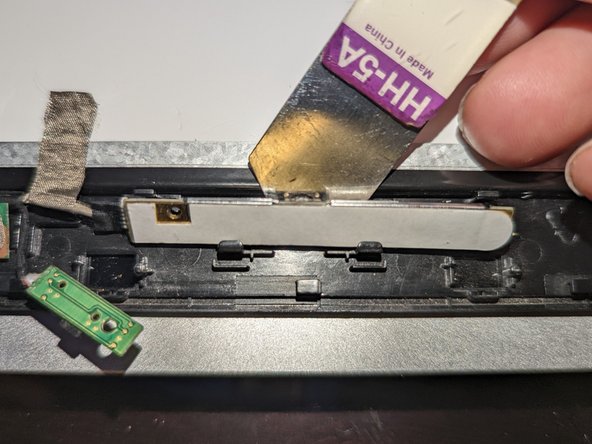
Slide a thin pry tool between the top of the camera board and the lip of the bezel.
-
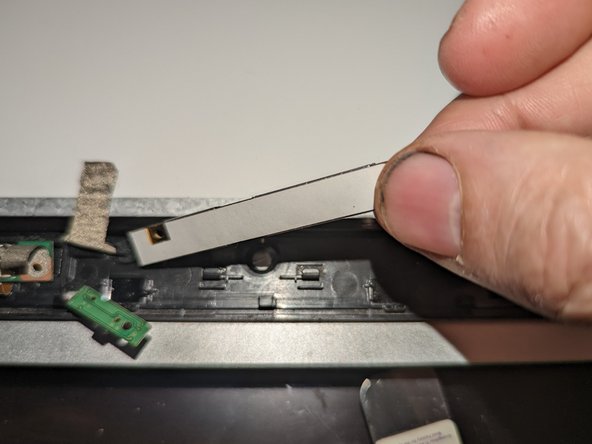
Gently pry up on the board to free it from the latches and the guide pins it sits on.
-
Lift it up and away from the bezel and set it to the side.
Tus contribuciones son autorizadas bajo la licencia de código abierto de Creative Commons.