Saltar al contenido principal

Samsung Galaxy S4 Teardown

Inglés
Español
Paso 22
Samsung Galaxy S4 Teardown: paso 0, imagen 1 de 3 Samsung Galaxy S4 Teardown: paso 0, imagen 2 de 3 Samsung Galaxy S4 Teardown: paso 0, imagen 3 de 3
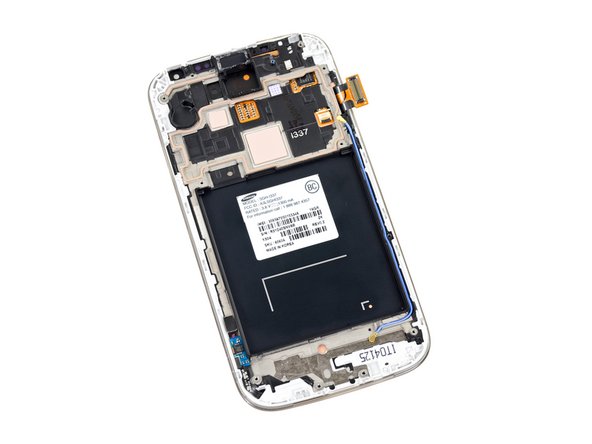
  • The front panel assembly is the final piece to the puzzle.

  • Unfortunately, the display and front glass are fused, with a layer of optical adhesive. The glass is then adhered to the plastic display frame, making a single assembly. Not a big surprise.

  • Getting a look at the second liquid damage indicator on the back of the screen, and—whoa, what's this hiding down there?

  • Looks like we've spotted the touchscreen controller, a Synaptics S5000B.

  • This chip is responsible for the S4's super-sensitive touchscreen, which even works with gloves.

Insertar traducción aquí

Insertar traducción aquí

Insertar traducción aquí

Insertar traducción aquí

Insertar traducción aquí

Tus contribuciones son autorizadas bajo la licencia de código abierto de Creative Commons.