Saltar al contenido principal

iPod Touch 7e generatie Vervanging van het voorste paneel

Aviso: Estás editando una guía de requisitos previos. Cualquier cambio que realices afectará a todas las 10 guías que incluyen este paso.

Inglés
Holandés
Paso 6
iPod Touch 7th Generation Front Panel Replacement: paso 0, imagen 1 de 2 iPod Touch 7th Generation Front Panel Replacement: paso 0, imagen 2 de 2
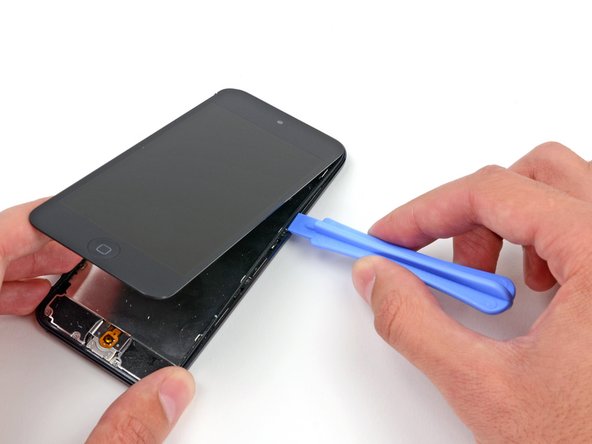
  • Insert the plastic opening tool between the frame and the rear case behind the first clip.

  • Rock the tool sideways, to spread the gap behind the clip and separate it from the rear case.

  • This may not free the clip initially, but repeating the procedure for each clip will begin to loosen the piece.

Steek je plastic openingstool tussen het frame en de achterste behuizing, achter de eerste klem.

Beweeg je tool heen en weer om de opening achter de klem te vergroten en deze verder van de achterste behuizing te scheiden.

Het kan zijn dat de klem niet volledig los komt, maar het herhalen van deze procedure bij iedere klem zal ervoor zorgen dat deze uiteindelijk wel volledig loskomt.

Tus contribuciones son autorizadas bajo la licencia de código abierto de Creative Commons.