Saltar al contenido principal

Huawei Mate 20 Pro Vervanging van de glazen achterkant

Aviso: Estás editando una guía de requisitos previos. Cualquier cambio que realices afectará a todas las 10 guías que incluyen este paso.

Inglés
Holandés
Paso 3
Huawei Mate 20 Pro Rear Glass Replacement: paso 0, imagen 1 de 2 Huawei Mate 20 Pro Rear Glass Replacement: paso 0, imagen 2 de 2
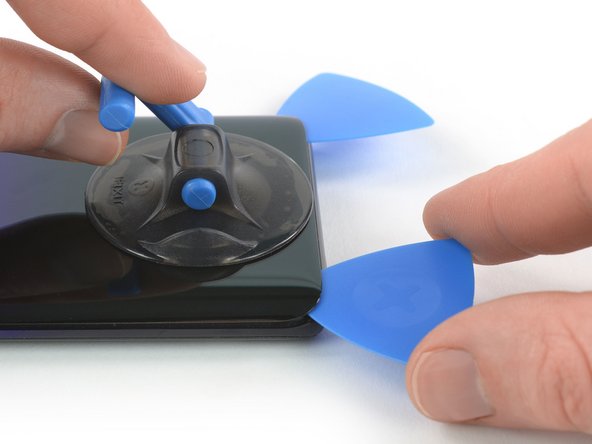
  • Insert a second opening pick and slide it to the bottom left corner to cut the adhesive.

  • Leave the opening picks in place to prevent the adhesive from resealing.

Steek een tweede openingsplectrum in je toestel en schuif deze naar de linker onderhoek. Snijd onderweg alle lijm door die je tegenkomt.

Laat je plectrums zitten om te voorkomen dat de lijm zich opnieuw gaat hechten.

Tus contribuciones son autorizadas bajo la licencia de código abierto de Creative Commons.