Saltar al contenido principal

Sostituzione pannello anteriore iPod Touch 5a Generazione

Aviso: Estás editando una guía de requisitos previos. Cualquier cambio que realices afectará a todas las 21 guías que incluyen este paso.

Inglés
Italiano
Paso 8
iPod Touch 5th Generation Front Panel Replacement: paso 0, imagen 1 de 3 iPod Touch 5th Generation Front Panel Replacement: paso 0, imagen 2 de 3 iPod Touch 5th Generation Front Panel Replacement: paso 0, imagen 3 de 3
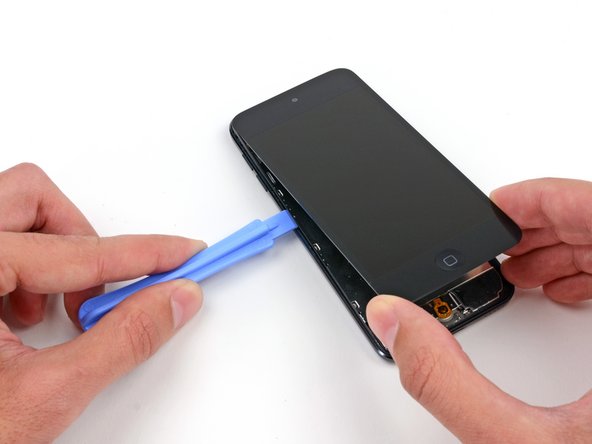
  • Moving on to the left side of the device, insert a plastic opening tool into the gap between the plastic frame and the aluminum rear case near the top.

  • Slide the tool down this crack, loosening the frame from the case.

Spostandoti sul lato sinistro del dispositivo, inserisci lo strumento di apertura in plastica nello spazio tra il telaio in plastica e il case posteriore in alluminio vicino alla parte superiore.

Fai scorrere lo strumento giù per la fessura, allentando il telaio dal case.

Tus contribuciones son autorizadas bajo la licencia de código abierto de Creative Commons.