Saltar al contenido principal

Remplacement de l'écran du Samsung Galaxy Note8

Inglés
Francés
Paso 6
Samsung Galaxy Note 8 Display Replacement: paso 0, imagen 1 de 3 Samsung Galaxy Note 8 Display Replacement: paso 0, imagen 2 de 3 Samsung Galaxy Note 8 Display Replacement: paso 0, imagen 3 de 3
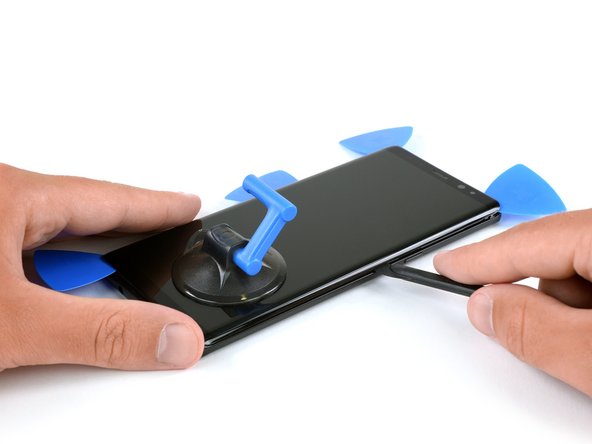
  • Slide the halberd spudger/opening pick to the upper corner of the phone to cut the adhesive and insert and opening pick to prevent the adhesive from sticking to the display.

  • Go slowly so that the tool doesn't slip out of the seam. If cutting becomes too difficult, reheat and reapply the iOpener.

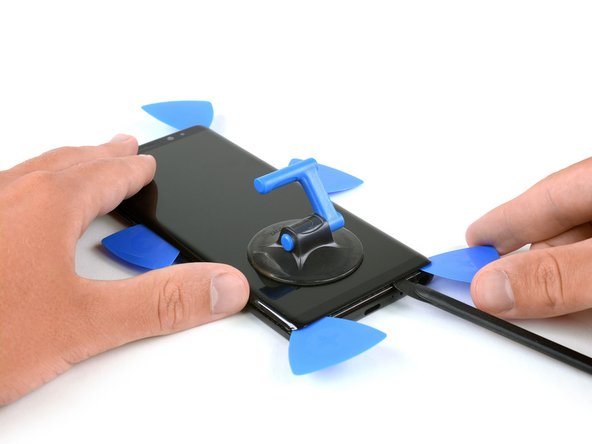
  • Repeat the previous heating and cutting procedure for the remaining sides of the phone. Insert an opening pick on every corner and on both sides of the Note8.

  • Use a little extra caution when prying near the top edge so as not to damage the front-facing sensors and earpiece speaker.

Faites glisser le spudger hallebarde/médiator vers le coin supérieur du téléphone pour couper l'adhésif et insérez un médiator pour empêcher l'adhésif de coller à l'écran.

Procédez doucement pour que l'outil ne glisse pas. Si la coupe devient trop difficile, réchauffez et réappliquez l'iOpener.

Répétez la procédure de chauffage et de découpe précédente pour les autres côtés du téléphone. Insérez un médiator dans chaque coin et des deux côtés du Note8.

Faites un peu plus attention lorsque vous faites levier près du bord supérieur pour ne pas endommager les capteurs avant et le haut-parleur interne.

Tus contribuciones son autorizadas bajo la licencia de código abierto de Creative Commons.