Traduciendo paso 20
-
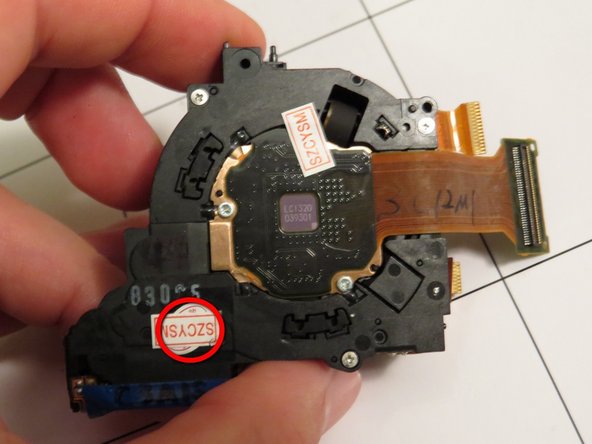
You may need to remove a sticker on the back of the replacement lens assembly to uncover one of the screw holes (screw #7).
-
Rotating the lens assembly slightly counterclockwise as you get it into position can make it easier to get it fully seated.
-
It may be easier to get the ribbon cables for the new lens assembly plugged in BEFORE replacing the 5 screws that hold the lens assembly to the camera body. Lower/smaller one is especially tricky - I have found that it is easiest to get it fully seated with the lens assembly not quite in place.
-
If, after completing reassembly, lens error persists, double check that lower lens unit ribbon cable is fully plugged in (can be hard to get it all the way in). If it is not fully seated it will cause a lens error.
Tus contribuciones son autorizadas bajo la licencia de código abierto de Creative Commons.