Introducción
This guide will teach you how to access, remove, and replace the main wheel modules of your iRobot Roomba 692. If you are replacing the battery, ensure that you have the right wheel modules for the Roomba 692 prior to removal.
Remember to review the iRobot Roomba 692 Troubleshooting Page before attempting any maintenance or repairs on your vacuum.
Qué necesitas
-
-
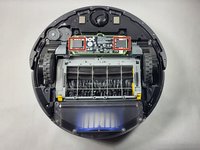
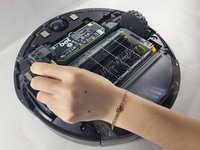
To access the iRobot Roomba 692 battery compartment, flip your iRobot Roomba 692 upside down.
-
Using the Phillips #0 screwdriver, remove the 4.0mm screw in the center of the yellow side brush and lift the part out.
-
-
-
-
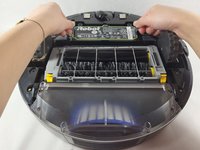
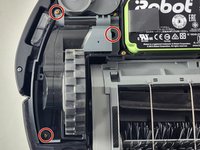
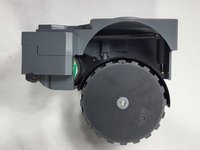
Remove three gold 12 mm screws from each drive wheel using a Phillips #0 screwdriver.
-
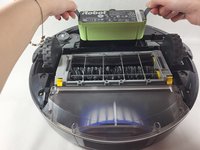
Remove the drive wheels from the vacuum.
-


To reassemble your device, follow these instructions in reverse order.
To reassemble your device, follow these instructions in reverse order.

Equipo

UMass Dartmouth, Team 1-4, Shaddix Spring 2023 Miembro de UMass Dartmouth, Team 1-4, Shaddix Spring 2023
UMASSD-SHADDIX-S23S1G4
4 Miembros
5 Guías creadas