Esta versión puede contener ediciones incorrectas. Cambie a la última instantánea verificada.
Qué necesitas
-
Este paso está sin traducir. Ayuda a traducirlo
-
Remove the dust bin by pushing on the button for the dust bin removal
-
Pull the dust bin out
-
-
Este paso está sin traducir. Ayuda a traducirlo
-
Pull up on the silver handle to release the top protectant plastic
-
Remove the top plastic carefully
-
-
Este paso está sin traducir. Ayuda a traducirlo
-
Remove the ten 11mm screws that hold the front bumper to the plastic bumper protector with your Phillips #1 screwdriver.
-
Pull the plastic bumper protector up and off of the bumper.
-
-
-
Este paso está sin traducir. Ayuda a traducirlo
-
Flip the Roomba back over, so you are viewing the top.
-
Pull up on the front bumper to remove it.
-
Remove the two 7mm screws with your Phillips #1 screwdriver, holding the wire sensors in place to the front bumper.
-
-
Este paso está sin traducir. Ayuda a traducirlo
-
The outside six - 10mm screws and the inside set of four - 10mm screws are the same here, use your Phillips head #2 to remove them
-
Use your Phillips head #0 to remove the one - 7mm bottom center screw
-
Use your Phillips head #2 to remove the two - 8mm screws by the handle
-
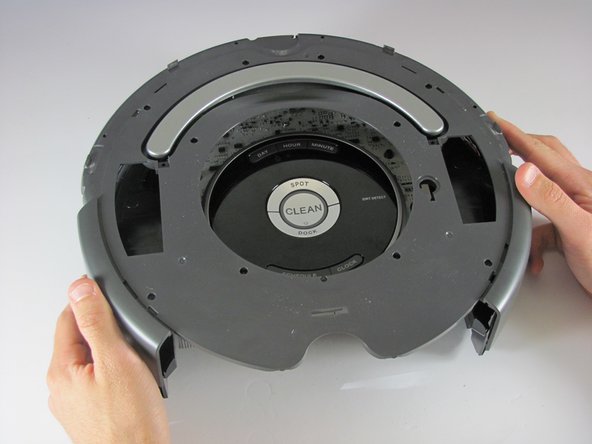
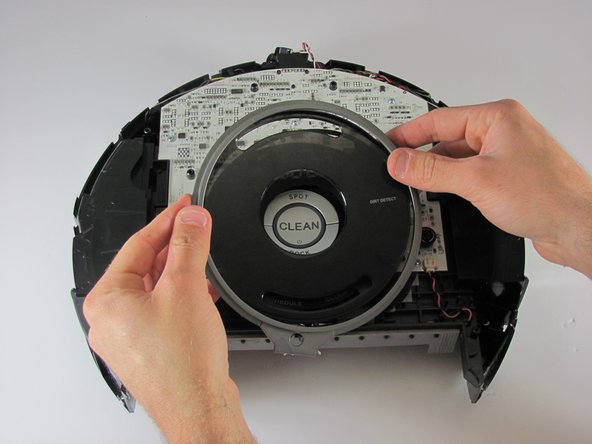
Push down the two release points to pull the plastic piece up
-
Pull the plastic piece up
-
-
Este paso está sin traducir. Ayuda a traducirlo
-
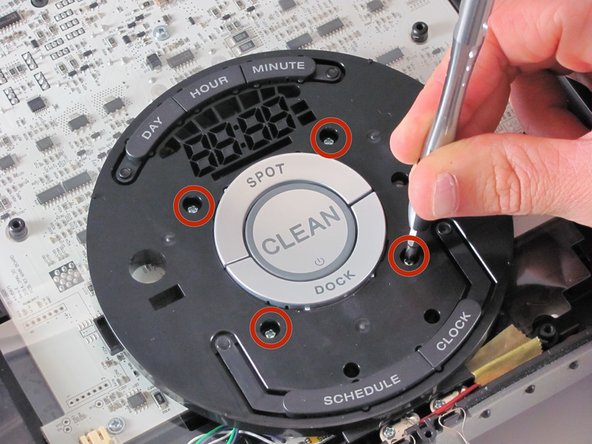
Pull the silver tab, and clear tinted display off
-
Remove the 4 - 9mm screws holding the display with your Phillips head #0
-
-
Este paso está sin traducir. Ayuda a traducirlo
-
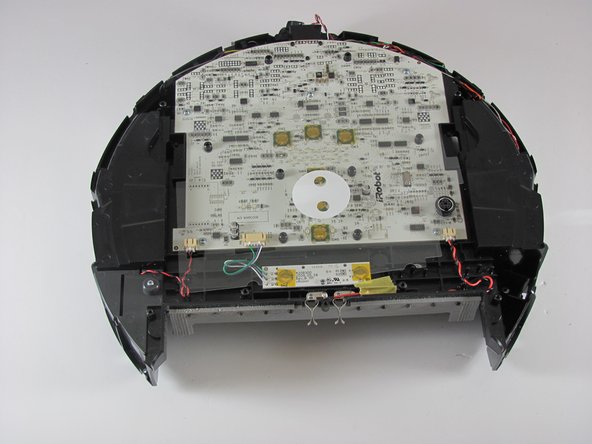
Remove the display
-
Remove the plastic protectant film from the motherboard
-


Cancelar: No complete esta guía.
Una persona más ha completado esta guía.
Equipo

Cal Poly, Team 21-20, Maness Winter 2015 Miembro de Cal Poly, Team 21-20, Maness Winter 2015
CPSU-MANESS-W15S21G20
4 Miembros
14 Guías creadas