Introducción
Antes de comenzar cualquier trabajo en tu iMac: Desenchufa la computadora y mantén presionado el botón de encendido durante diez segundos para descargar los condensadores de la fuente de alimentación.
Ten mucho cuidado de no tocar los cables del condensador o cualquier unión de soldadura expuesta en la parte posterior de la fuente de alimentación. Solo manipula el tablero por los bordes.
Qué necesitas
-
-
Con la bisagra libre para moverse, el iMac estará desequilibrado y será difícil de trabajar en él. Las reparaciones se pueden completar con el iMac desequilibrado, pero son más rápidas y fáciles con una cuña de servicio iMac.
-
Si estás usando la tarjeta de servicio de iFixit, sigue estas instrucciones de montaje para armarlo.
-
-
-
Coloca el iMac boca arriba en una mesa.
-
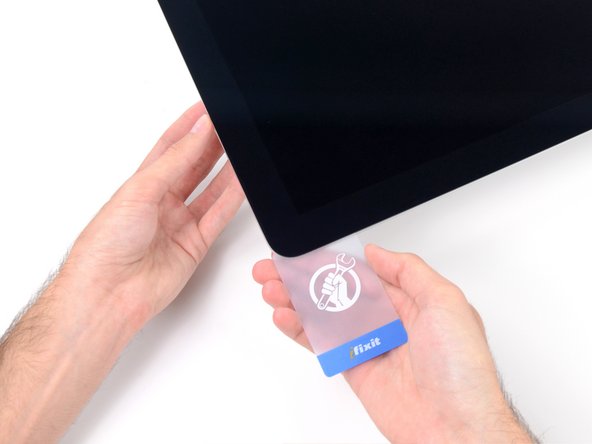
Comenzando desde la esquina superior derecha del iMac, inserta una tarjeta de plástico entre la pantalla y el marco.
-
-
-
-
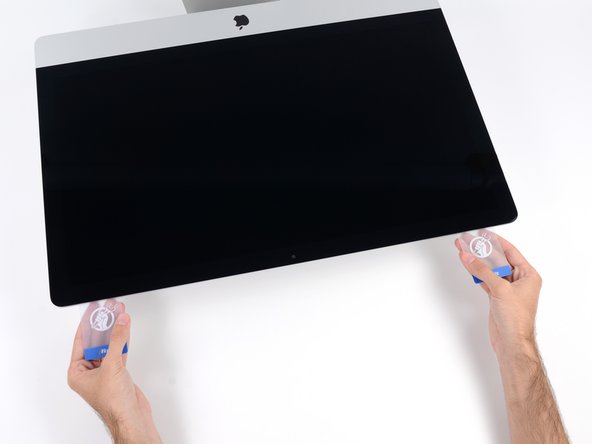
Con las tarjetas insertadas como se muestra cerca de las esquinas, gire suavemente las tarjetas para aumentar el espacio entre la pantalla y la carcasa.
-
Si hay secciones que parecen pegarse y no se separan, deje de girar y use una de las tarjetas para cortar el adhesivo en el área problemática.
-
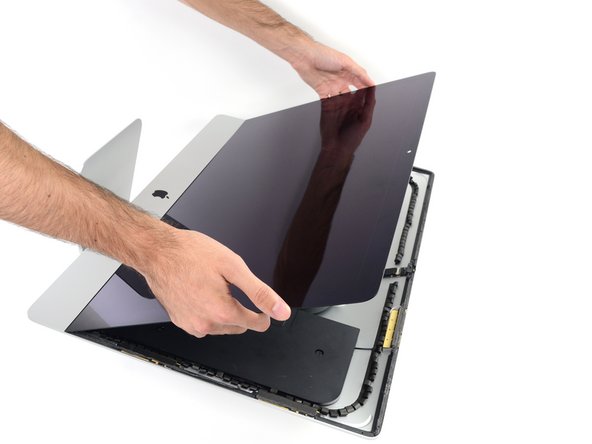
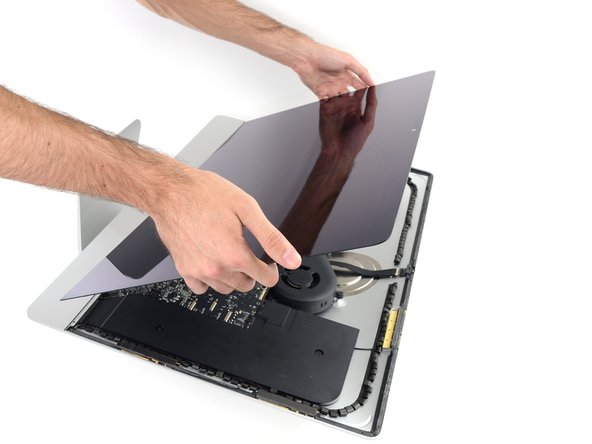
Comience a levantar la parte superior de la pantalla desde el marco.
-
-
-
Si hay un alambre o cable debajo de una cinta adhesiva, siempre separa la cinta primero.
-
Si el cable está pegado a la estructura, usa un iOpener calentado o un secador de pelo primero para soltar el adhesivo. Entonces podrás introducir una púa de apertura por debajo del cable para aflojarlo. Nunca tires directamente de los conectores delicados.
-
Desliza una púa de apertura por debajo de los cojines de acolchamiento para separarlos de la pantalla, y tira de ellos con cuidado. Podrías necesitar algo de cinta de doble cara para unirlos a la nueva pantalla.
-
-
-
Utiliza un destornillador Phillips para quitar los nueve tornillos de 3,2 mm que sujetan el brazo de soporte.
-
Es posible que tengas que despegar el adhesivo de la pantalla que recubre el borde inferior de la carcasa del iMac para acceder a los tornillos.
-
-
-
Tira hacia arriba en vertical del cable de datos/alimentación SATA para desconectarlo del disco.
-
-
-
Desconecta el cable de control de la fuente de alimentación de la propia fuente.
-
Para volver a armar tu dispositivo, sigue estas instrucciones en orden inverso.
Para volver a armar tu dispositivo, sigue estas instrucciones en orden inverso.
Cancelar: No complete esta guía.
23 personas más completaron esta guía.
Un agradecimiento especial a estos traductores:
100%
Estos traductores nos están ayudando a reparar el mundo! ¿Quieres contribuir?
Empezar a traducir ›
Un comentario
Excellent guide. One note; The screw holes in the speakers have rubber isolators, so be careful when tightening those screws during reassembly.


