Saltar al contenido principal

iHome iBT25 Motherboard Replacement

Qué necesitas

  1. iHome iBT25 Motherboard Replacement, Motherboard: paso 1, imagen 1 de 2 iHome iBT25 Motherboard Replacement, Motherboard: paso 1, imagen 2 de 2
    • Remove the grille with your hands

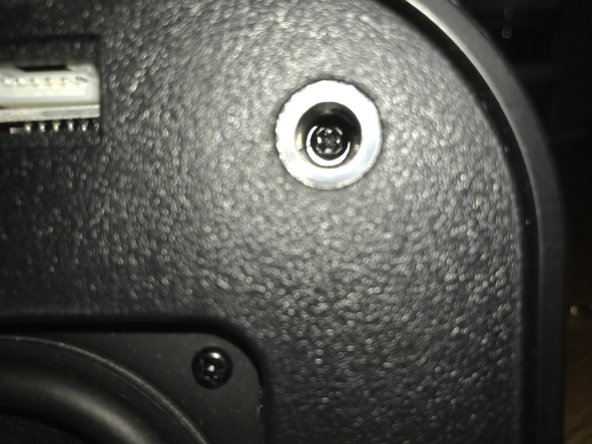
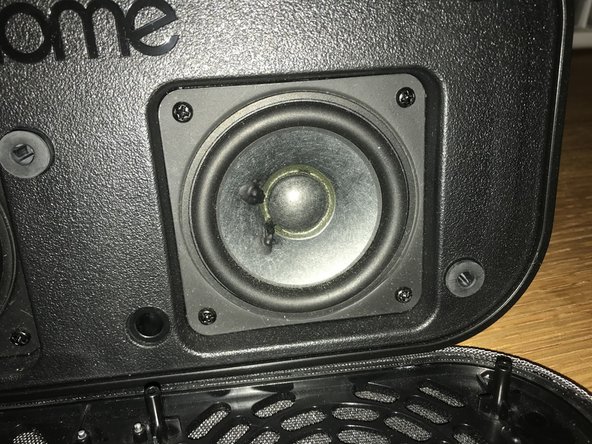
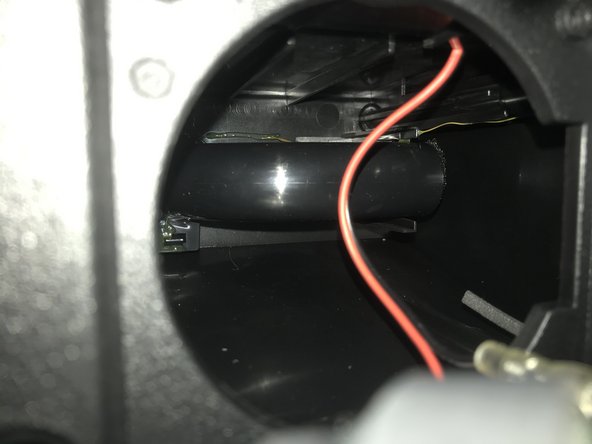
    • Remove all the rubber inserts still left on the speaker side. If any are on the grill side, you can ignore them.

  2. iHome iBT25 Motherboard Replacement: paso 2, imagen 1 de 3 iHome iBT25 Motherboard Replacement: paso 2, imagen 2 de 3 iHome iBT25 Motherboard Replacement: paso 2, imagen 3 de 3
    • Remove the screws surrounding both speakers.

  3. iHome iBT25 Motherboard Replacement: paso 3, imagen 1 de 2 iHome iBT25 Motherboard Replacement: paso 3, imagen 2 de 2
    • Remove these 3 screws, which were below the rubber inserts you removed earlier.

  4. iHome iBT25 Motherboard Replacement: paso 4, imagen 1 de 1
    • The face plate and both speakers can now be separated from the body of the device.

    • The speakers are still connected by wires.

  5. iHome iBT25 Motherboard Replacement: paso 5, imagen 1 de 2 iHome iBT25 Motherboard Replacement: paso 5, imagen 2 de 2
    • Remove the wires, which have different sockets, so they can't be mixed up.

  6. iHome iBT25 Motherboard Replacement: paso 6, imagen 1 de 2 iHome iBT25 Motherboard Replacement: paso 6, imagen 2 de 2
    • With all the speakers and the faceplate removed, you can focus on the motherboard.

    • Remove the 2 indicated screws.

  7. iHome iBT25 Motherboard Replacement: paso 7, imagen 1 de 3 iHome iBT25 Motherboard Replacement: paso 7, imagen 2 de 3 iHome iBT25 Motherboard Replacement: paso 7, imagen 3 de 3
    • Firmly but carefully pull out the motherboard. Before you remove it completely, disconnect the ribbon cable.

    • DO NOT BREAK THE RIBBON CABLE

    • You can now remove the board.

  8. iHome iBT25 Motherboard Replacement: paso 8, imagen 1 de 3 iHome iBT25 Motherboard Replacement: paso 8, imagen 2 de 3 iHome iBT25 Motherboard Replacement: paso 8, imagen 3 de 3
    • Great job! To reassemble, follow these steps in reverse order, and make sure you reattach the ribbon cable with the light blue square facing up.

Conclusión

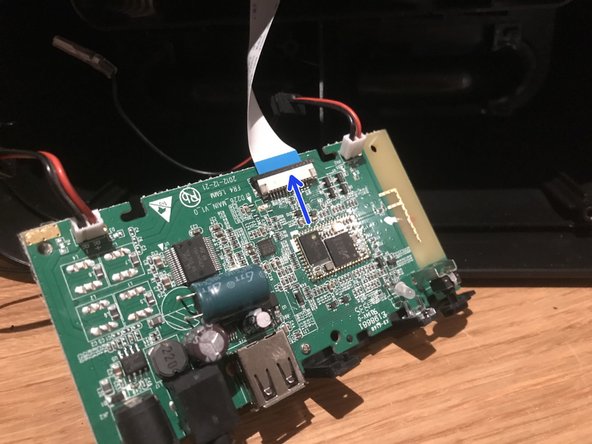
To reassemble your device, follow these instructions in reverse order. (and attach the ribbon cable!)

Una persona más ha completado esta guía.

9021007

Miembro Desde 07/13/18

4,599 Reputación

25 Guías creadas

0 comentarios

Agregar Comentario

Ver Estadísticas:

Ultimas 24 horas: 0

Ultimos 7 días: 0

Ultimos 30 días: 1

Todo El Tiempo: 94