Introducción
You can install hard drives up to 9.5mm thick.
Qué necesitas
-
-
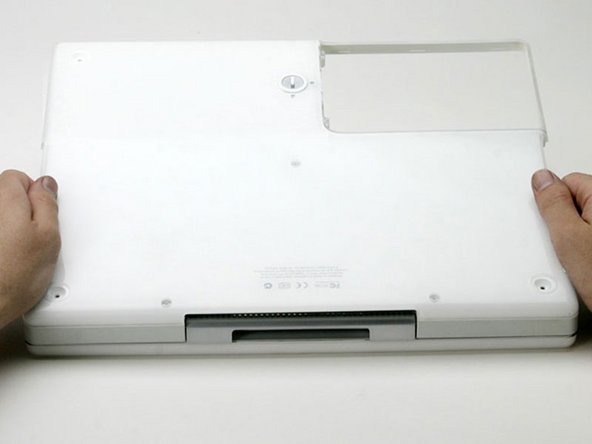
Use a coin to rotate the battery locking screw 90 degrees clockwise.
-
Lift the battery out of the computer.
-
-
-
Pull the keyboard release tabs (highlighted in red) toward you and lift up on the keyboard until it pops free.
-
If the keyboard does not come free, use a small flathead screwdriver to turn the keyboard locking screw 180 degrees in either direction and try again.
-
Flip the keyboard over, away from the screen, and rest it face-down on the trackpad area.
-
-
-
-
Remove the following 9 screws on the bottom of the computer:
-
Three 3 mm Phillips around the battery compartment.
-
Three 5 mm Phillips on the left and bottom edges.
-
Three 14.5 mm Phillips on the top and right edges (you may have to peel back the foil tape to reveal the screw near the security lock slot).
-
-
-
Remove the following 16 screws:
-
Five 3 mm Phillips (these have smaller heads than the others).
-
Three 5 mm Phillips.
-
Eight 6 mm Phillips.
-
-
-
Remove the single Phillips screw to the right of the hard drive connector.
-
-
-
Remove the metal brackets from either side of the hard drive (if they're still there).
-


To reassemble your device, follow these instructions in reverse order.
To reassemble your device, follow these instructions in reverse order.
Cancelar: No complete esta guía.
36 personas más completaron esta guía.
Documentos Adjuntos

3 comentarios
I don't think you have to remove the bottom case to replace the hard drive, at least on the iBook 800MHz 32MB VRAM.
Just replaced the original 20GB HDD with a 40GB in an iBook G3/600 (mid 2002); removal of the case bottom IS necessary on this model. It was more "tedious" than "difficult" (37 steps in, 37 steps out), although I had previous experience on this same machine upgrading RAM to 640MB and installing an AirPort card.
step 21 is not necessary and if you care about the mac having it’s original sticker I would not advise doing what it says… The “magnet” is not removable and if the system is original the sticker will not peal up easily.