Traduciendo paso 1
Paso 1


-
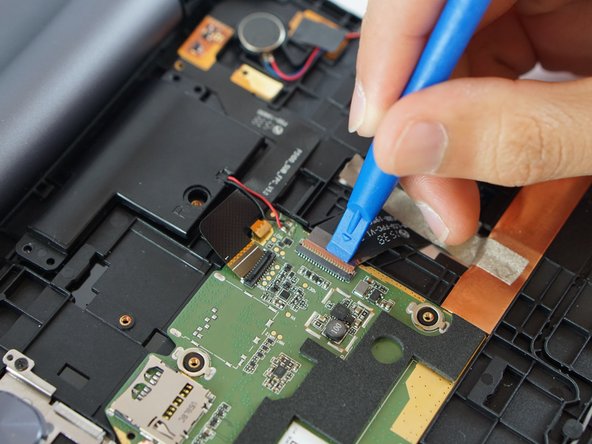
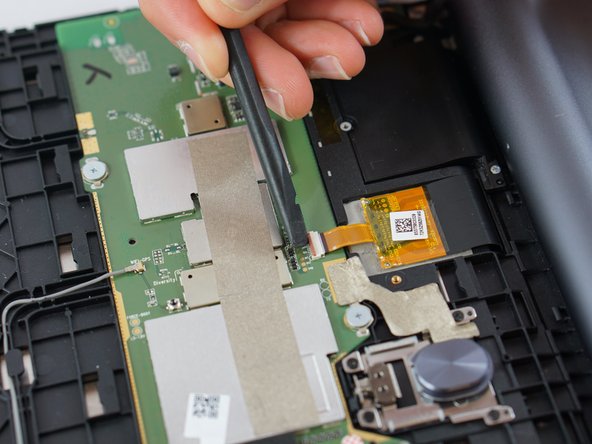
Before detaching the LCD and digitiser connectors, remove the two small screws at the top left (red bordered area in photo). Remove the metal shield and disconnect the battery wire.
Tus contribuciones son autorizadas bajo la licencia de código abierto de Creative Commons.