Saltar al contenido principal

Dell Studio 1558 Motherboard Replacement

Inglés
Español
Paso 9
Dell Studio 1558 Motherboard Replacement: paso 0, imagen 1 de 3 Dell Studio 1558 Motherboard Replacement: paso 0, imagen 2 de 3 Dell Studio 1558 Motherboard Replacement: paso 0, imagen 3 de 3
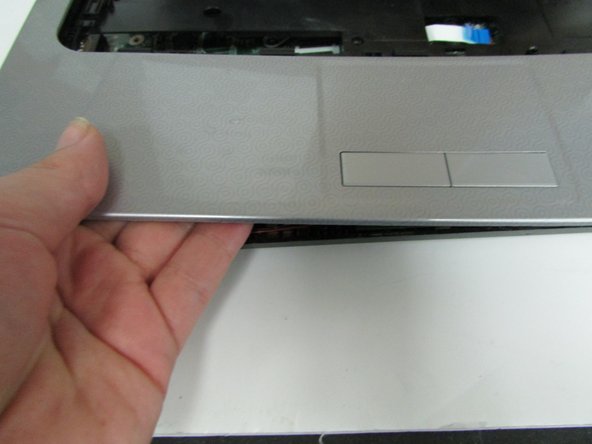
  • Now, to remove the rest of the upper casing (the silver part which includes the touchpad).

  • This step is going to take a little strength and a lot of patience.

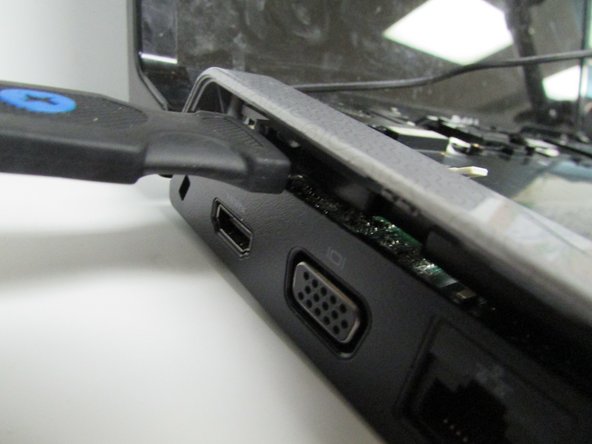
  • Take the flat edge of a pry tool and slip it between the upper and lower casings.

  • The silver and black upper panel (which held/surrounded the keyboard) is meant to be removed as one piece. Try to avoid pulling up only the silver portion as it will damage the plastic pins holding it in place.

  • Pry the upper casing up with the pry tool. You will hear some snaps as it comes loose. Those are supposed to happen.

  • Once you got enough lifted up, you can take your hand and pry it up that way.

  • If a part of the case is being very stubborn, double check to make sure any screws have not been forgotten.

Insertar traducción aquí

Insertar traducción aquí

Insertar traducción aquí

Insertar traducción aquí

Insertar traducción aquí

Insertar traducción aquí

Insertar traducción aquí

Tus contribuciones son autorizadas bajo la licencia de código abierto de Creative Commons.