-
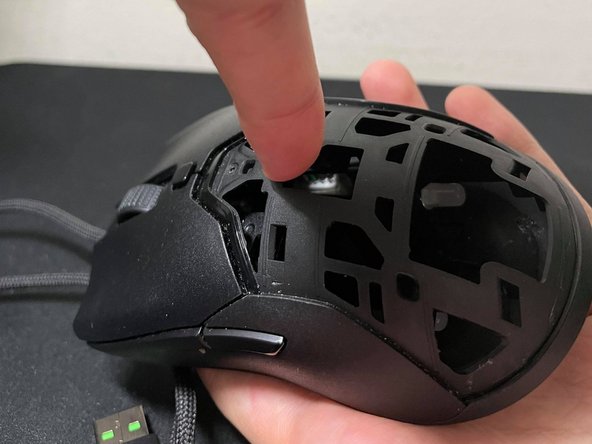
Use the Phillips #0 to replace the five 2.5 mm screws to secure the PCB. Then, place the mouse shell back on.
-
Start from the top of the mouse and make sure it is securely fitted by the sound of the clicks before you start pushing the bottom.
-
Once the top shell is back on securely, you can put the backplate back on. Make sure it clicks when you put it back on.
Tus contribuciones son autorizadas bajo la licencia de código abierto de Creative Commons.
Atajos de Teclado para Edicion de Pasos de Guia:
Ctrl + Shift + N
Insertar una nueva línea debajo
Ctrl + Shift + P
Insertar una nueva línea arriba
Ctrl + ]
Eliminar línea actual
Ctrl + [
Línea actual sin sangría
Ctrl + D
Eliminar línea actual
Shift + ;
Ve al siguiente paso.
Shift + H
Ve al paso anterior.
Ver todos los atajos


