Saltar al contenido principal

Creality CR-10s 3D Printer Nozzle Replacement

Inglés
Español
Paso 5
Creality CR-10s 3D Printer Nozzle Replacement: paso 0, imagen 1 de 3 Creality CR-10s 3D Printer Nozzle Replacement: paso 0, imagen 2 de 3 Creality CR-10s 3D Printer Nozzle Replacement: paso 0, imagen 3 de 3
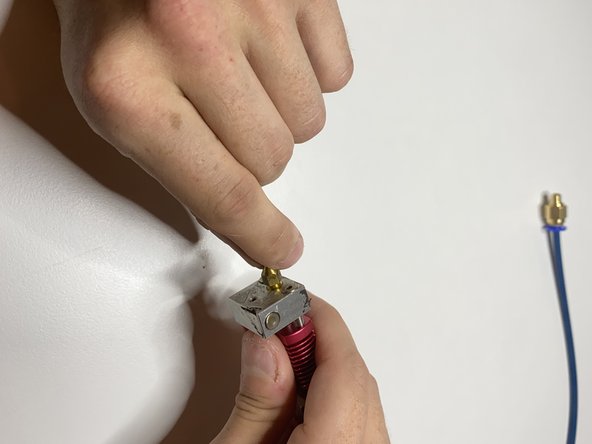
  • Using a crescent wrench, start to unthread the current nozzle from the nozzle assembly.

  • Once the nozzle is loose enough, unthreading by hand will speed up the process.

  • If this is the first time the nozzle is being replaced, it might be threaded onto the assembly very tightly. In this instance, firmly grasp the nozzle assembly to prevent it from slipping out of your hands. In the case that it is still too tight, gently clamp the assembly to a table or bench and unthread the nozzle.

Insertar traducción aquí

Insertar traducción aquí

Insertar traducción aquí

Tus contribuciones son autorizadas bajo la licencia de código abierto de Creative Commons.