Traduciendo paso 11
Paso 11


-
With the motherboard out of the way, we're ready to tackle the display assembly.
-
It's held in place with several smaller-than-usual screws (T2 Torx) and just a few light adhesive strips—no match for our prying experts.
-
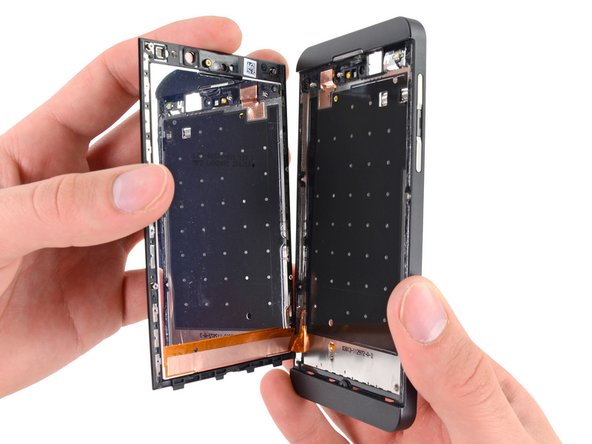
Peeling the display assembly off the outer plastic frame reveals a convenient pocket-mirror on the back of the LCD. Convenient for anyone who cares more about reflections than a functional Z10.
Tus contribuciones son autorizadas bajo la licencia de código abierto de Creative Commons.