Aviso: Estás editando una guía de requisitos previos. Cualquier cambio que realices afectará a todas las 3 guías que incluyen este paso.
Traduciendo paso 9
Paso 9


-
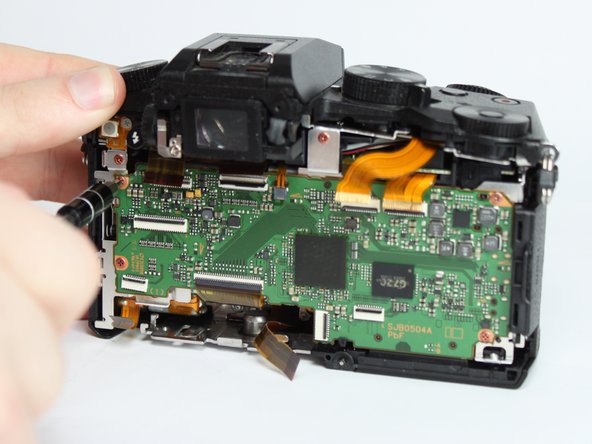
Remove the 4 indicated red 3.0mm long screws from the corners of mainboard using a Phillips PH0 screwdriver.
-
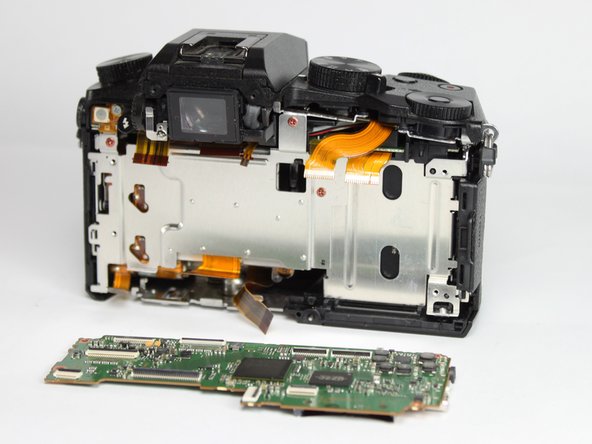
With the eyepiece facing away from you, pull up on the main PCB from the left side and then pull it away from the chassis.
-
There is a plastic locking tab on the bottom of the camera that holds the mainboard PCB.
Tus contribuciones son autorizadas bajo la licencia de código abierto de Creative Commons.