Saltar al contenido principal

Dell Vostro 3550 Disk Drive Tray Latch Replacement

Inglés
Español

Traduciendo paso 4

Paso 4
Dell Vostro 3550 Disk Drive Tray Latch Replacement: paso 0, imagen 1 de 3 Dell Vostro 3550 Disk Drive Tray Latch Replacement: paso 0, imagen 2 de 3 Dell Vostro 3550 Disk Drive Tray Latch Replacement: paso 0, imagen 3 de 3
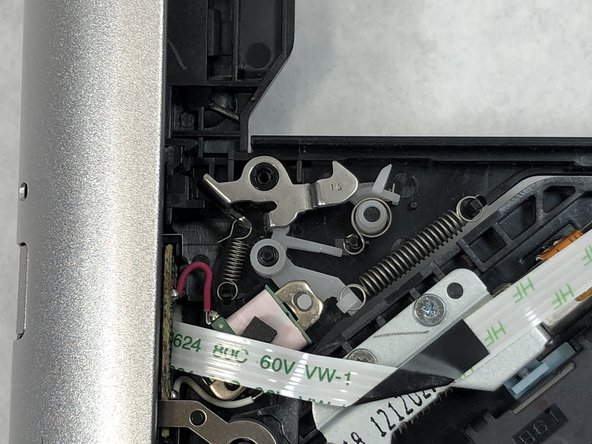
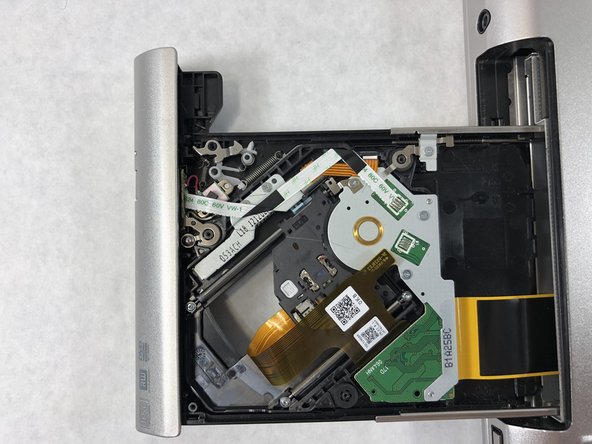
  • Remove the single 5mm Phillips #0 screw securing the latch mechanism to the disk drive.

  • Pull the damaged latch away from the disk drive and replace with the new latch.

Insertar traducción aquí

Insertar traducción aquí

Tus contribuciones son autorizadas bajo la licencia de código abierto de Creative Commons.