Introducción
Use this guide to replace the refrigerator thermistor or temperature sensor in your Whirlpool Refrigerator.
The refrigerator thermistor measures the air temperature in your refrigerator and signals temperature regulatory processes. If your refrigerator doesn't cool properly, your refrigerator thermistor might be broken.
To replace the freezer thermistor, follow this guide instead.
This guide will work for most Whirlpool refrigerators. This guide is written with a model WRS315SDHW refrigerator. If you have a different model, you may encounter some minor disassembly differences, but the overall repair process will be the same.
Note: Some photos show the doors removed for clarity purposes. Removing them is not required and will not change the procedure.
Qué necesitas
-
-
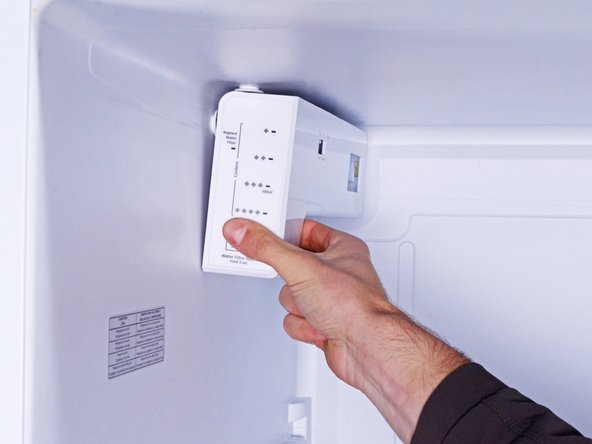
Remove the screw(s) securing the temperature control board assembly.
-
-
-
-
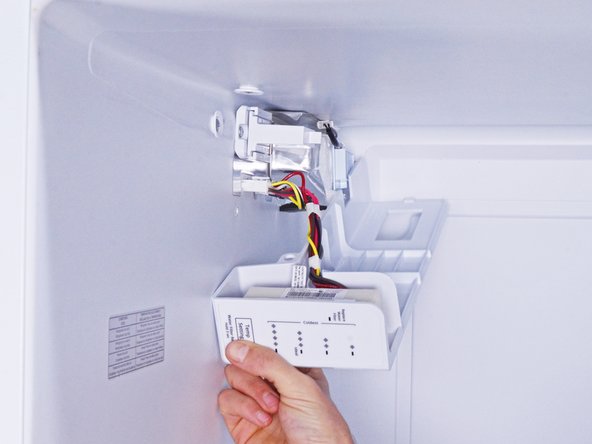
Pull the temperature control board assembly off its slot in the chassis.
-
Let the assembly hang to access its connectors.
-
-
-
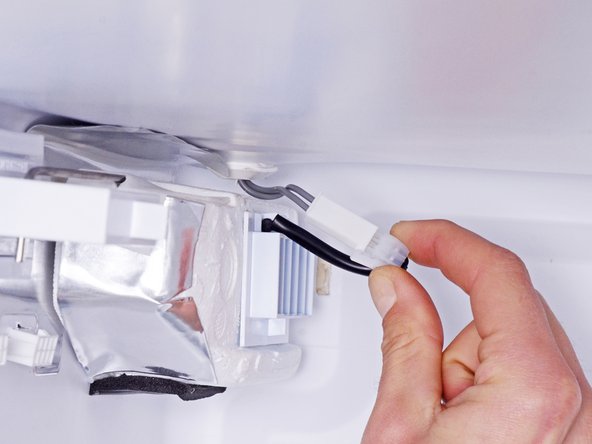
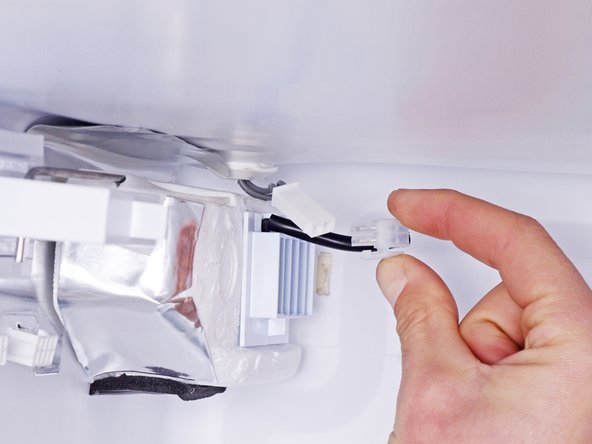
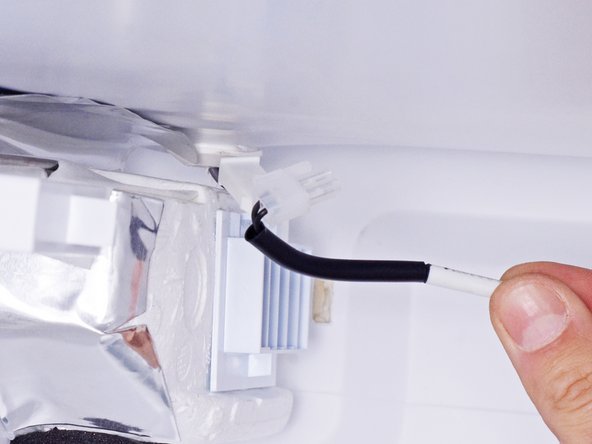
Use a flathead screwdriver, or a similar tool, to disconnect any connectors attached to the temperature control board assembly.
-
-
-
Use a flathead screwdriver, or a similar tool, to pry up the thermistor from its slot in the chassis.
-
Remove the thermistor.
-


To reassemble your device, follow these instructions in reverse order.
Take your e-waste to an R2 or e-Stewards certified recycler.
Repair didn’t go as planned? Ask our Answers community for help.
To reassemble your device, follow these instructions in reverse order.
Take your e-waste to an R2 or e-Stewards certified recycler.
Repair didn’t go as planned? Ask our Answers community for help.
Cancelar: No complete esta guía.
Una persona más ha completado esta guía.

Equipo

3 comentarios
Great article. I have a question: My Kenmore refrigerator stopped cooling. I noticed that the compressor and fan were not operating but the evap fan was. I get no power to the compressor or fan. I replaced the start capacitor and start relay with a 3 in 1 start capacitor. Still nothing. I decided to wire the new 3 in 1 and fan with a separate AC wire directly to an outlet. This allowed the fan to start and the compressor started to cool the refrigerator. But obviously I can't use the refrig that way. Would a faulty thermistor prohibit AC from reaching the compressor and fan? I'm hoping it's not the control board. Any suggestions would be greatly appreciated. Barry
Hi Barry, your model number would be a huge help as then I can get service manuals. I'd be cautious about using a 3 in 1. Especially if your fridge was designed to use just a start relay. I think there could be an issue with the thermistor, or possibly the control board, given that the compressor ran when jumped. 3 in 1s are great to squeeze out a little more life from a compressor, but this may not be that case.