Esta guía ha sufrido modificaciones. Revisa la última versión sin revisar.
Introducción
Upgrade up to 16 GB of RAM memory in your 21.5" iMac
All photos are property of iFixit
Qué necesitas
-
-
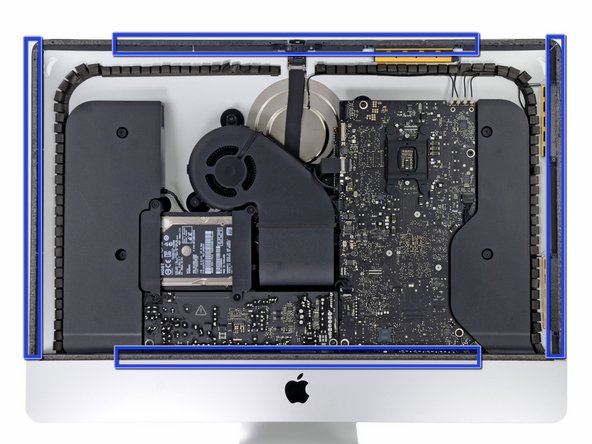
First you need to remove the glue from the edge of the iMac
-
Use a Guitar Pick around the screen to remove the glue
-
-
-
Once you are sure the adhesive is removed, use two heavy suction cups to lift the screen
-
Unplug these cables:
-
DisplayPort Cable
-
Power Cable
-
Lift the screen from the iMac
-
-
-
Remove the four Torx T10 screws
-
Unplug the SATA cables and remove the hard drive
-
-
-
-
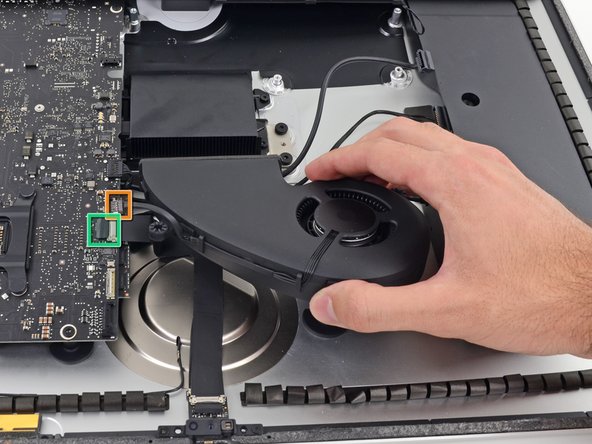
Remove these 3 Torx T10 screws
-
After you remove the screws, remove these cables
-
Fan Cable
-
Unstick and unplug the camera cable
-
-
-
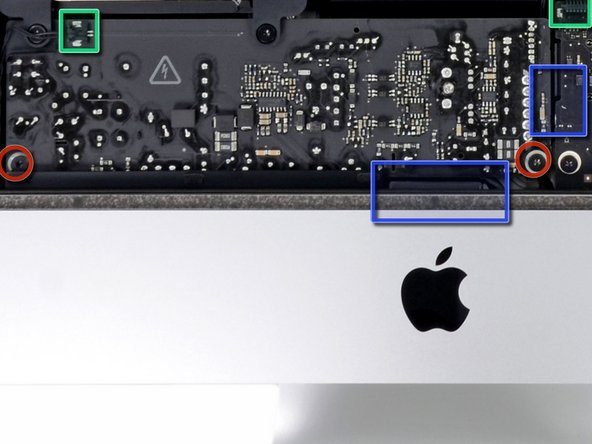
Remove these 2 Torx T10 screws
-
Unplug these 2 cables
-
Unplug 2 more cable below the power board by pressing the clip
-
-
-
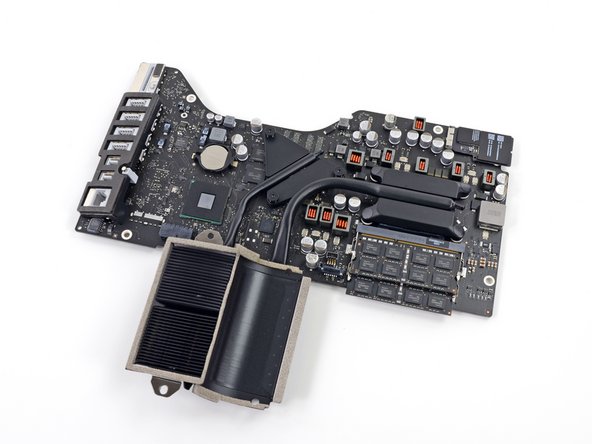
Unscrew 3 Torx T8 screws from the heatsink, then remove the logic board from the iMac
-
-
-
Flip the logic board over and release the tabs from each side of the RAM
-


To reassemble your device, follow these instructions in reverse order remembering to re-glue the screen.
To reassemble your device, follow these instructions in reverse order remembering to re-glue the screen.
Cancelar: No complete esta guía.
11 personas más completaron esta guía.
