Saltar al contenido principal

TMY V08 Cooling Fan Replacement

Qué necesitas

  1. TMY V08 Cooling Fan Replacement, Top Panel: paso 1, imagen 1 de 3 TMY V08 Cooling Fan Replacement, Top Panel: paso 1, imagen 2 de 3 TMY V08 Cooling Fan Replacement, Top Panel: paso 1, imagen 3 de 3
    • Turn the projector upside-down.

    • Remove the six 10.8 mm screws from the bottom of the projector using a Phillips #1 screwdriver.

    • Turn the projector back over and lift the top casing panel off the projector.

  2. TMY V08 Cooling Fan Replacement: paso 2, imagen 1 de 3 TMY V08 Cooling Fan Replacement: paso 2, imagen 2 de 3 TMY V08 Cooling Fan Replacement: paso 2, imagen 3 de 3
    • Pinch and pull the bundled cable connector from the top panel.

    • Remove the top panel from the projector.

  3. TMY V08 Cooling Fan Replacement, Cooling Fan: paso 3, imagen 1 de 3 TMY V08 Cooling Fan Replacement, Cooling Fan: paso 3, imagen 2 de 3 TMY V08 Cooling Fan Replacement, Cooling Fan: paso 3, imagen 3 de 3
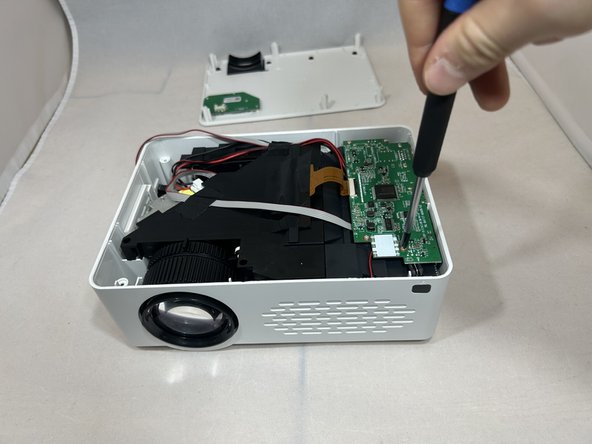
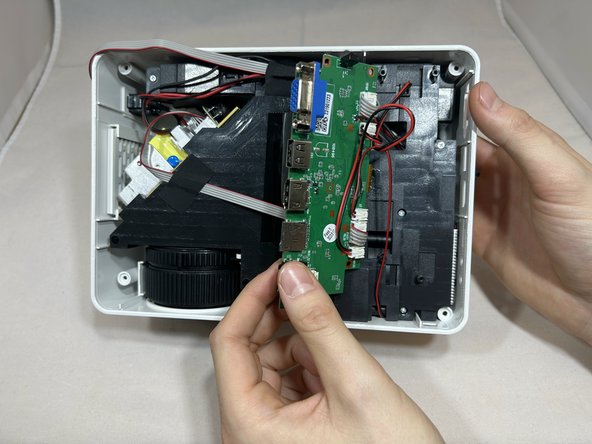
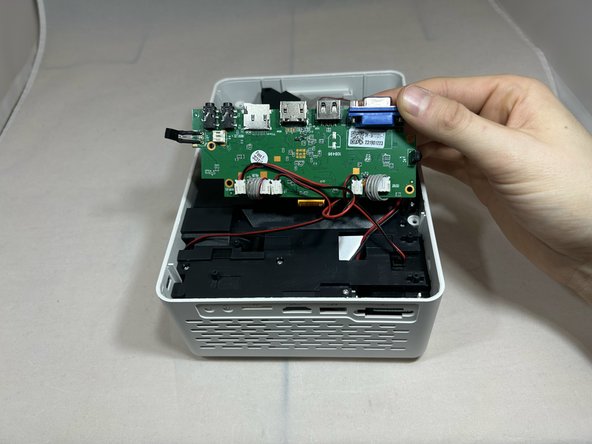
    • Remove the four 6.4 mm screws from the motherboard using a Phillips #1 screwdriver.

    • Pull back the motherboard to expose the connectors underneath.

  4. TMY V08 Cooling Fan Replacement: paso 4, imagen 1 de 2 TMY V08 Cooling Fan Replacement: paso 4, imagen 2 de 2
    • Rotate the projector counterclockwise 90 degrees.

    • Disconnect the three bundled cable connectors and the two power cable connectors from the motherboard.

  5. TMY V08 Cooling Fan Replacement: paso 5, imagen 1 de 3 TMY V08 Cooling Fan Replacement: paso 5, imagen 2 de 3 TMY V08 Cooling Fan Replacement: paso 5, imagen 3 de 3
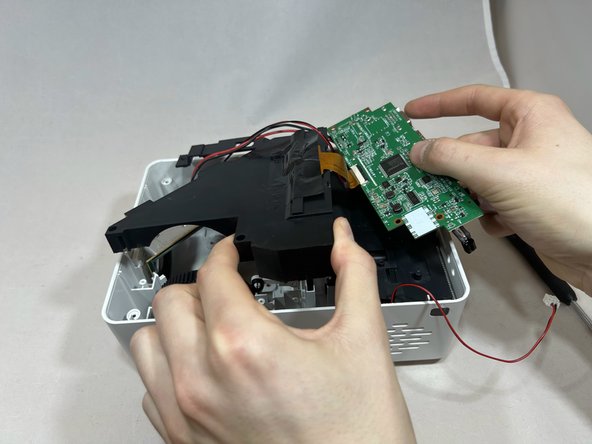
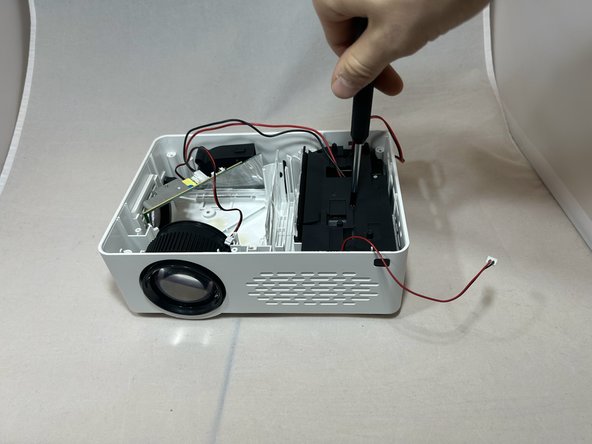
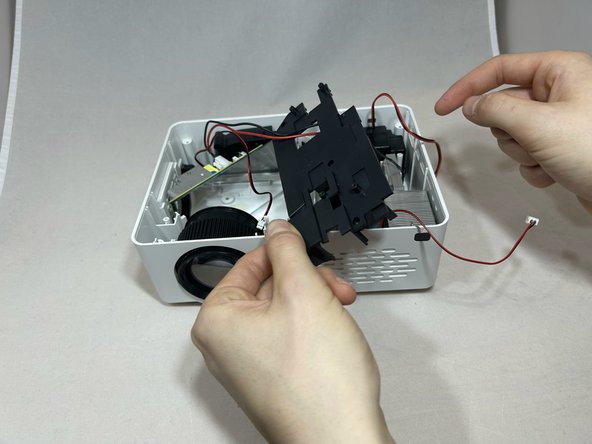
    • Rotate the projector counter clockwise with the front facing you.

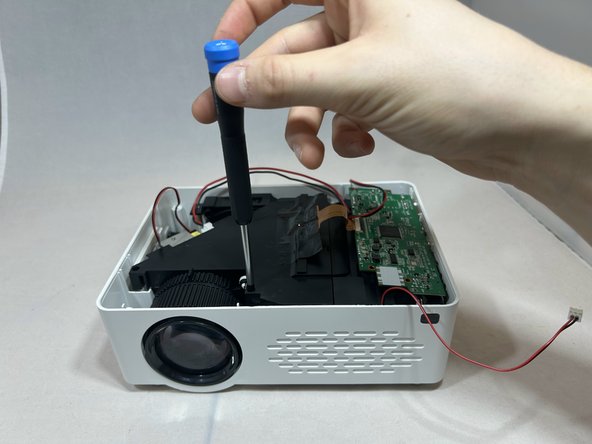
    • Remove the four 7.3 mm screws from the black cover to the left of the motherboard using a Phillips #1 screwdriver.

    • Remove the motherboard and black cover at the same time, being careful not to pull on the gold ribbon.

  6. TMY V08 Cooling Fan Replacement: paso 6, imagen 1 de 3 TMY V08 Cooling Fan Replacement: paso 6, imagen 2 de 3 TMY V08 Cooling Fan Replacement: paso 6, imagen 3 de 3
    • Remove the five 7.3 mm screws from the black cover using a Phillips #1 screwdriver.

    • Take off the right black cover, exposing the fan.

  7. TMY V08 Cooling Fan Replacement: paso 7, imagen 1 de 1
    • Firmly grasp and lift up the fan to remove it.

Conclusión

To reassemble your device, follow these instructions in reverse order.

Randolph Bill

Miembro Desde 10/02/23

121 Reputación

1 Guía escrita

0 comentarios

Agregar Comentario

Ver Estadísticas:

Ultimas 24 horas: 0

Ultimos 7 días: 0

Ultimos 30 días: 11

Todo El Tiempo: 92