Esta versión puede contener ediciones incorrectas. Cambie a la última instantánea verificada.
Qué necesitas
-
Este paso está sin traducir. Ayuda a traducirlo
-
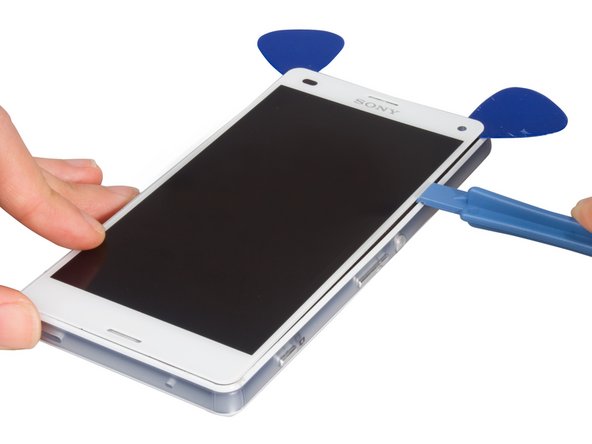
First, heat up.
-
And then place the suction cup and pull to open a gap. Insert into the guitar pick to cut the adhesive sticker under the back cover.
-
Finally, remove the back cover.
-
-
Este paso está sin traducir. Ayuda a traducirlo
-
Disconnect the NFC flex press connector.
-
Unscrew the screws holding the black midframe in place.
-
Remove back frame.
-
-
-
Este paso está sin traducir. Ayuda a traducirlo
-
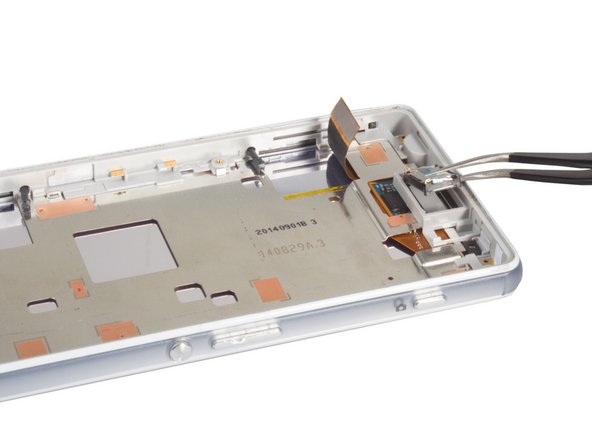
Remove rear camera bracket.
-
Release connector, but take care not to damage the electronic components next to the connector. It is best to access the connector from the bottom (battery side), and not from the side as the picture shows.
-
Remove rear camera.
-
-
Este paso está sin traducir. Ayuda a traducirlo
-
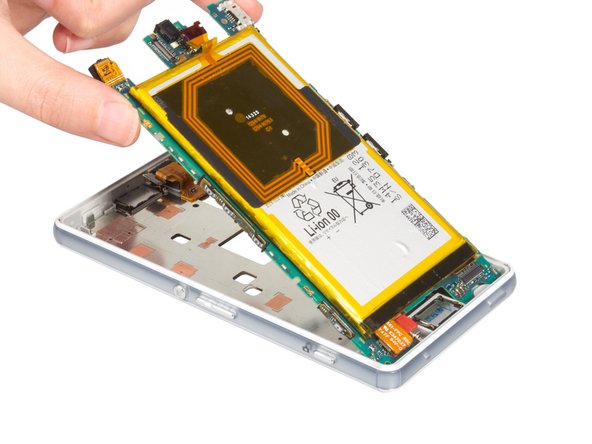
Remove motherboard.
-
Lift the red cover off the vibrating motor, and lift the motor with tweezers. The motor should stay attached to the cabling to the motherboard.
-
-
Este paso está sin traducir. Ayuda a traducirlo
-
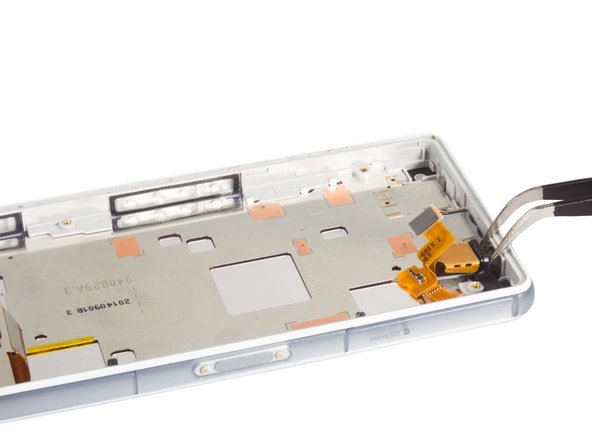
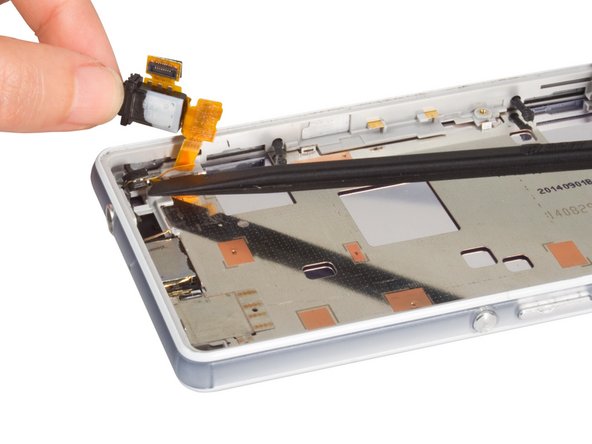
Remove headphone jack.
-
Use caution lifting the flex cables that are stuck to the midplate.
-
-
Este paso está sin traducir. Ayuda a traducirlo
-
Separate the LCD screen with earpiece from midframe. See the detail on Sony Xperia Z3 Compact LCD screen replacement guide. Finally, you you can reassemble the phone with new midframe.
-


Cancelar: No complete esta guía.
9 personas más completaron esta guía.
4 comentarios
i want to ask what is the purpose of that plastic frame that have some silver paths connecting to the main board, because i accidentally broke it and broke the one path
It is WIFI Antenna connectors
I have same issue too did you fix it?
This is potentially much more complicated, and fiddly, than the guide suggests - depending on where you get the midframe from, there are a number of additional parts that need moving across to the new one - specifically the rubber seals from the buttons, the small microphone channel near the bottom mic, the plastic defuser for the LED next to the headphone socket and the front camera holder. Removing the lower speaker from the midframe is likely to break it, simply down to the glue being used to hold it in. It's worth making sure you have a replacement to hand as they're fairly cheap.
Additionally to re-emphasise, be very careful with removing the mother board, the vibration motor lead is very delicate and easy to tear. Do make sure it's completely freed up before trying to remove the board!