Introducción
This is a replacement guide for the audio jack for the Sony Xperia XA1.
One of the problems experienced with this phone is with the headphones not working and not transmitting sound anymore.
Before using this guide, be sure to check out the troubleshooting page to ensure the speaker needs to be replaced.
Qué necesitas
-
-
Using a hair dryer, apply heat evenly around the edges of the back of the phone. This will loosen the adhesive and allow you to remove the back panel.
-
As you're heating up the phone, begin to pry open the back starting from the middle, and going to the corners.
-
-
-
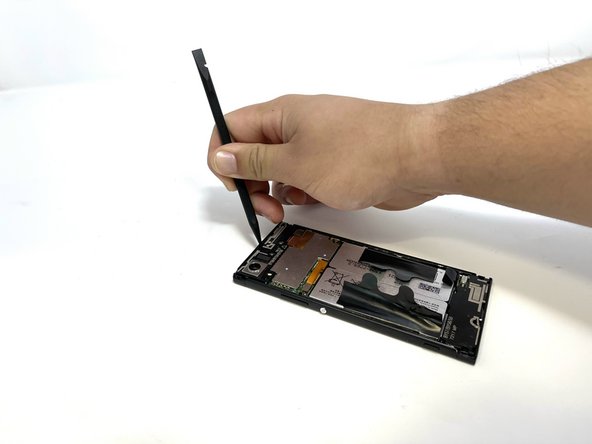
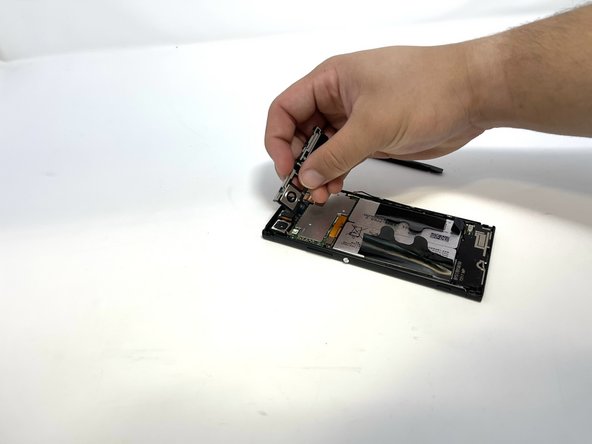
Use a Phillips #000 Screwdriver to remove the three 3 mm screws from the top bracket.
-
-


To reassemble your device, follow these instructions in reverse order.
To reassemble your device, follow these instructions in reverse order.

Equipo

Utah Tech University, Team 1-4, McMurrin Spring 2023 Miembro de Utah Tech University, Team 1-4, McMurrin Spring 2023
UTAHTECH-MCMURRIN-S23S1G4
3 Miembros
7 Guías creadas