Esta versión puede contener ediciones incorrectas. Cambie a la última instantánea verificada.
Qué necesitas
-
Este paso está sin traducir. Ayuda a traducirlo
-
Position the laptop screen-side down as shown.
-
In this position the battery housing will be located on the right hand side.
-
-
Este paso está sin traducir. Ayuda a traducirlo
-
Lift the panel up and then out to gain access to the battery.
-
-
Este paso está sin traducir. Ayuda a traducirlo
-
The battery is now removed and it is safe to move on to uninstalling other components.
-
-
-
Este paso está sin traducir. Ayuda a traducirlo
-
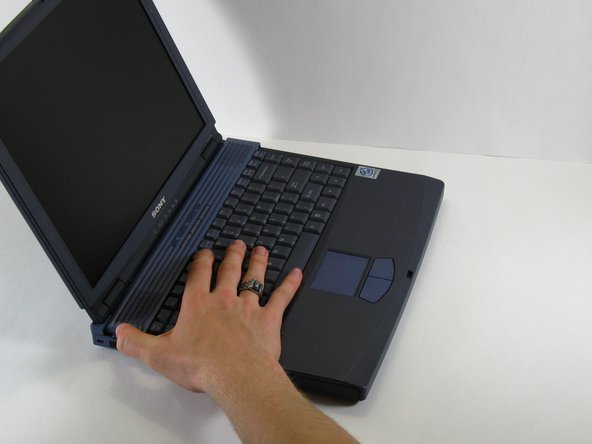
There are two screws on the left hand side of the laptop near the IR (Infared remote) receiver (see image). Remove them using a Phillips #00 Screwdriver.
-
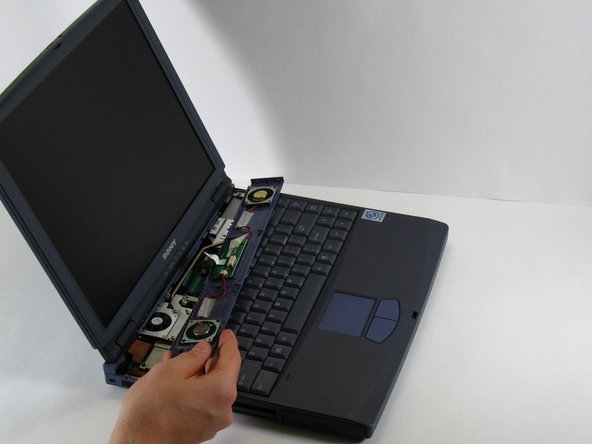
Slide the speaker panel towards the left, then carefully flip it over onto the keyboard.
-
-
Este paso está sin traducir. Ayuda a traducirlo
-
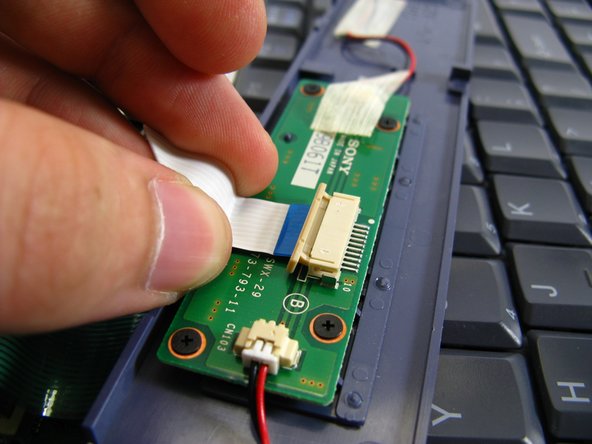
On the inside of the speaker panel, using a spudger, push the beige tab in the direction of the ribbon. It should only move a small amount.
-
Remove the ribbon by gently pulling on it, there should be little or no resistance.
-
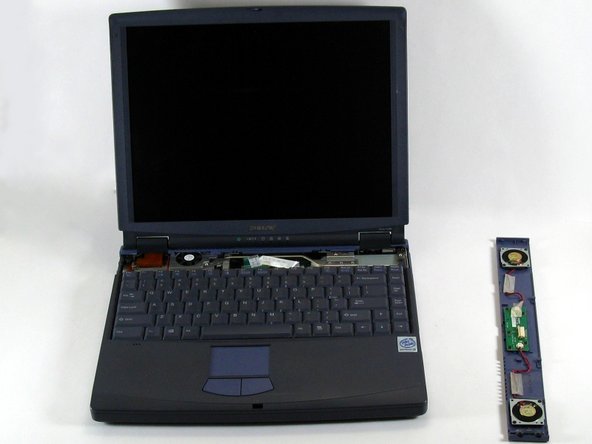
Now the speaker panel can be set aside.
-
-
Este paso está sin traducir. Ayuda a traducirlo
-
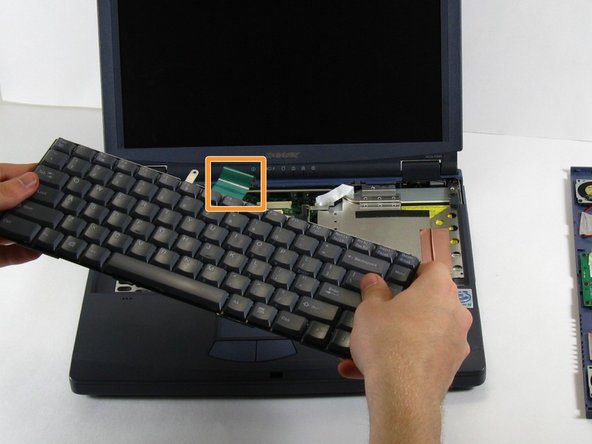
Remove the metal screw that will be located at the red circle.
-
Pull on the green strip, and the keyboard should come free easily.
-
-
Este paso está sin traducir. Ayuda a traducirlo
-
Remove the six screws along the hinges (three on either side).
-
Twist and pry at the hinge covers with a spudger until they pop up and remove them.
-
-
Este paso está sin traducir. Ayuda a traducirlo
-
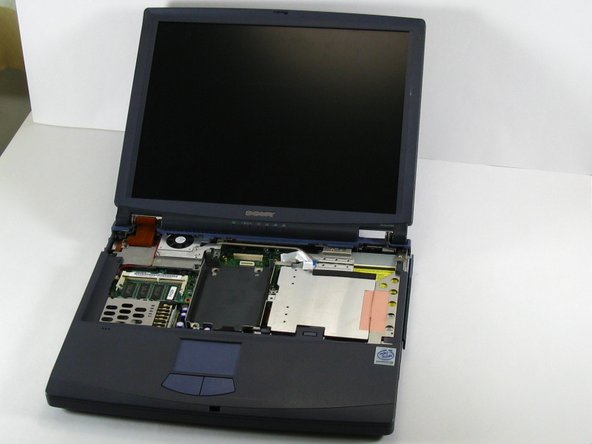
With the computer facing you open its lid carefully, so that the computer looks like this.
-
Remove the two screws holding the ribbon cable in place (pictured here without screws).
-
-
Este paso está sin traducir. Ayuda a traducirlo
-
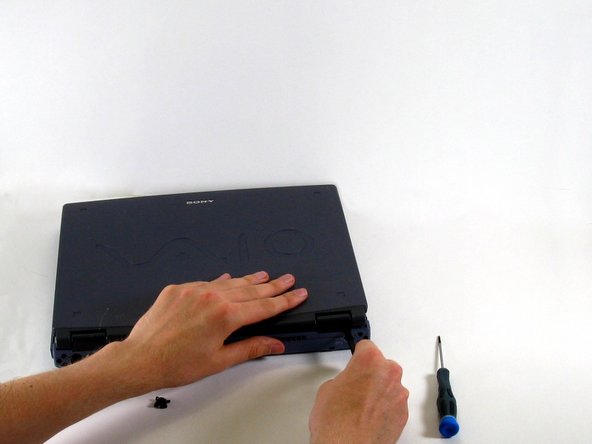
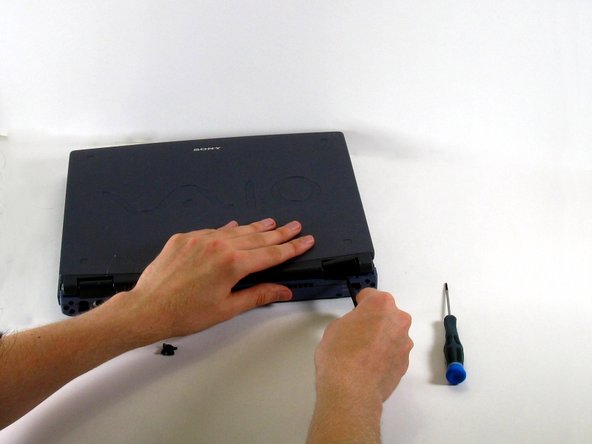
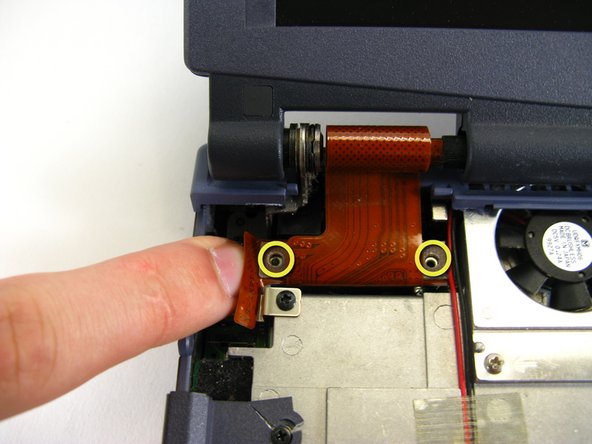
Remove the black screw with your Phillips screwdriver.
-
Remove the screw in the upper right corner while holding the bottom right side of the computer display.
-
Carefully pry the ribbon from its connector and lift it up.
-
-
Este paso está sin traducir. Ayuda a traducirlo
-
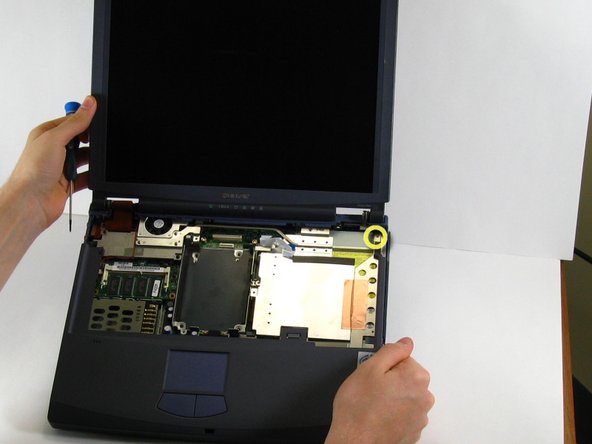
Remove the screw in the upper left corner that connects the display frame to the laptop.
-
-
Este paso está sin traducir. Ayuda a traducirlo
-
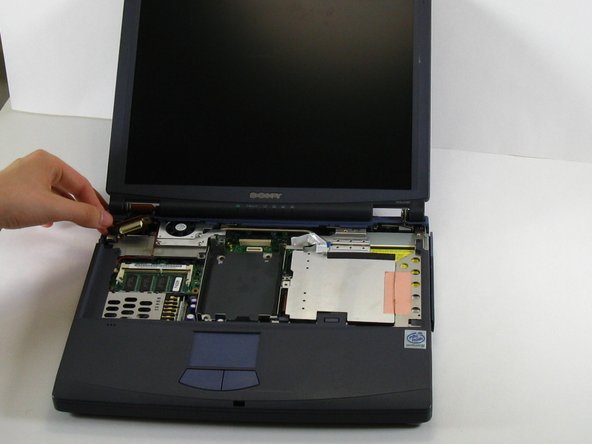
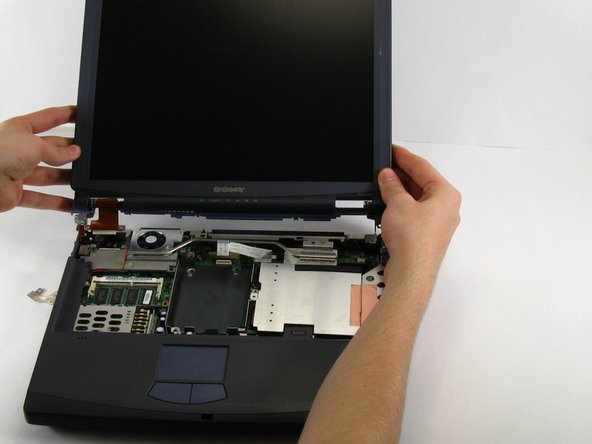
Tilt the display backwards. Grip the display from its base to reduce torque.
-
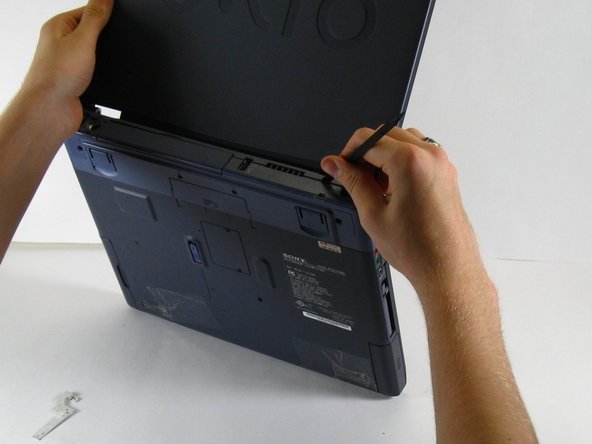
Use a spudger to pry the upper part of the back panel by pushing in the tabs located along its length.
-
Carefully lift the display free of the case.
-


Equipo

Cal Poly, Team 16-3, Maness Spring 2010 Miembro de Cal Poly, Team 16-3, Maness Spring 2010
CPSU-MANESS-S10S16G3
3 Miembros
8 Guías creadas