Esta versión puede contener ediciones incorrectas. Cambie a la última instantánea verificada.
Qué necesitas
-
Este paso está sin traducir. Ayuda a traducirlo
-
Turn the laptop off and unplug it.
-
Remove the screw on the left-hand side of the computer towards the back using a small Phillips #0 screwdriver.
-
-
Este paso está sin traducir. Ayuda a traducirlo
-
Open the laptop with the screen facing you.
-
Carefully lift the left side of the panel and unhook the right side. Do not pull beyond the length of the ribbon cable that secures it to the motherboard.
-
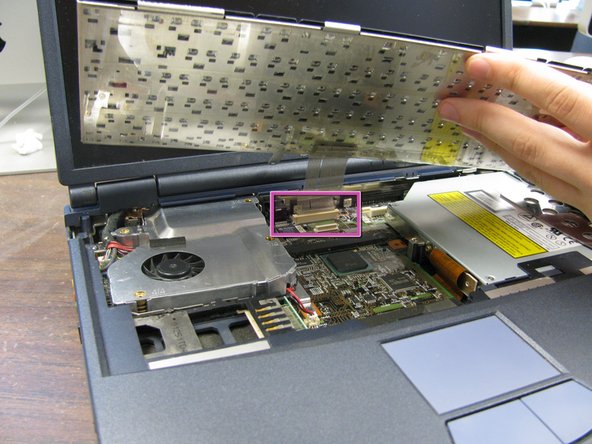
To separate the ribbon cable from the motherboard, grip it near the base and gently pull.
-
-
Este paso está sin traducir. Ayuda a traducirlo
-
To remove the keyboard, lift it a few inches from the computer, taking care not to pull beyond the length of the ribbon cable that secures it to the motherboard.
-
Separate the ribbon cable from the motherboard by placing your fingers at the base and pulling gently.
-
-
Este paso está sin traducir. Ayuda a traducirlo
-
Attach the new keyboard’s ribbon cable to the motherboard by carefully inserting it into the white plastic outlet located at the top center of the motherboard.
-
Set the keyboard in place.
-
-
-
Este paso está sin traducir. Ayuda a traducirlo
-
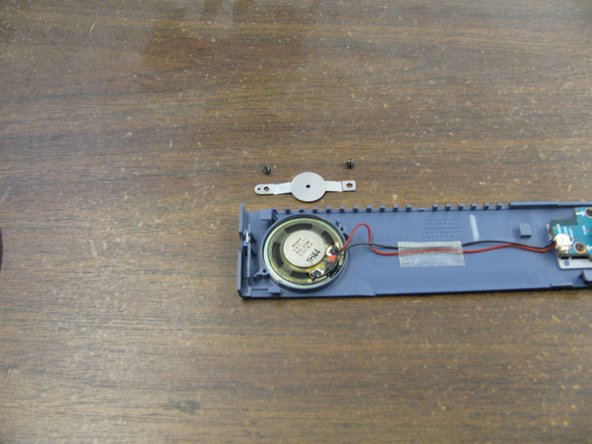
There are two speakers on the underside of the speaker panel, one on each end. Unplug both sets of the black and red wires from the circuit board by gently pulling at the base.
-
Remove the screws (two per speaker) with the Phillips #0 screwdriver. Then remove the metal brackets holding the speakers in place.
-
Remove the adhesive tape securing the speaker wires to the panel.
-
-
Este paso está sin traducir. Ayuda a traducirlo
-
The speakers are cemented to the panel. To remove the speakers from the panel, place either the screw driver or tweezers in the hole on the outer edge of the speaker and pry it off.
-
-
Este paso está sin traducir. Ayuda a traducirlo
-
This picture is a top view of the computer after the speakers and keyboard have been removed.
-
-
Este paso está sin traducir. Ayuda a traducirlo
-
Locate the fan's screw and remove it using a small Phillips screwdriver.
-
-
Este paso está sin traducir. Ayuda a traducirlo
-
Carefully unplug the fan's power cable. This separates the connection from the fan to the motherboard.
-
Pull in the direction of the red arrows in the image to properly unplug the cable.
-
-
Este paso está sin traducir. Ayuda a traducirlo
-
Once the screw is removed and the power cable is unplugged, gently pull out the fan.
-
Pull in the direction of the red arrows to remove the fan. Do not touch the fan blades. Instead, grip the fan from the metal casing surrounding the blades as shown.
-
-
Este paso está sin traducir. Ayuda a traducirlo
-
This picture shows the fan removed from the computer.
-
Clean the fan using compressed air.
-


Equipo

Cal Poly, Team 18-68, Johann Spring 2010 Miembro de Cal Poly, Team 18-68, Johann Spring 2010
CPSU-JOHANN-S10S18G68
4 Miembros
9 Guías creadas