Introducción
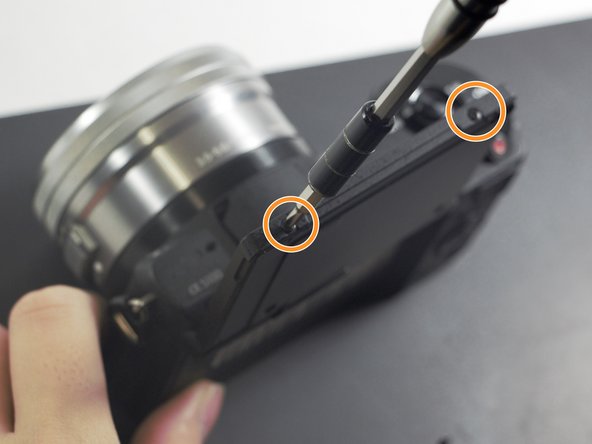
This guide will be showing you how to get into the back of the LCD screen on the Sony Alpha 5100 (ILCE-5100/5100L). This guide will help if you are having trouble with the camera screen not working. Since we are exposing the electronics underneath the screen, do not expose the inside to water.
Qué necesitas


To reassemble your device, follow these instructions in reverse order.
To reassemble your device, follow these instructions in reverse order.
Cancelar: No complete esta guía.
3 personas más completaron esta guía.

Equipo

UMass Dartmouth, Team S4-G6, Saloman Fall 2019 Miembro de UMass Dartmouth, Team S4-G6, Saloman Fall 2019
UMASSD-SALOMAN-F19S4G6
3 Miembros
8 Guías creadas
Un comentario
Hello, thank you for this but it’s only half the steps, how to remove the LCD and touch screen after step 5? Something else is holding it in place. Can lift the outer edge a little only. Possibly it is glue or tape? My touchscreen is always active and focus rectangle moving around the lower part of screen. Can touch screen and it will go there but soon moves back to lower area.
Thank you.