Esta versión puede contener ediciones incorrectas. Cambie a la última instantánea verificada.
Qué necesitas
-
Este paso está sin traducir. Ayuda a traducirlo
-
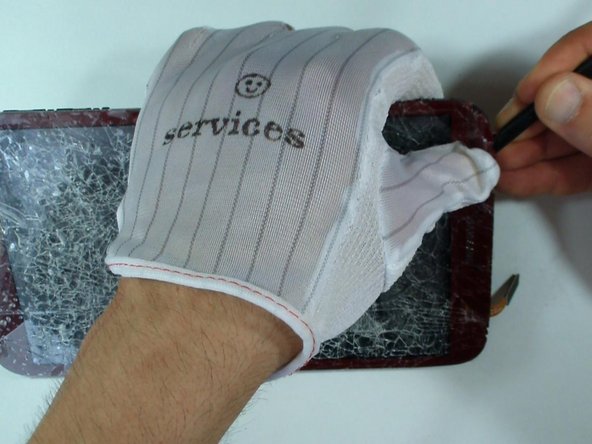
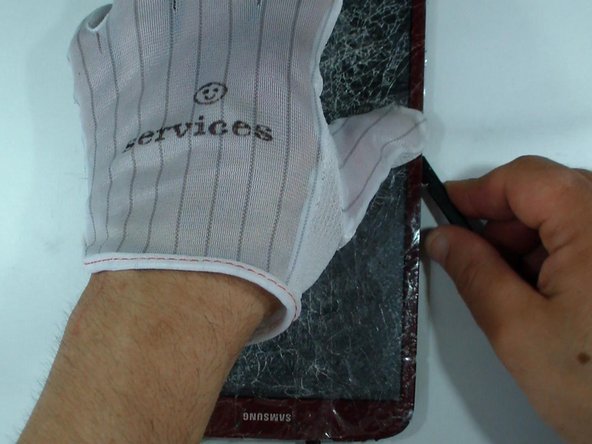
Put the scotch tape in order not to scatter pieces of glass.
-
Remove any memory card and SIM card (if the tablet is 3G version).
-
-
Este paso está sin traducir. Ayuda a traducirlo
-
Using plastic tools remove the back / battery cover.
-
-
Este paso está sin traducir. Ayuda a traducirlo
-
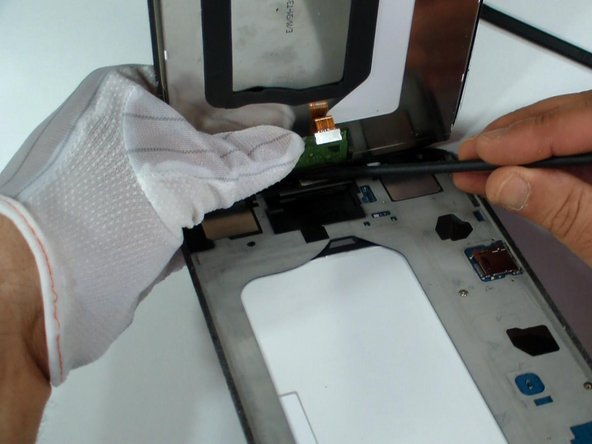
Remove the two screws and disconnect the charging port flex cable from the main board.
-
Use a plastic tool to unstick the flex cable from the middle frame.
-
-
-
Este paso está sin traducir. Ayuda a traducirlo
-
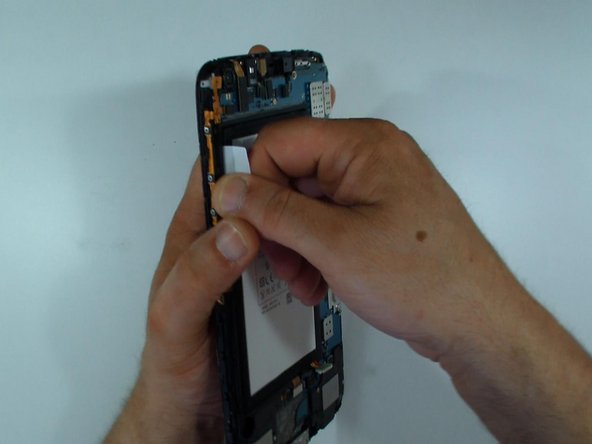
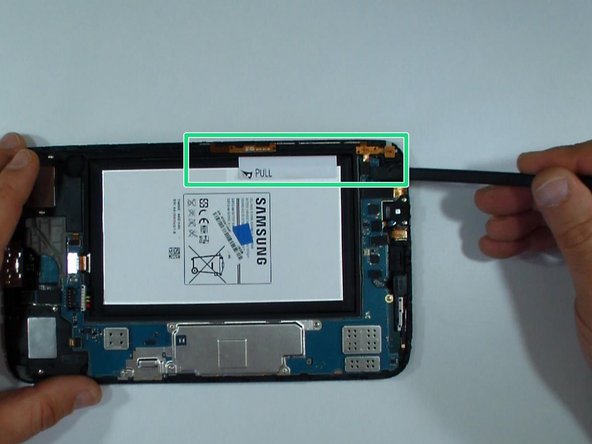
The battery is stuck to the middle panel.
-
Use the white sticker to remove it.
-
-
Este paso está sin traducir. Ayuda a traducirlo
-
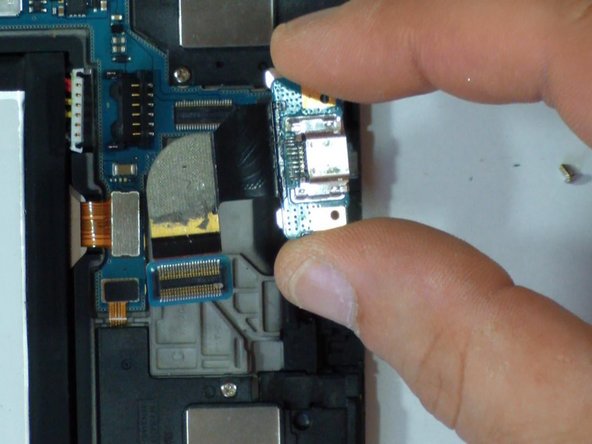
2x loudspeackers
-
Power & Volume buttons flex cable
-
Audio jack flex cable
-
-
Este paso está sin traducir. Ayuda a traducirlo
-
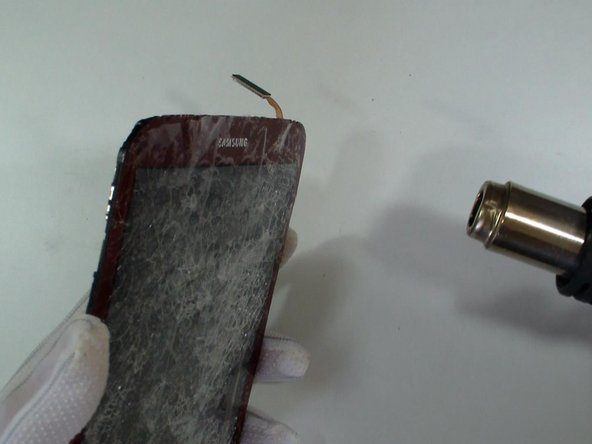
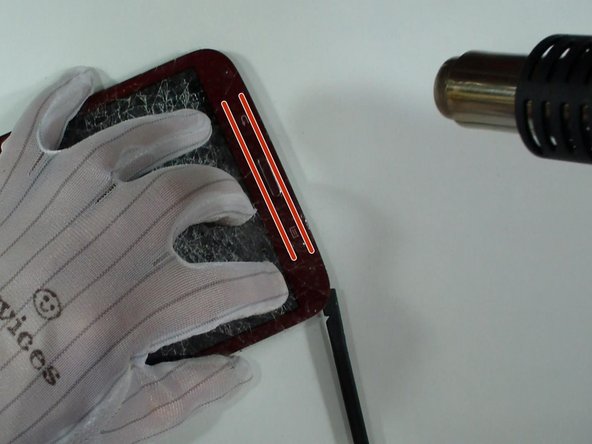
Use a heat gun or hair dryer and warm the touch screen glass. This will make the adhesive more flexible and the separation easier.
-
-
Este paso está sin traducir. Ayuda a traducirlo
-
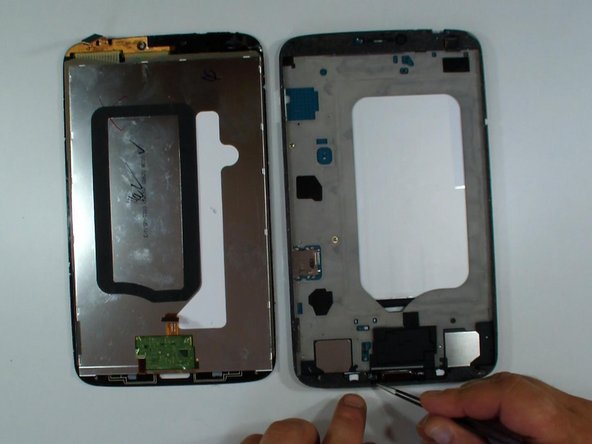
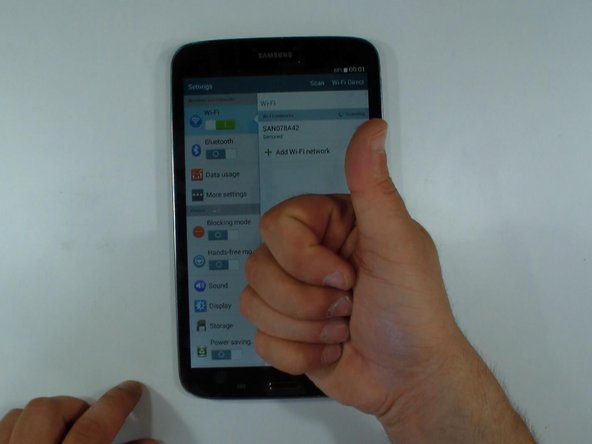
Always test the new spare part before final installation.
-
-
Este paso está sin traducir. Ayuda a traducirlo
-
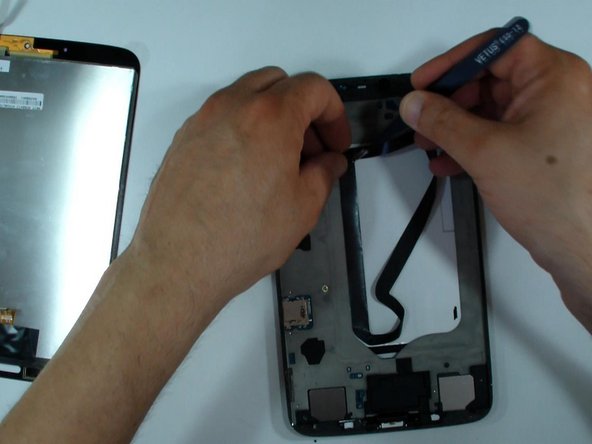
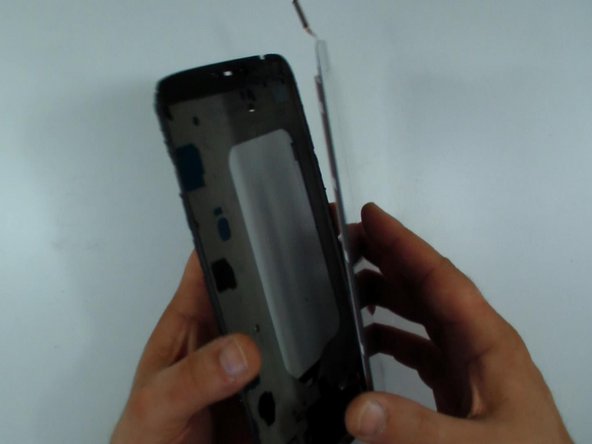
Transfer the black tape from the old display. It keeps the distance the display from the battery and protects it from overheat.
-
If the adhesive tape is not in good condition you must install a new one.
-
-
Este paso está sin traducir. Ayuda a traducirlo
-
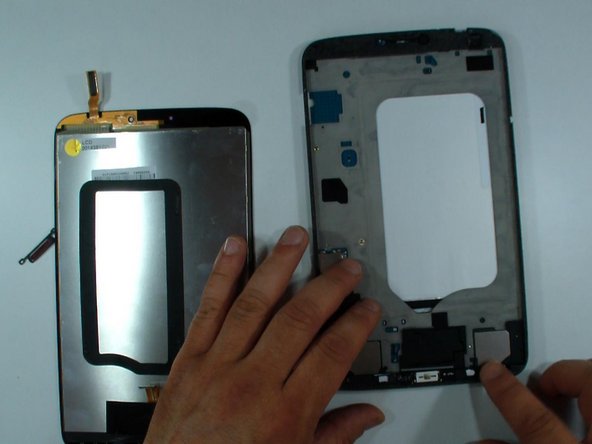
Start with reassembling.
-
.
-
.
-
.
-
.
-
.
-
.
-
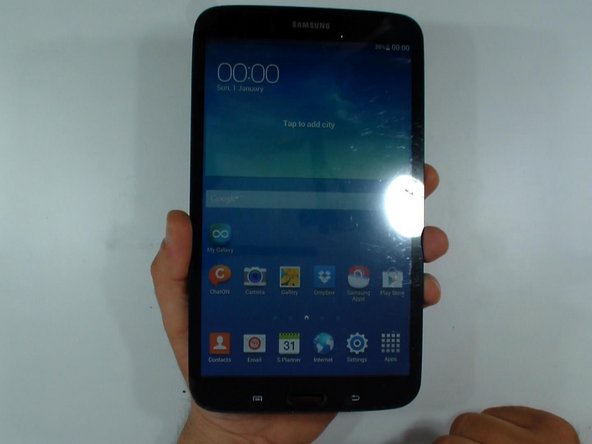
Did you do it successfully.
-


Cancelar: No complete esta guía.
18 personas más completaron esta guía.

Equipo

Un comentario
Awesome guide, was so easy to replace complete LCD digitiser and glass all in one unit.