Esta versión puede contener ediciones incorrectas. Cambie a la última instantánea verificada.
Qué necesitas
-
Este paso está sin traducir. Ayuda a traducirlo
-
Turn the laptop so that the bottom is facing up.
-
Locate the panel that has an M on it and two air vents.
-
-
-
Este paso está sin traducir. Ayuda a traducirlo
-
Take the screw driver and carefully unscrew the screw that is located above the M in order to remove the panel.
-
Remove the panel.
-
-
Este paso está sin traducir. Ayuda a traducirlo
-
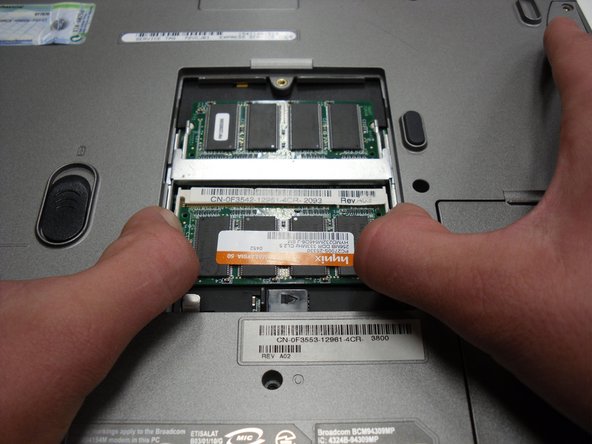
After removing the panel, you will see two memory modules.
-
Locate the four spring clips that are holding the memory modules in place.
-
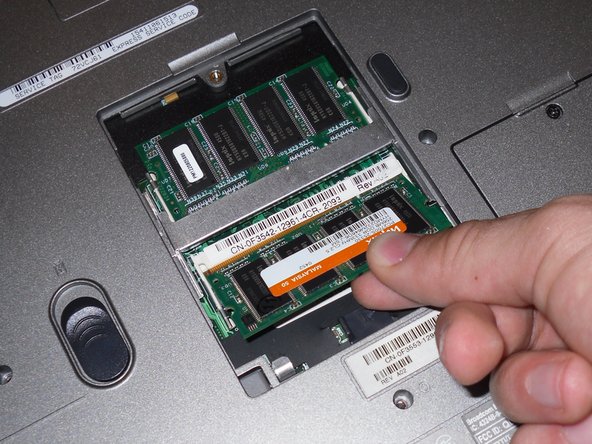
Place your thumb on each of the two spring clips for each memory module and push outward until the memory module pops up.
-
Gently raise the memory module and lift it out of its socket.
-


Equipo

Cal Poly, Team 16-2, Maness Spring 2010 Miembro de Cal Poly, Team 16-2, Maness Spring 2010
CPSU-MANESS-S10S16G2
4 Miembros
9 Guías creadas