Introducción
If your Razer Viper Mini cable is damaged or not working properly, or you want to change the cable to a different one, use this guide to replace the mouse cable.
Regularly, a mouse that is connected to a computer or USB enabled device will work without issues. However, over time the mouse cable will go through wear and tear and will become damaged - resulting in a mouse constantly disconnecting or not connecting at all.
It’s important to mention that using a plastic spudger (like in Step 4) to open the device is essential as using metal devices can easily damage your mouse.
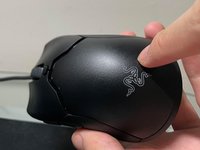
Before using this guide, make sure the mouse is unplugged from any device.
Qué necesitas
-
-
-
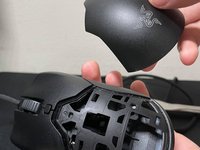
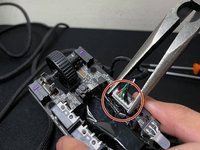
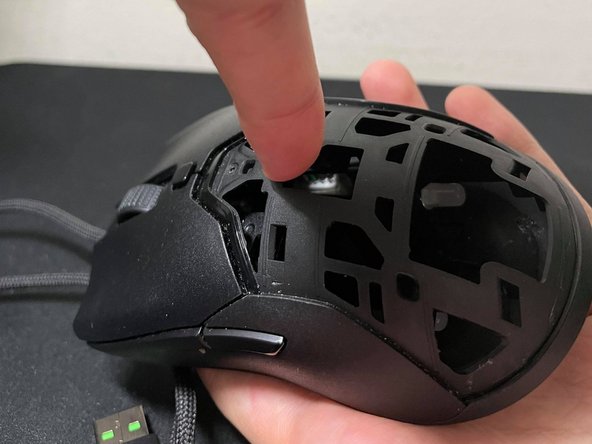
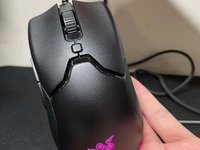
Use the plastic spudger once again to remove the shell of the mouse.
-
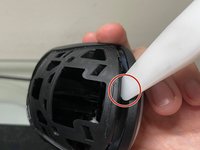
It is exactly like the previous step as you have to dig the plastic spudger gently into the bottom of the mouse and move it inwards to slowly release the shell.
-
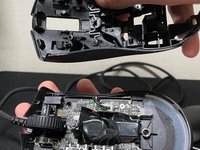
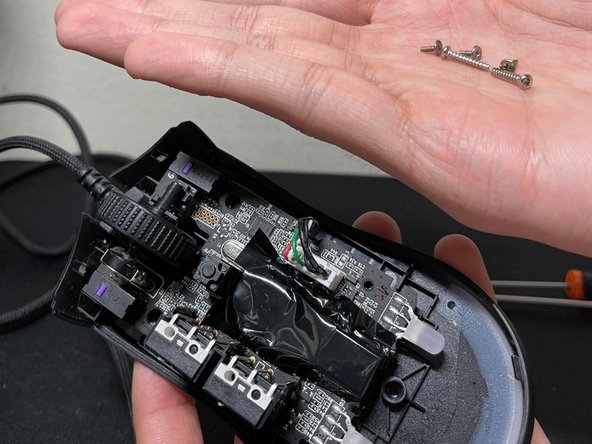
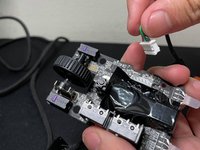
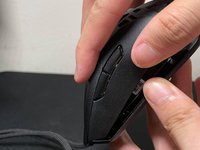
You have now successfully removed the top shell of the mouse!
-


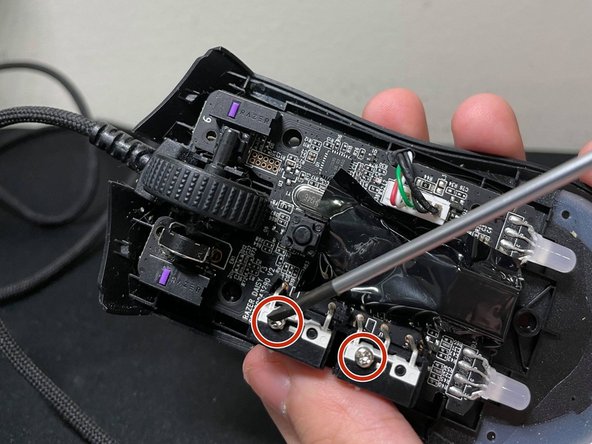
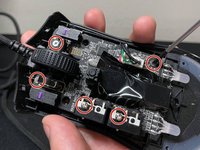


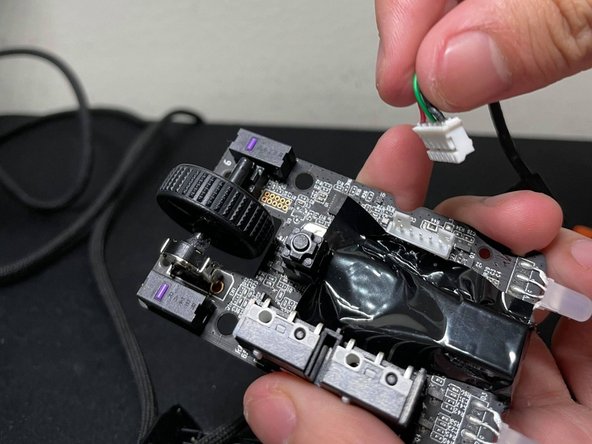


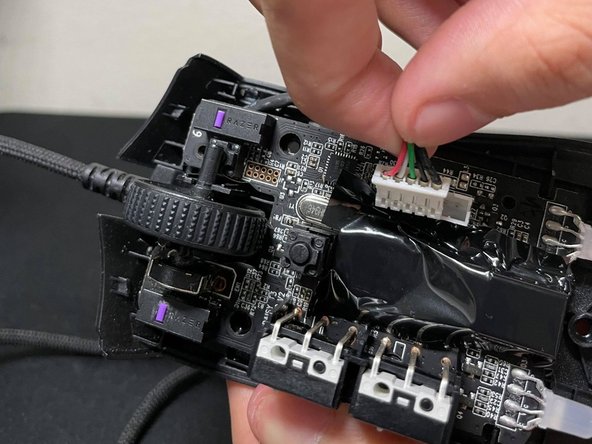
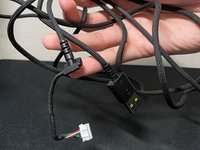


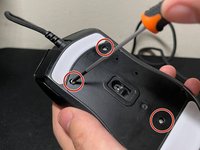
Remember to make sure all of the screws are tightly fitted and the molex cable is fitted tightly before you plug the mouse back into the USB source.
Remember to make sure all of the screws are tightly fitted and the molex cable is fitted tightly before you plug the mouse back into the USB source.
Cancelar: No complete esta guía.
4 personas más completaron esta guía.
Equipo

York University, Team E-27, Melo-Thaiss Fall 2021 Miembro de York University, Team E-27, Melo-Thaiss Fall 2021
YORK-MELO-THAISS-F21SEG27
1 Miembro
1 Guía escrita