Esta versión puede contener ediciones incorrectas. Cambie a la última instantánea verificada.
Qué necesitas
-
-
Usa una moneda para girar el tornillo de bloqueo de la batería 90 grados en sentido horario.
-
Saca la bateria del ordenador.
-
-
Este paso está sin traducir. Ayuda a traducirlo
-
Open the computer with the display facing you and rotate the display back as far as possible.
-
Remove the T6 Torx screw from the bottom left corner of the display assembly. The computer casing will not allow the screwdriver to be inserted directly into the screw, so be careful not to strip the screw.
-
-
Este paso está sin traducir. Ayuda a traducirlo
-
Remove the T6 Torx screw from the bottom right corner of the display assembly.
-
-
Este paso está sin traducir. Ayuda a traducirlo
-
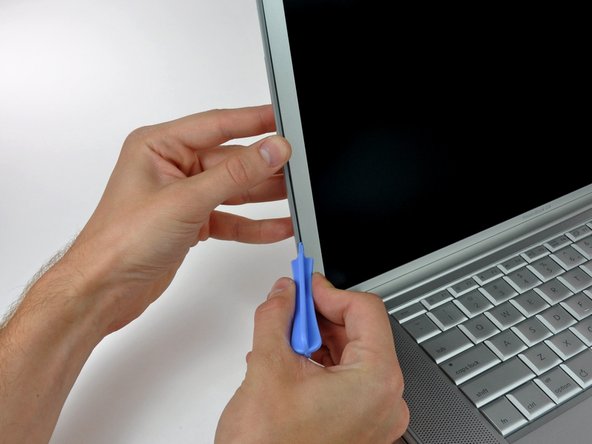
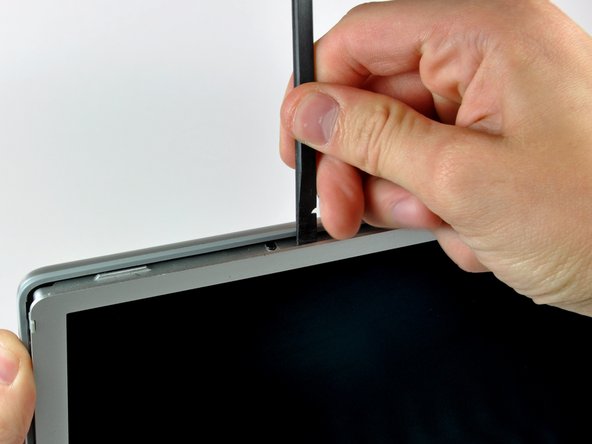
Insert a plastic opening tool between the left edge of the front display bezel and the plastic strip attached to the rear bezel, with the edge of the tool angled toward the LCD.
-
Rotate the tool away from the LCD to pop the rear bezel off the tabs on the front display bezel.
-
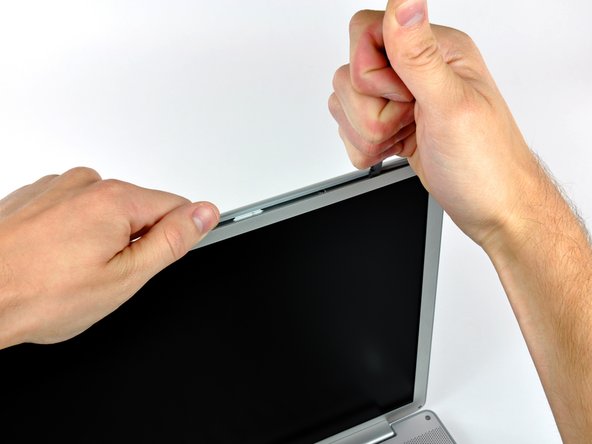
Work along the left edge of the display until the rear bezel is evenly separated from the front bezel.
-
-
-
Este paso está sin traducir. Ayuda a traducirlo
-
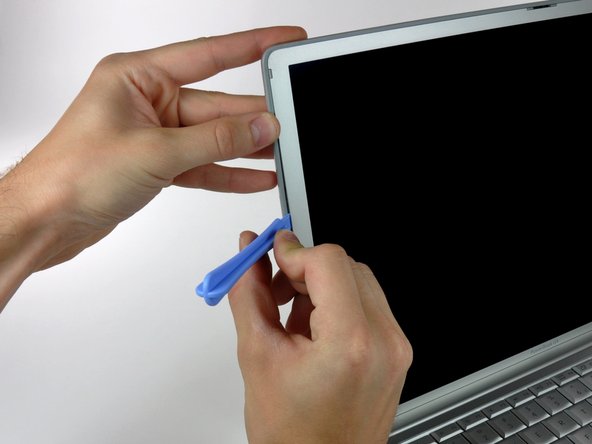
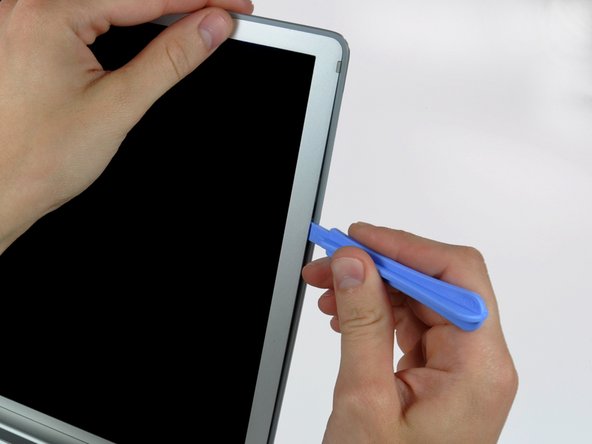
Insert a plastic opening tool between the right edge of the front display bezel and the plastic strip attached to the rear bezel, with the edge of the tool angled toward the LCD.
-
Rotate the tool away from the LCD to pop the rear bezel off the tabs on the front display bezel.
-
Work along the right edge of the display until the rear bezel is evenly separated from the front bezel.
-
-
Este paso está sin traducir. Ayuda a traducirlo
-
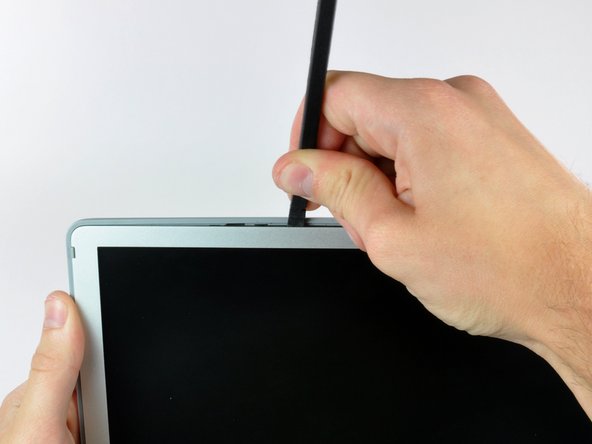
Insert a spudger just to the left of the hinge opening on the top edge of the display between the front display bezel and the plastic strip attached to the rear bezel.
-
Pry the rear bezel away from the front bezel along the top left half of the display.
-
-
Este paso está sin traducir. Ayuda a traducirlo
-
Insert a spudger just to the right of the hinge opening on the top edge of the display between the front display bezel and the plastic strip attached to the rear bezel.
-
Pry the rear bezel away from the front bezel along the top right half of the display.
-
-
Este paso está sin traducir. Ayuda a traducirlo
-
Now that the top edge is released, use a spudger to completely release the clips along the left edge of the display.
-
-
Este paso está sin traducir. Ayuda a traducirlo
-
Use a spudger to release the clips along the right edge of the display.
-
-
Este paso está sin traducir. Ayuda a traducirlo
-
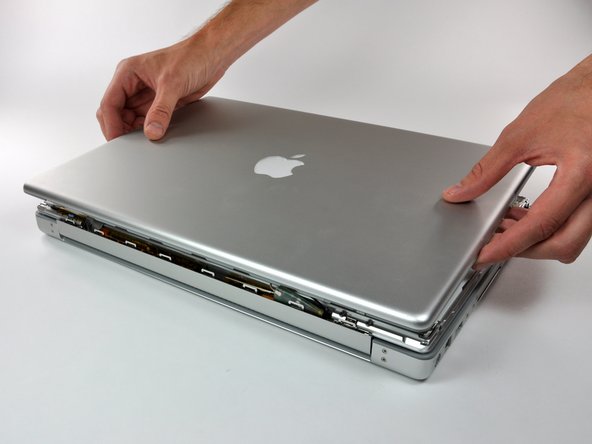
Close the display.
-
Rotate the top edge of the rear display bezel slightly away from the rest of the display, and then lift the lower edge of the rear bezel away from the clutch cover.
-
-
Este paso está sin traducir. Ayuda a traducirlo
-
Carefully lift the antenna board out of the clutch assembly.
-
Peel the three self-adhesive flaps off the plastic cover on the underside of the antenna board.
-
Remove the protective plastic cover from the antenna board.
-
-
Este paso está sin traducir. Ayuda a traducirlo
-
Use the flat end of a spudger to disconnect both antenna connectors from the antenna board.
-
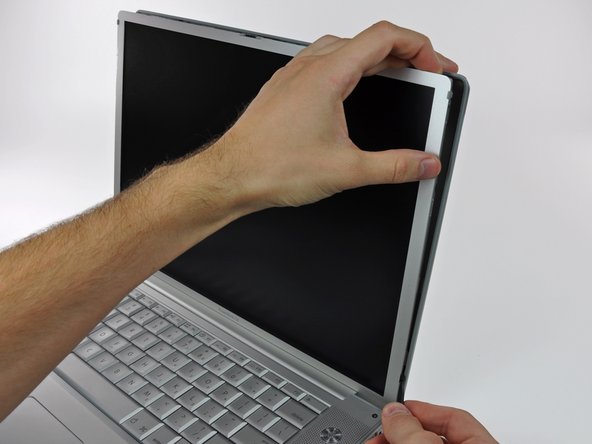
The rear bezel can now be completely removed from the LCD assembly.
-


Cancelar: No complete esta guía.
4 personas más completaron esta guía.
