Introducción
The battery is one of the most common components in need of replacement. This guide contains instructions for removing the 3.7 V lithium-ion polymer battery in the Nook BNRV300 device. This device is also called the “Nook Simple Touch.”
Without a properly-functioning battery, your Nook will not operate. First try troubleshooting your Nook device using these guides if your Nook does not power on, or your Nook will not hold a charge. If your Nook device still fails to operate properly, then follow this Nook BNRV300 Battery Replacement Guide.
Warning: If the battery is swelling, causing discoloration, or smelling bad, removing it may be dangerous. If you suspect your battery is damaged, see this helpful guide for what to do with a swollen battery.
Qué necesitas
-
-
Turn the Nook over to find the power button along the back upper edge.
-
Wedge the spudger between the top of the power button and the upper edge of the device.
-
Push the tool down to pry the button up and off.
-
-
-
Peel off the white sticker that is covering the screw head.
-
Remove the one 2mm-long screw using a size T5 Torx screwdriver.
-
-
-
-
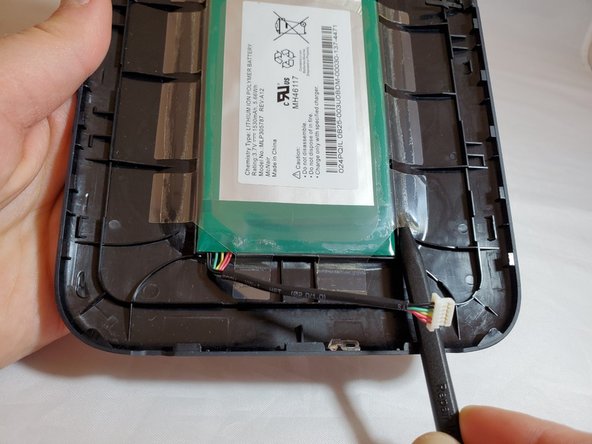
Insert a nylon spudger beneath the clear plastic adhesive holding the battery to the back cover.
-
Work around the battery, peeling up all of the adhesive.
-


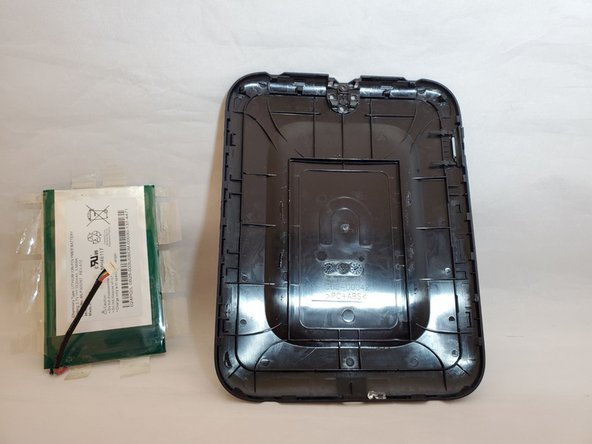
To reassemble your device, follow these instructions in reverse order.
To reassemble your device, follow these instructions in reverse order.
Cancelar: No complete esta guía.
3 personas más completaron esta guía.

Equipo

Eastern Washington University, Team S1-G1, Al-Hmeyrat Fall 2019 Miembro de Eastern Washington University, Team S1-G1, Al-Hmeyrat Fall 2019
EWU-AL-HMEYRAT-F19S1G1
3 Miembros
5 Guías creadas