Saltar al contenido principal

Nest x Yale Lock Keypad Replacement

Qué necesitas

  1. Nest x Yale Lock Keypad Replacement, Keypad: paso 1, imagen 1 de 1
    • Unscrew all available screws that you can see from the back.

    • The screws are 0.25 inches phillips screws.

    • Make sure to not lose any of the screws, and keep track of them.

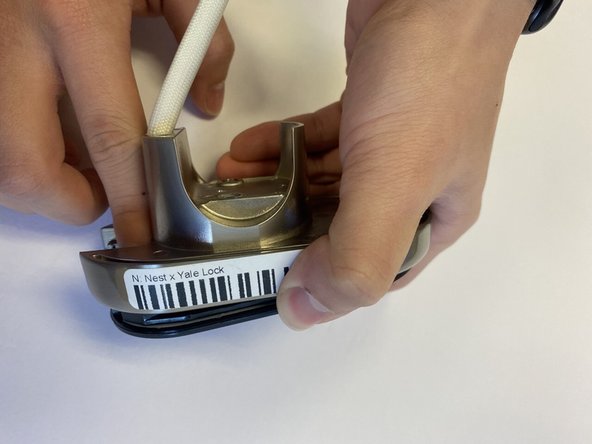
  2. Nest x Yale Lock Keypad Replacement: paso 2, imagen 1 de 1
    • Once you have unscrewed all the screws carefully remove the metal covering.

    • Make sure that the wire safely goes through the hole.

  3. Nest x Yale Lock Keypad Replacement: paso 3, imagen 1 de 1
    • Then once again unscrew the two screws that you see.

    • The screws have a height of 0.2 inches phillips screws.

    • Make sure to not lose any of the screws, and keep track of them.

  4. Nest x Yale Lock Keypad Replacement: paso 4, imagen 1 de 2 Nest x Yale Lock Keypad Replacement: paso 4, imagen 2 de 2
    • Once all screws are unscrewed proceed to tap the screen out of the metal casing.

Conclusión

To reassemble your device, follow these instructions in reverse order.

Equipo

CSU Los Angeles, Team 5-3, Adachi Fall 2022 Miembro de CSU Los Angeles, Team 5-3, Adachi Fall 2022

CSULA-ADACHI-F22S5G3

5 Miembros

5 Guías creadas

Un comentario

Where do you order the touchscreen from?

Mike Turrell - Contestar

Agregar Comentario

Ver Estadísticas:

Ultimas 24 horas: 0

Ultimos 7 días: 1

Ultimos 30 días: 5

Todo El Tiempo: 260