Esta guía ha sufrido modificaciones. Revisa la última versión sin revisar.
Introducción
If you are experiencing trouble with your rear camera, chances are it has a faulty connection or it has been damaged. Follow these steps to remove your rear camera.
Qué necesitas
-
-
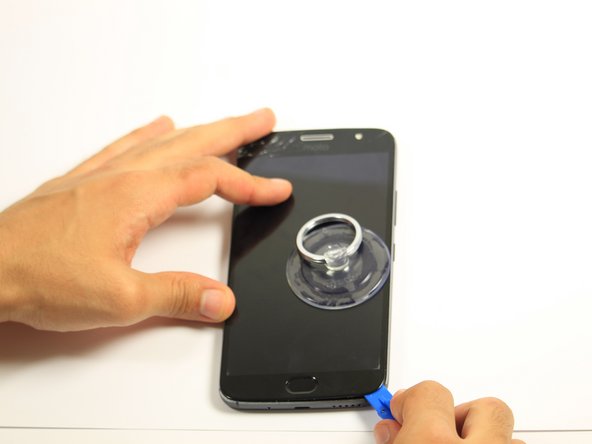
Bring the heat gun one to two inches from the edges of the display to melt the display adhesive.
-
Spend equal amounts of time applying heat around the entire edge of the phone.
-
-
-
-
Remove the nine black 5mm Torx-5 screws.
-
Remove the seven silver 5mm Torx-5 screws.
-
-
-
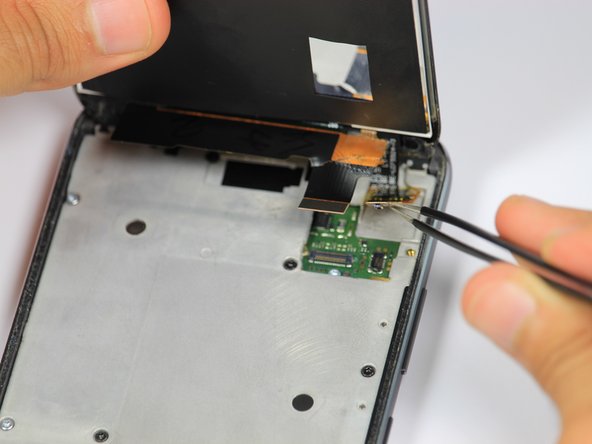
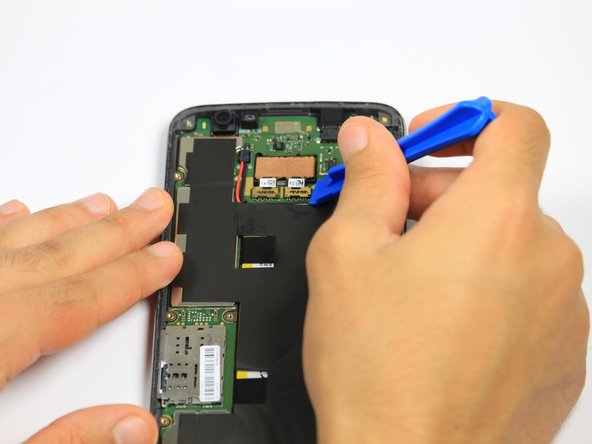
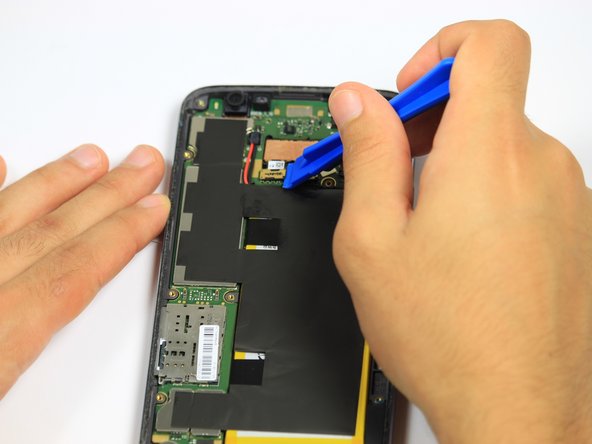
Disengage the two cable connectors by gently prying beneath the edge of the connector with the opening tool.
-


To reassemble your device, follow these instructions in reverse order.
To reassemble your device, follow these instructions in reverse order.

Equipo

Cal Poly, Team S4-G5, White Fall 2018 Miembro de Cal Poly, Team S4-G5, White Fall 2018
CPSU-WHITE-F18S4G5
4 Miembros
5 Guías creadas