Saltar al contenido principal

Esta versión puede contener ediciones incorrectas. Cambiar a la última instantánea verificada.

Qué necesitas

  1. Este paso está sin traducir. Ayuda a traducirlo

    : paso 1, imagen 1 de 3 : paso 1, imagen 2 de 3 : paso 1, imagen 3 de 3
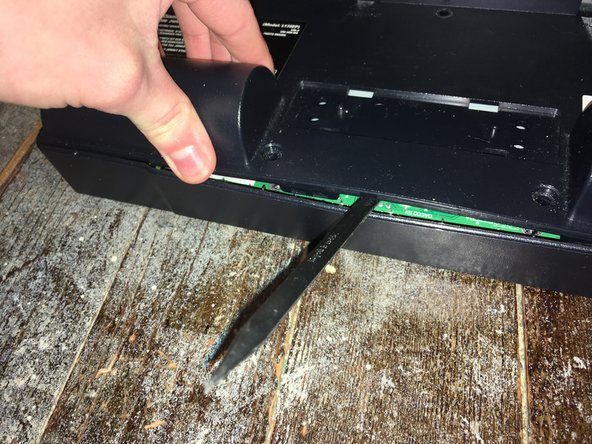
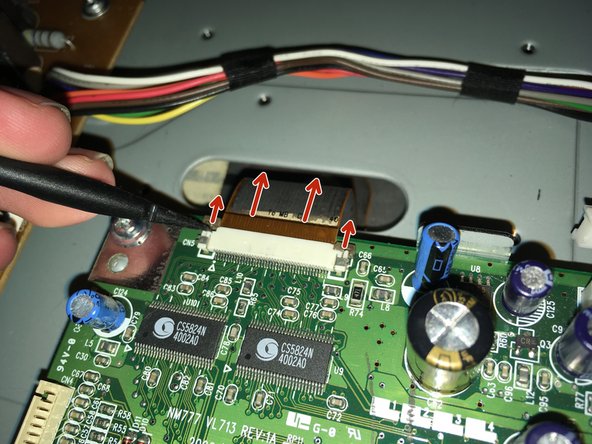
    • Lift the black cover off.

    • Remove all 4 Phillips #2 screws.

  2. Este paso está sin traducir. Ayuda a traducirlo

    : paso 2, imagen 1 de 1
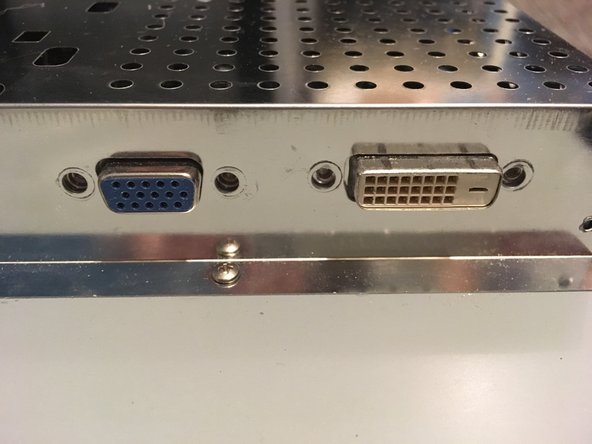
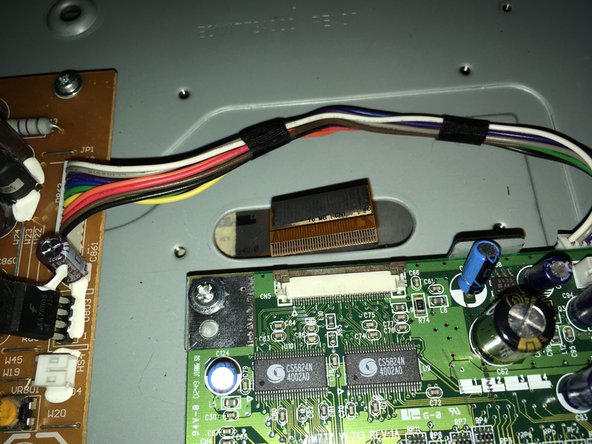
    • Remove the two 24mm Phillips #2 screws.

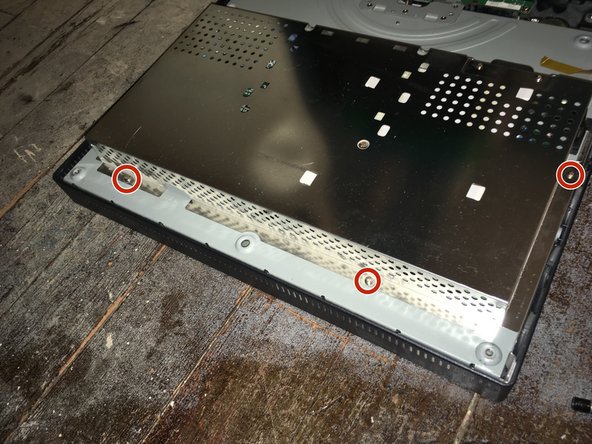
    • Remove the three 8mm Phillips #2 screws.

  3. Este paso está sin traducir. Ayuda a traducirlo

    : paso 3, imagen 1 de 3 : paso 3, imagen 2 de 3 : paso 3, imagen 3 de 3
    • Lift the back and pry the back off.

    • The panel is held in with clips on the side. It needs a lot of force the take it off.

  4. Este paso está sin traducir. Ayuda a traducirlo

    : paso 4, imagen 1 de 2 : paso 4, imagen 2 de 2
    • Remove the four 5mm nut screws.

  5. Este paso está sin traducir. Ayuda a traducirlo

    : paso 5, imagen 1 de 2 : paso 5, imagen 2 de 2
    • Remove the seven Phillips #1 screws.

  6. Este paso está sin traducir. Ayuda a traducirlo

    : paso 6, imagen 1 de 3 : paso 6, imagen 2 de 3 : paso 6, imagen 3 de 3
    • Remove all the cables.

  7. Este paso está sin traducir. Ayuda a traducirlo

    : paso 7, imagen 1 de 3 : paso 7, imagen 2 de 3 : paso 7, imagen 3 de 3
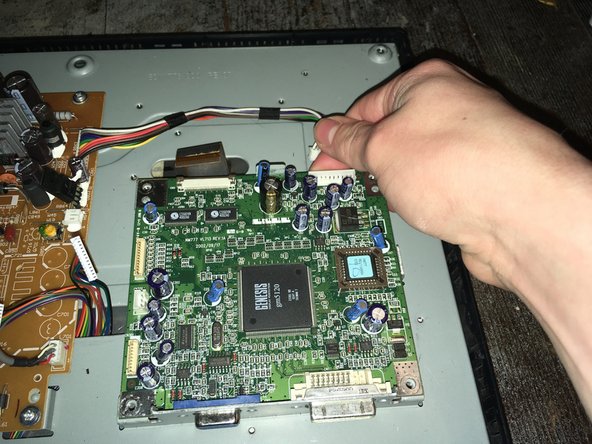
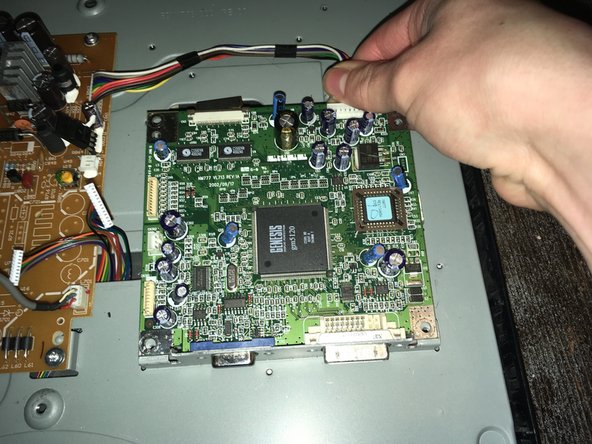
    • Remove the four screws.

    • Pull the motherboard up and off.

  8. Este paso está sin traducir. Ayuda a traducirlo

    : paso 8, imagen 1 de 1
    • Now you can replace it with a new one.

Linea de Meta

Una persona más ha completado esta guía.

Padraic Hoselton

Miembro Desde 08/22/17

4,180 Reputación

12 Guías creadas

Equipo

Master Techs Miembro de Master Techs

Community

322 Miembros

2,536 Guías creadas

0 comentarios

Agregar Comentario

Ver Estadísticas:

Ultimas 24 horas: 1

Ultimos 7 días: 4

Ultimos 30 días: 5

Todo El Tiempo: 134