Esta versión puede contener ediciones incorrectas. Cambie a la última instantánea verificada.
Qué necesitas
-
-
Utiliza los dedos para empujar las dos lengüetas de liberación de la batería y sácala del ordenador.
-
-
-
Retira los cuatro tornillos Phillips idénticos de 3,4 mm de la puerta de la memoria. Estos tornillos tienen cabezas de 4 mm de diámetro en lugar de las cabezas de 3 mm de los tornillos del cuerpo.
-
-
-
Retira los tres tornillos Phillips del compartimento de la batería, cerca del pestillo. Apple tuvo la amabilidad de inclinar estos tornillos en un ligero ángulo para facilitar su extracción. En el A1261 estos tornillos tienen cabezas de 4 mm de diámetro en lugar de las cabezas de 3 mm en los tornillos del cuerpo.
-
-
-
Este paso está sin traducir. Ayuda a traducirlo
-
Disconnect the two antenna cables attached to the AirPort Extreme card.
-
-
Este paso está sin traducir. Ayuda a traducirlo
-
Remove the single black 4.3 mm T6 Torx screw from the top right corner of the AirPort Extreme card.
-
-
Este paso está sin traducir. Ayuda a traducirlo
-
Lift the AirPort Extreme card up and slide it out of its connector.
-
-
Este paso está sin traducir. Ayuda a traducirlo
-
Remove the two silver T6 Torx screws from the top left 8 mm and bottom right 10 mm corners of the left speaker assembly.
-
-
Este paso está sin traducir. Ayuda a traducirlo
-
Lift up on the left speaker assembly and rotate it slightly. It is not possible to entirely remove the speaker yet, as it is still connected to the left I/O board beneath.
-
-
Este paso está sin traducir. Ayuda a traducirlo
-
Disconnect the two cables securing the left speaker to the I/O board.
-
Lift the left speaker out of the upper case.
-
-
Este paso está sin traducir. Ayuda a traducirlo
-
Disconnect the hard drive ribbon cable and the left I/O board ribbon cable from the logic board.
-
Disconnect the right speaker connector from the left I/O board.
-
-
Este paso está sin traducir. Ayuda a traducirlo
-
Remove the two silver T6 Torx screws securing the gray metal retaining bracket to the right side of the hard drive. 8 mm upper and 10 mm lower.
-
Lift the gray metal retaining bracket out of the computer.
-
-
Este paso está sin traducir. Ayuda a traducirlo
-
Remove the four 4.2 mm black or silver T6 Torx screws securing the left I/O board to the lower case.
-
Disconnect the large power connector from the left I/O board.
-
-
Este paso está sin traducir. Ayuda a traducirlo
-
Move the orange hard drive ribbon out of the way with one hand. Use your other hand to lift up the right side of the left I/O board and slide it out of the computer.
-
-
Este paso está sin traducir. Ayuda a traducirlo
-
Turn the left I/O board over.
-
Use a spudger to disconnect the short orange cable from the left I/O board.
-
-
Este paso está sin traducir. Ayuda a traducirlo
-
Peel up the L-shaped piece of black tape on the I/O board to reveal the two silver Phillips screws beneath.
-
-
Este paso está sin traducir. Ayuda a traducirlo
-
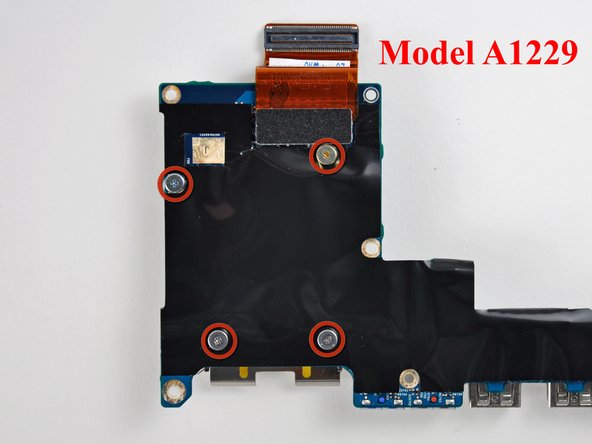
Remove the following four screws:
-
One 3.2 mm black Phillips screw with a small head.
-
Three 1.3 mm silver Phillips screws with large heads.
-
The I/O board is now free from the ExpressCard cage.
-


Cancelar: No complete esta guía.
26 personas más completaron esta guía.

2 comentarios
Are the A1229 Macbook I O Board Magsafe interchangeable with A1151 Macbook 17" ? Thanks