Esta versión puede contener ediciones incorrectas. Cambie a la última instantánea verificada.
Qué necesitas
-
-
Quitar los siguientes tornillos pentalobe que sujetan la tapas inferior del MacBook Pro:
-
Ocho 3.0 mm
-
Dos 2.3 mm
-
-
-
Retira la etiqueta de advertencia que cubre el conector de la batería
-
-
-
-
Usando el extremo plano de un spudger, levanta suavemente el conector de la batería directamente fuera de su zócalo en la placa lógica.
-
Dobla los cables de la batería hacia afuera y fuera del camino, asegurándose de que el conector de la batería no entre en contacto accidentalmente con la placa lógica.
-
-
Este paso está sin traducir. Ayuda a traducirlo
-
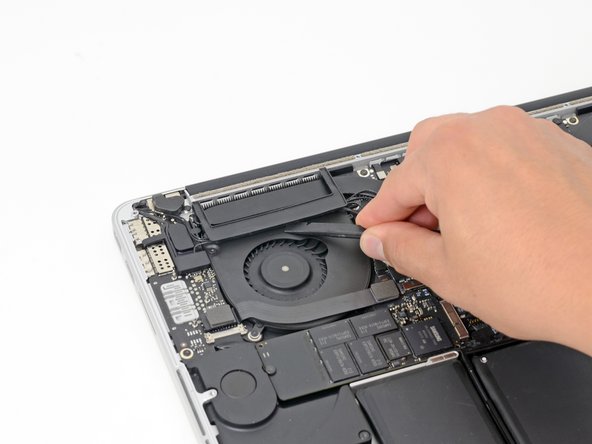
Insert the flat end of a spudger underneath the rubber heat sink cover on the right fan.
-
Slide the spudger underneath the length of the cover, releasing the adhesive.
-
Lift the cover and rotate it off of the heat sink.
-
-
Este paso está sin traducir. Ayuda a traducirlo
-
In the same manner described above, release the adhesive and flip back the heat sink cover on the left fan.
-
-
Este paso está sin traducir. Ayuda a traducirlo
-
Remove the following ten screws securing the heat sink to the logic board:
-
Two 2.4 mm T5 Torx screws
-
Six 3.4 mm T5 Torx screws
-
One 5.2 mm Raised Head T5 Torx screw
-
One 3.5 mm T5 Torx screw
-
-
Este paso está sin traducir. Ayuda a traducirlo
-
Grasping the heat sink from one side, lift the heat sink off of the MacBook Pro, pulling it free from the computer.
-


Cancelar: No complete esta guía.
40 personas más completaron esta guía.


7 comentarios
Hello everybody!!! I tried to follow this guide... I removed the bottom case, no problem... but when it was the time to remove the upper 2.4mm T5 torn screw... it stripped and now i cannot remove it! How can i remove that screw?
And if this is not enough one of the 3mm pentalobe screw of the bottom stripped too! so what can i do?!? please help me!
Sorry for my bad english
I'm sorry to hear that! Try checking out this stripped screw guide and reading through this Answers post. Hope this helps with your repair!
I won't call this moderate but rather easy instead, seems like ifixit expect that easy is something you just unplug without even open the computer