Introducción
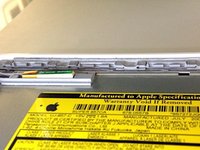
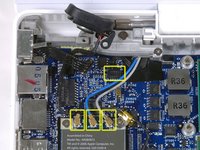
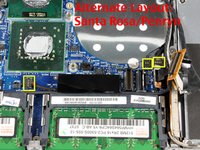
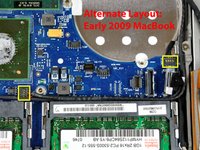
This motherboard includes all ports on the left side.
Qué necesitas
-
-
Use a coin or spudger to rotate the battery-locking screw 90 degrees clockwise.
-
-
-
Unscrew the three evenly-spaced Phillips screws from along the rear wall of the battery compartment.
-
-
-
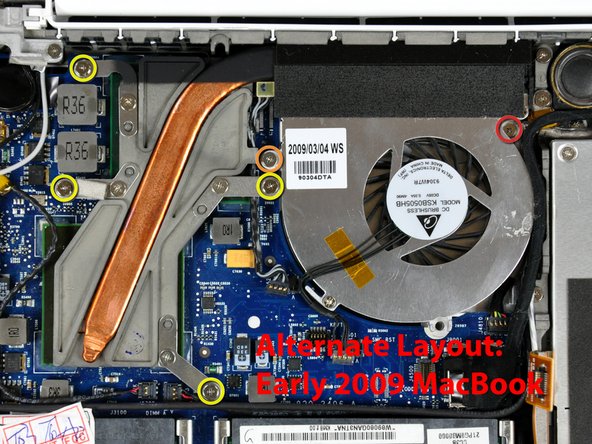
Remove the following 3 screws:
-
One 11 mm Phillips#00 in the middle of the lower case. (Head: 5mm dia. x .75mm thick)
-
Two 14.5 mm Phillips #00 (Head: 5mm dia. x .75mm thick)
-
-
-
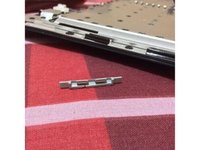
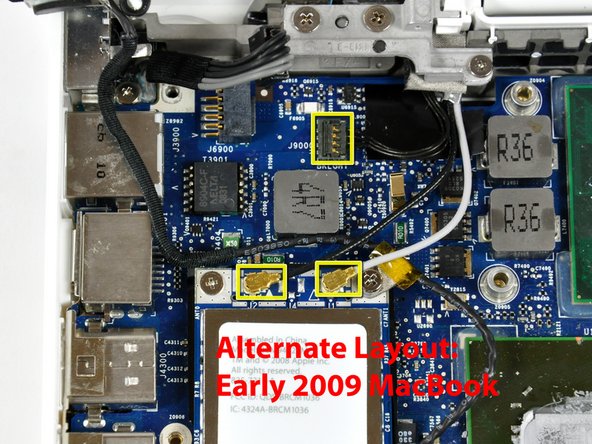
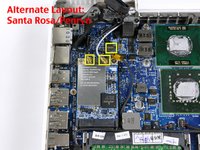
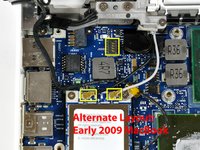
Disconnect the MagSafe board cable from the logic board by pulling the snap-in connector out (to the right).
-
-
-
-
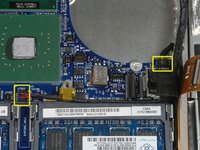
Turn the logic board over.
-
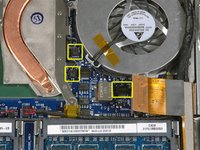
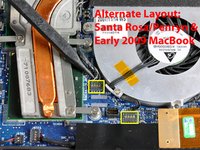
Peel the PRAM battery up from its location on the logic board, removing tape as necessary.
-


To reassemble your device, follow these instructions in reverse order.
To reassemble your device, follow these instructions in reverse order.
Cancelar: No complete esta guía.
174 personas más completaron esta guía.

12 comentarios
Thanks so much for this guide! My mac wouldn't turn on after spilling some wine on it a few days before. After I followed these steps and let the parts lay out to dry overnight (after cleaning everything with rubbing alcohol), I put it back together and it turned on!! Thank you a million times!
The shop wanted over $700 ($600 for parts, $90+ for labor) to fix it, which I definitely wasn't going to pay, so I decided to fix it myself. I spent right at $150 for a new logic board, magsafe board, and RAM upgrades and delved into the depths of the Macbook. I followed every step of the guide closely and she started right up after reassembly. Great guide, thanks!
Great Guide - i used zip-lock bags for screws and wrote the step numbers on each.
I've managed to replace a macbook 1,1 logic board with a macbook 2,1 (2GHz) one, and replaced a 4,1 on another machine (which looks interchangeable with older ones)
It is NOT possible to replace these older boards with a newer macbook 5.2 board because ALL the connectors are different, and the screw-holes are in different places.
Managed to revive my years old dead Macbook! Glad I found this guide and helped me diagnose and fix the problem. (Only wish I would have found this BEFORE I started disassembling my Macbook. Half the beginning screws don't have a home now. Whoops) Overall great guide. The alternate pictures were great since they were more in-line with mine. Easy to follow, and everything turned out great. Thanks!