Esta versión puede contener ediciones incorrectas. Cambie a la última instantánea verificada.
Qué necesitas
-
Este paso está sin traducir. Ayuda a traducirlo
-
Slide the lock to the right until you can hear a "click". Once you hear this click, you should be able to see the color red.
-
-
Este paso está sin traducir. Ayuda a traducirlo
-
Slide the second (left) lock to the left and hold it there.
-
-
Este paso está sin traducir. Ayuda a traducirlo
-
Remove the eight 9mm screws with a Phillips #0 screwdriver.
-
-
-
Este paso está sin traducir. Ayuda a traducirlo
-
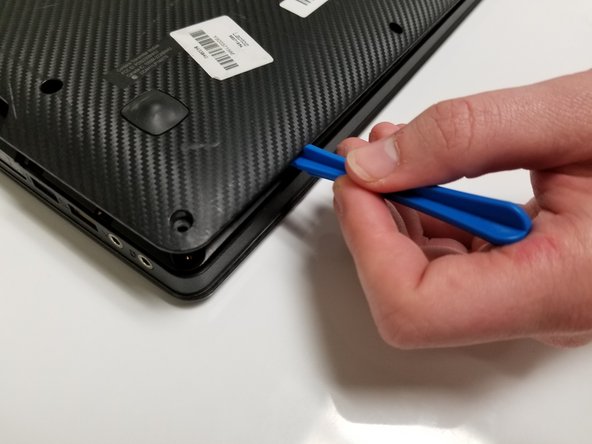
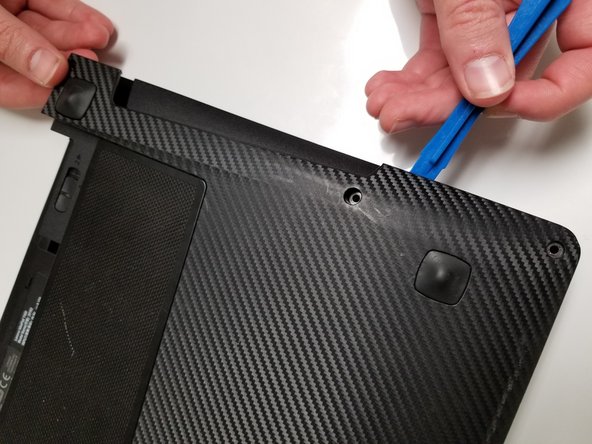
Use the plastic opening tool to remove the back panel from the device.
-
-
Este paso está sin traducir. Ayuda a traducirlo
-
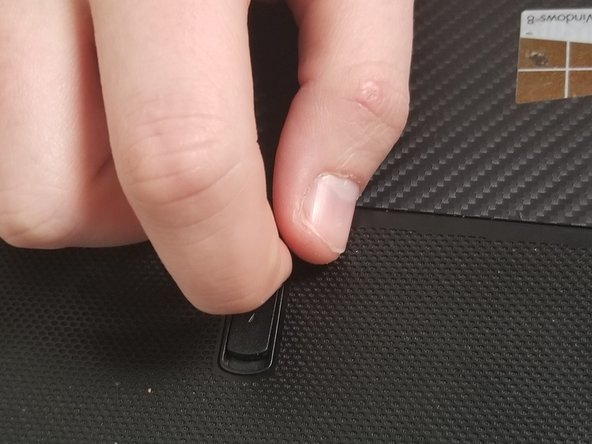
Move the lock down until you see red and hear a slight click.
-
-
Este paso está sin traducir. Ayuda a traducirlo
-
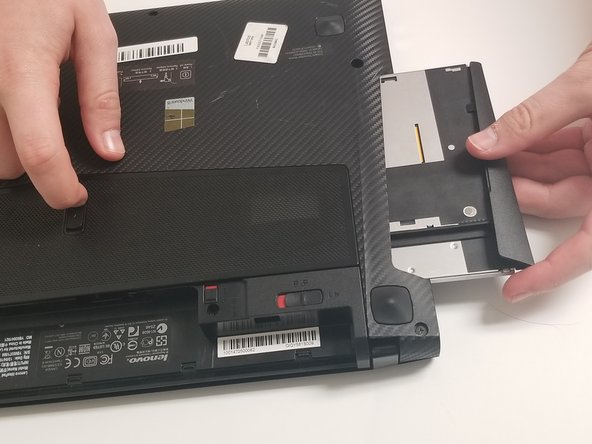
Hold this lock down while removing the optical drive.
-
-
Este paso está sin traducir. Ayuda a traducirlo
-
Unscrew the screws using a Phillips #0 screwdriver.
-
Unplug the wireless adapter to fully remove the motherboard.
-
-
Este paso está sin traducir. Ayuda a traducirlo
-
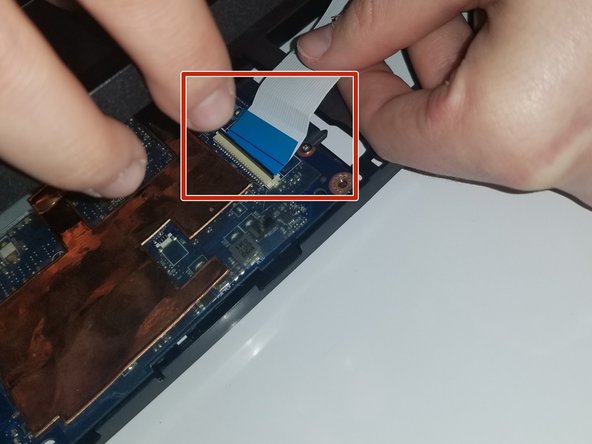
Use the plastic opening tool to take off the front panel.
-
Unplug the blue wire to remove the front panel.
-
-
Este paso está sin traducir. Ayuda a traducirlo
-
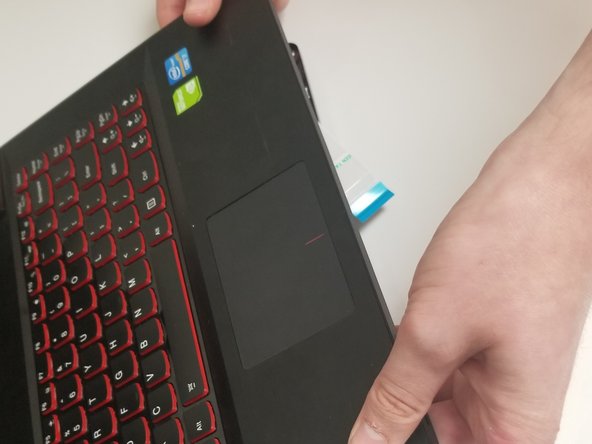
Fully remove the front panel.
-
Unscrew the 9mm and 4mm screws (there is one of each screw).
-
-
Este paso está sin traducir. Ayuda a traducirlo
-
After unscrewing the screws, remove the motherboard.
-


Cancelar: No complete esta guía.
Una persona más ha completado esta guía.
Equipo

University of North Texas, Team S7-G5, Thompson Fall 2018 Miembro de University of North Texas, Team S7-G5, Thompson Fall 2018
UNT-THOMPSON-F18S7G5
2 Miembros
6 Guías creadas