Saltar al contenido principal

Lenovo 100s Chromebook-11IBY Battery Replacement

Qué necesitas

  1. Lenovo 100s Chromebook-11IBY Battery Replacement, Battery: paso 1, imagen 1 de 1
    • Ensure your device is turned off and unplugged.

  2. Lenovo 100s Chromebook-11IBY Battery Replacement: paso 2, imagen 1 de 1
    • Use a Phillips #0 screwdriver to remove the nine 6mm screws from the larger back plate.

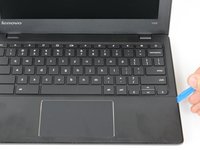
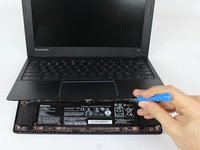
  3. Lenovo 100s Chromebook-11IBY Battery Replacement: paso 3, imagen 1 de 2 Lenovo 100s Chromebook-11IBY Battery Replacement: paso 3, imagen 2 de 2
    • Turn your laptop back over, open it, and use the plastic opening tool on the recessed notch to gently pry each side and lift the keyboard plate up.

    • Be careful not to pull keyboard plate out immediately because cables are attached.

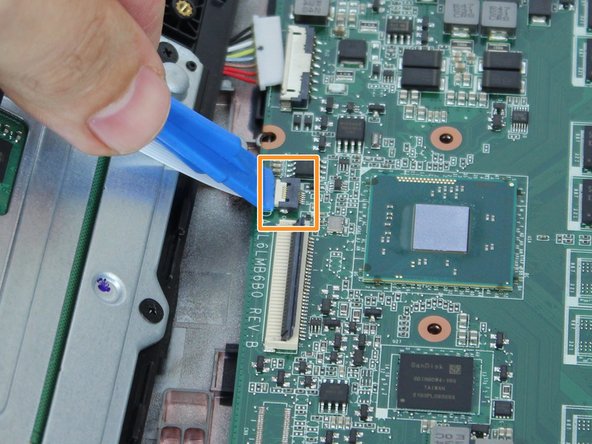
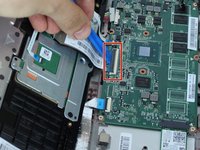
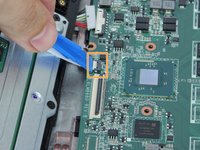
  4. Lenovo 100s Chromebook-11IBY Battery Replacement: paso 4, imagen 1 de 2 Lenovo 100s Chromebook-11IBY Battery Replacement: paso 4, imagen 2 de 2
    • Unlock the keyboard ZIF connector to release the keyboard flex cable.

    • To unlock a ZIF connector, use an opening tool or your fingernail to flip up the small, hinged locking flap.

    • Unlock the touchpad ZIF connector to release the touchpad flex cable.

    • Carefully pull both flex cables out of the ZIF connectors.

    • Remove the keyboard plate up and place it to the side.

  5. Lenovo 100s Chromebook-11IBY Battery Replacement: paso 5, imagen 1 de 1
    • Unplug the battery cable by pulling it towards the battery.

    • Pull parallel to the battery, not straight up.

  6. Lenovo 100s Chromebook-11IBY Battery Replacement: paso 6, imagen 1 de 1
    • Use the Phillips #0 screwdriver to remove the three 6mm screws from the battery.

  7. Lenovo 100s Chromebook-11IBY Battery Replacement: paso 7, imagen 1 de 1
    • Remove the battery.

Conclusión

To reassemble your device, follow these instructions in reverse order.

For optimal performance, after completing this guide, calibrate your newly installed battery.

Take your e-waste to an R2 or e-Stewards certified recycler.

Repair didn’t go as planned? Try some basic troubleshooting, or ask our Answers community for help.

2 personas más completaron esta guía.

Milton Perez

Miembro Desde 03/09/17

630 Reputación

5 Guías creadas

Equipo

USF Tampa, Team S7-G2, Cagle Spring 2017 Miembro de USF Tampa, Team S7-G2, Cagle Spring 2017

USFT-CAGLE-S17S7G2

1 Miembro

10 Guías creadas

0 comentarios

Agregar Comentario

Ver Estadísticas:

Ultimas 24 horas: 2

Ultimos 7 días: 9

Ultimos 30 días: 12

Todo El Tiempo: 2,346