Esta versión puede contener ediciones incorrectas. Cambie a la última instantánea verificada.
Qué necesitas
-
Este paso está sin traducir. Ayuda a traducirlo
-
Unscrew the four 3.5mm side screws with a Phillips #1 screwdriver.
-
-
Este paso está sin traducir. Ayuda a traducirlo
-
Use a spudger to unhook the plastic clips on the sides and top of the front panel. There are two clips on each side and one clip on the top.
-
-
Este paso está sin traducir. Ayuda a traducirlo
-
Pull the top of the front panel out and down to remove front panel.
-
-
Este paso está sin traducir. Ayuda a traducirlo
-
Unscrew the three 5mm screws from the top of the device using a Phillips #1 screwdriver.
-
Lift up to remove the top casing.
-
-
-
Este paso está sin traducir. Ayuda a traducirlo
-
Flip up the black clasp with a spudger to disconnect the large white ribbon cable connecting the CD drive to the board underneath.
-
-
Este paso está sin traducir. Ayuda a traducirlo
-
Carefully unplug the fan power cord with the tweezers.
-
-
Este paso está sin traducir. Ayuda a traducirlo
-
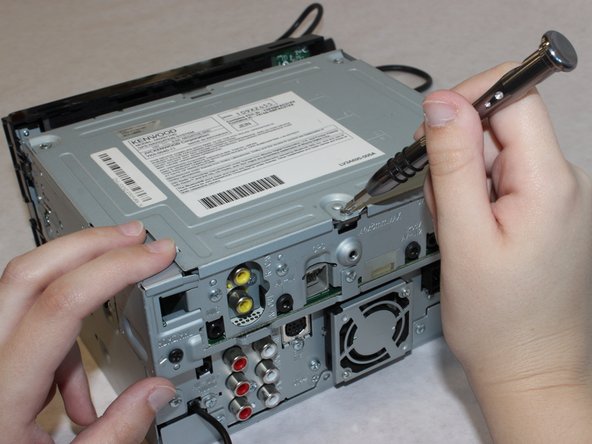
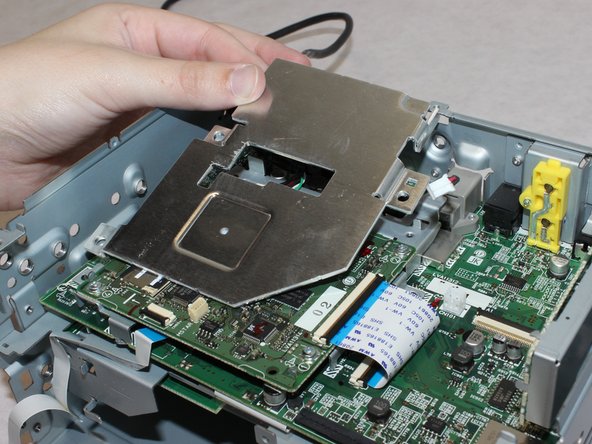
Unscrew the three 5mm length screws with the Phillips #1 screwdriver.
-
Remove the metal plate
-
-
Este paso está sin traducir. Ayuda a traducirlo
-
Unscrew the three 5.5mm long screws with a Phillips #1 screwdriver.
-
-
Este paso está sin traducir. Ayuda a traducirlo
-
Remove the four 5.5mm screws with the Phillips #1 screwdriver.
-
-
Este paso está sin traducir. Ayuda a traducirlo
-
Lift the top part of the unit up from the lower chassis.
-
-
Este paso está sin traducir. Ayuda a traducirlo
-
Remove the two 13mm long screws with a Phillips #1 screwdriver.
-


Equipo

Washington State, Team S1-G1, Hope Fall 2018 Miembro de Washington State, Team S1-G1, Hope Fall 2018
WSU-HOPE-F18S1G1
4 Miembros
6 Guías creadas