Esta versión puede contener ediciones incorrectas. Cambie a la última instantánea verificada.
Qué necesitas
-
Este paso está sin traducir. Ayuda a traducirlo
-
Press your thumbnail into the slot between the rear panel and the front casing located on the bottom of the phone. Use a penny or dime if you have trouble using your thumbnail.
-
With a moderate amount of force, pry the rear panel up and away from the phone. You may need to slide your thumbnail up the crack to separate the rear panel from the front casing.
-
-
-
Este paso está sin traducir. Ayuda a traducirlo
-
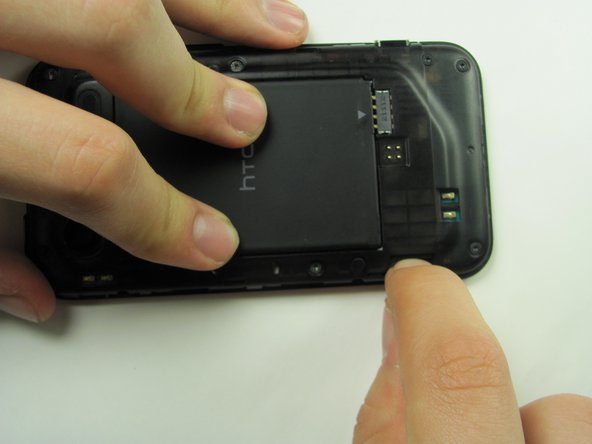
Use your fingertip to push inward on the SD card until you hear a click.
-
-
Este paso está sin traducir. Ayuda a traducirlo
-
Remove your finger. The SD card is no longer being held in place.
-
Grasp it with two fingers and pull it towards you to remove it.
-


Equipo

Cal Poly, Team 11-53, Amido Spring 2014 Miembro de Cal Poly, Team 11-53, Amido Spring 2014
CPSU-AMIDO-S14S11G53
5 Miembros
14 Guías creadas