Introducción
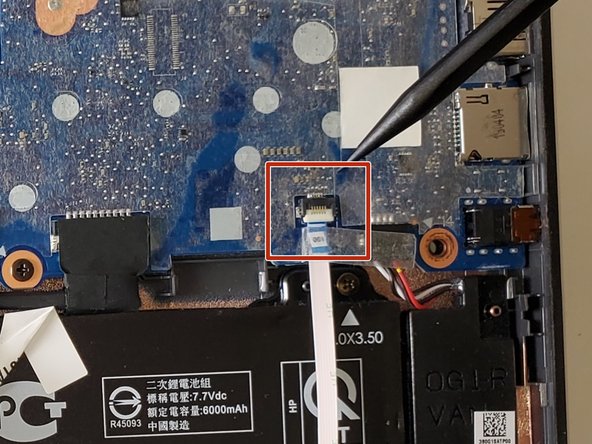
The keyboard is used to interact with your Chromebook, so if you find yourself unable to use one or more keys it could become very frustrating. Start with our troubleshooting page to see if you can resolve the issue without replacing any parts. If it's determined that the cause is a mechanical fault, you can follow this guide for steps to replace your keyboard assembly.
1. Before you start, turn off the computer. If you are unsure whether the computer is off or in hibernation, turn the computer on, and then shut it down through the operating system.
2. Disconnect the power from the computer by unplugging the power cord from the computer.
3. Disconnect all external devices from the computer.
NOTE:
If you're replacing the keyboard but need to keep your existing touchpad, check out the touchpad replacement guide for details on separating the touchpad from the keyboard.
Qué necesitas
-
-
Remove six 6.6 mm screws from the back case using a Phillips #1 screwdriver.
-
Remove two 8.7 mm screws from the back case using a Phillips #1 screwdriver.
-
Turn the computer over and open it as if you are going to use it.
-
-
To reassemble your device, follow these instructions in reverse order.
To reassemble your device, follow these instructions in reverse order.


