Esta versión puede contener ediciones incorrectas. Cambie a la última instantánea verificada.
Qué necesitas
-
Este paso está sin traducir. Ayuda a traducirlo
-
Remove (2) screws (14 mm) with a PH1 screwdriver on the device.
-
There is one screw on the back left, and another just below it on the bottom of the device.
-
-
Este paso está sin traducir. Ayuda a traducirlo
-
Use a plastic spudger to remove the front preset selection buttons.
-
Gently reach underneath and pull off the mesh speaker cover. It only clips in so don't worry about breaking anything.
-
-
Este paso está sin traducir. Ayuda a traducirlo
-
Remove (4) screws (14 mm) with a PH1 screwdriver on the front panel by the speaker.
-
-
-
Este paso está sin traducir. Ayuda a traducirlo
-
Move the metal spudger around the front panel to remove any adhesive attaching the front panel to the device.
-
Pull apart the front panel from the device with help from the metal spudger.
-
-
Este paso está sin traducir. Ayuda a traducirlo
-
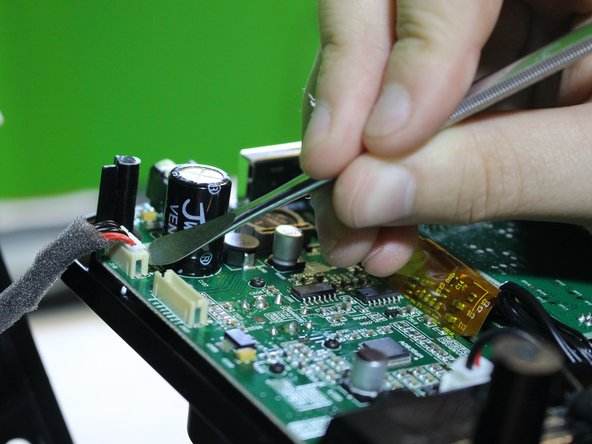
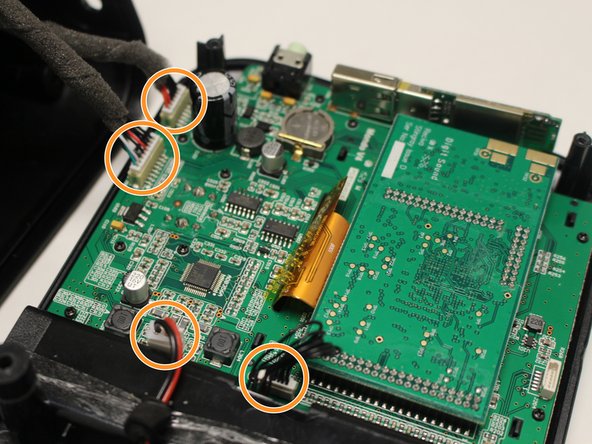
Detach a pin connector at the top of the device using a metal spudger to open up the inner components.
-
Detach (4) pin connectors inside using a metal spudger to separate the front panel from the rest of the device.
-
-
Este paso está sin traducir. Ayuda a traducirlo
-
Remove (10) screws (10 mm) with a PH1 screwdriver on the display board.
-


Cancelar: No complete esta guía.
2 personas más completaron esta guía.

Equipo

USF Tampa, Team 6-3, Eyestone Spring 2016 Miembro de USF Tampa, Team 6-3, Eyestone Spring 2016
USFT-EYESTONE-S16S6G3
4 Miembros
8 Guías creadas
Un comentario
Nice guide. My Mondo Wi-Fi went flaky (read “died”) so I disassembled using this guide to check out the wi-fi adapter plugged into the internal USB port. Turned out the little adhesive they apply to keep the adapter in the USB port sort of flowed over the adapter. Cleaned the adapter and plugged into the USB port on the rear of the radio and I’m back with a working Mondo. Glad iFixit does more than just computers and phones and pads (though it seems the Mondo is really a little Linux box).