Saltar al contenido principal

General Wire Drain Cleaner RSVD 2014 Front Assembly Replacement

Qué necesitas

  1. General Wire Drain Cleaner RSVD 2014 Front Assembly Replacement, Remove the cable end cover: paso 1, imagen 1 de 2 General Wire Drain Cleaner RSVD 2014 Front Assembly Replacement, Remove the cable end cover: paso 1, imagen 2 de 2
    • Turn off the drain cleaner and disconnect it from power before beginning any maintenance.

    • Slide the rubber cable cover off of the end of the cable.

  2. General Wire Drain Cleaner RSVD 2014 Front Assembly Replacement, Loosen the front assembly screws: paso 2, imagen 1 de 1
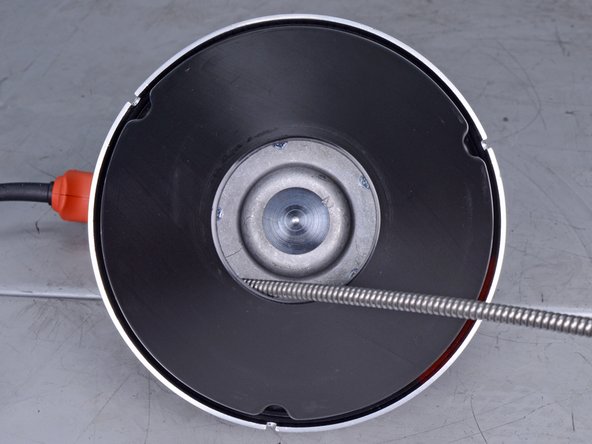
    • Use a flathead screwdriver to loosen the three screws around the edge of the front assembly.

  3. General Wire Drain Cleaner RSVD 2014 Front Assembly Replacement, Remove the front assembly: paso 3, imagen 1 de 3 General Wire Drain Cleaner RSVD 2014 Front Assembly Replacement, Remove the front assembly: paso 3, imagen 2 de 3 General Wire Drain Cleaner RSVD 2014 Front Assembly Replacement, Remove the front assembly: paso 3, imagen 3 de 3
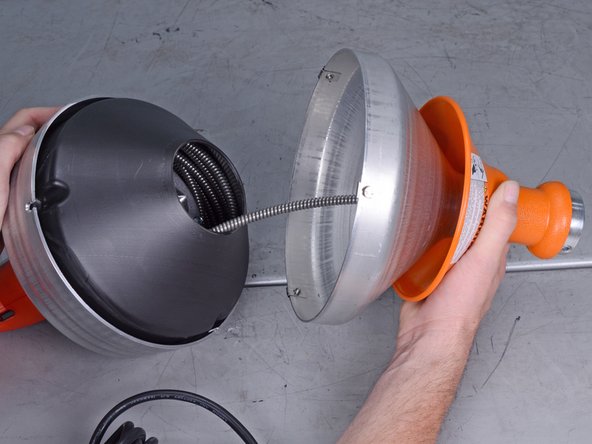
    • Pull the front assembly off of the drain cleaner and slide it over the cable to remove it.

    • During reassembly, make sure the three screws on the front assembly line up with the slots on both the metal cable container back and the plastic cable container.

Conclusión

To reassemble your device, follow these instructions in reverse order.

Una persona más ha completado esta guía.

Adam O'Camb

Miembro Desde 04/11/15

197,118 Reputación

416 Guías creadas

0 comentarios

Agregar Comentario

Ver Estadísticas:

Ultimas 24 horas: 1

Ultimos 7 días: 8

Ultimos 30 días: 23

Todo El Tiempo: 1,061