Introducción
Replacing the motherboard of the Garmin Vívoactive 4 (M/N: 03618) is quite a lengthy process, requiring multiple tools.
There are many reasons why you may want to replace your motherboard. For example, you may be having software issues or the watch may not be turning on at all (see Watch Won't Turn On in the Vívoactive 4 Troubleshooting Guide).
Please note:
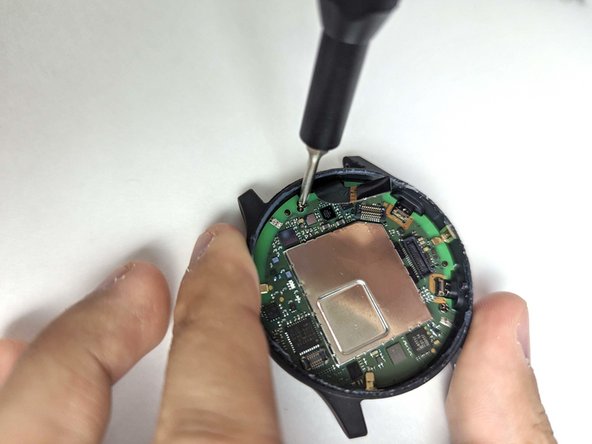
- Motherboard components are sensitive, so care is required.
- This repair requires using a heat gun or hair dryer to loosen the adhesive on the watch face. For information on using a heat gun, take a look at How to Use a Heat Gun to Soften Adhesive for instructions and safety information.
Qué necesitas
-
-
Wedge your fingernail or the tip of a spudger underneath the watch band's small metal pin.
-
Push on the pin to release the strap from it's hinge.
-
Pull the strap away from the watch to disconnect it.
-
-
-
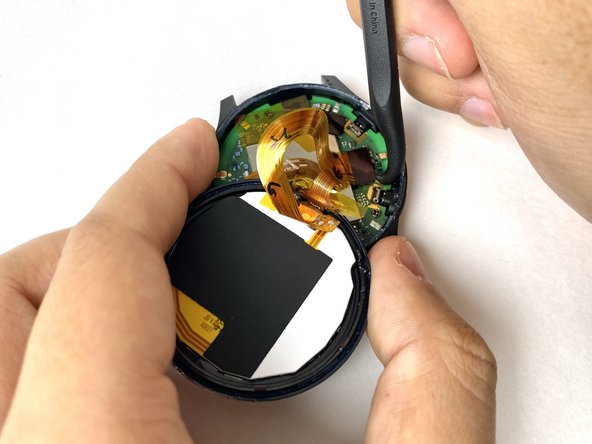
Use a heatgun to loosen the adhesive beneath the screen, it should take a 5-10 minutes for adhesive to loosen.
-
-


To reassemble your device, follow these instructions in reverse order.
To reassemble your device, follow these instructions in reverse order.
Cancelar: No complete esta guía.
Una persona más ha completado esta guía.

Equipo

UMass Dartmouth, Team 1-3, Petersen Fall 2023 Miembro de UMass Dartmouth, Team 1-3, Petersen Fall 2023
UMASSD-PETERSEN-F23S1G3
4 Miembros
6 Guías creadas