Esta versión puede contener ediciones incorrectas. Cambie a la última instantánea verificada.
Qué necesitas
-
Este paso está sin traducir. Ayuda a traducirlo
-
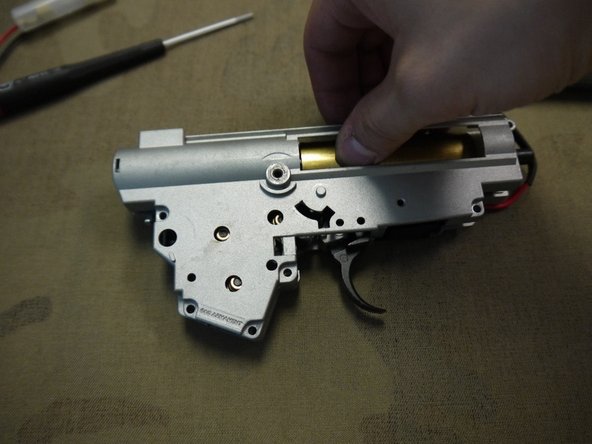
Reinstall the gears and trigger assembly, making sure that all of the shims are in their original position, and that the anti-reversal latch is seated properly with the spring in place.
-
-
Este paso está sin traducir. Ayuda a traducirlo
-
Slide the air nozzle over the cylinder head and attach the tappet plate to the air nozzle. Hook the tappet plate spring back onto the tappet plate and the post in the gearbox. Place the piston in the cylinder.
-
Press on the air nozzle to ensure that it slides freely and springs back into place.
-
Carefully place the piston spring and spring guide back in place. Ensure that the spring guide is locked into the slots in the gearbox, and that the piston is properly seated in the rails.
-
-
Este paso está sin traducir. Ayuda a traducirlo
-
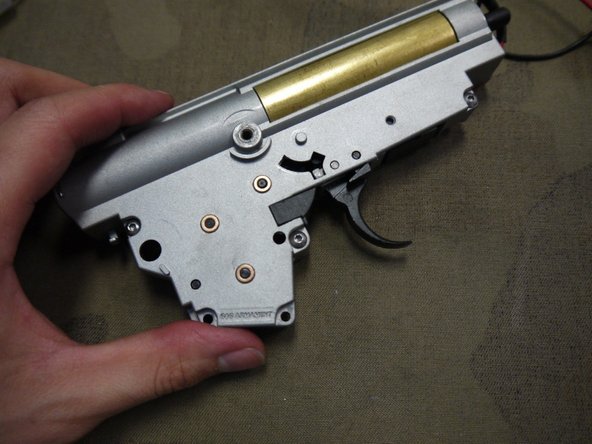
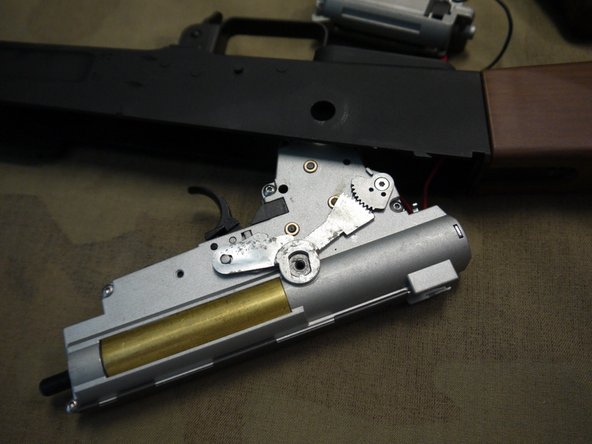
Carefully replace the right half of the gearbox while holding down the cylinder. Again, make sure that all of the shims are in their original position, and that the gears, anti-reversal latch, and trigger all line up with their respective holes in the gearbox as you close it.
-
After the gearbox is closed, inspect it to ensure that everything is properly seated and that there is no gap between the halves. Reinstall the screws and the black cap behind the trigger.
-
-
Este paso está sin traducir. Ayuda a traducirlo
-
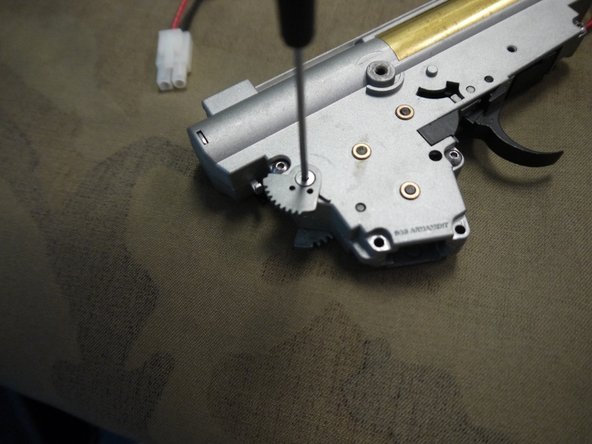
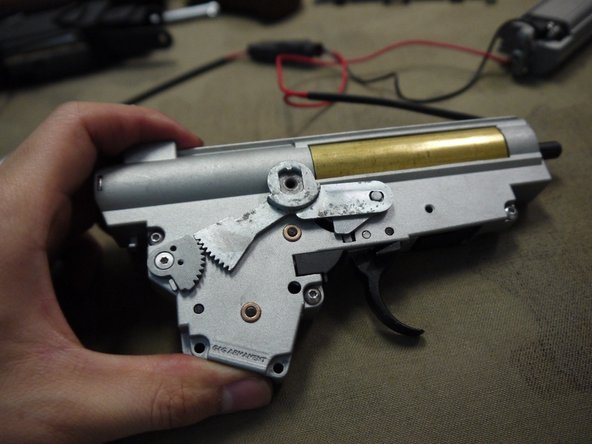
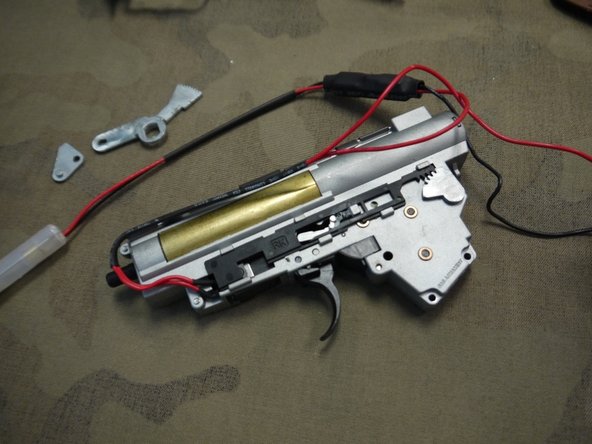
Reinstall the left side selector gear, being sure to align the teeth with the teeth on the black selector plate. Attach the right side gear to the shaft and replace the screw that holds it in place.
-
Place the right side selector plate back in place, aligning the teeth properly. Note that you will have to hold these parts in place while placing the gearbox back in the receiver.
-
-
Este paso está sin traducir. Ayuda a traducirlo
-
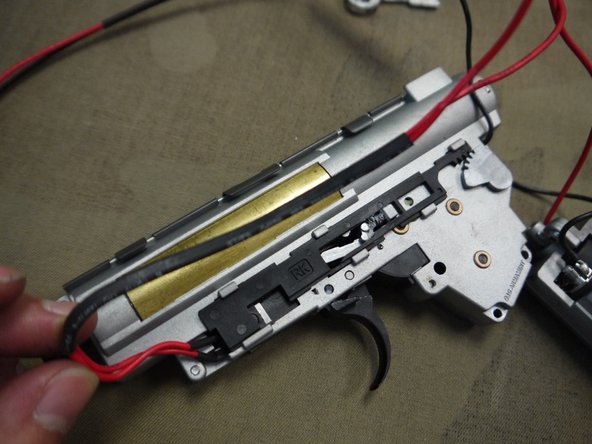
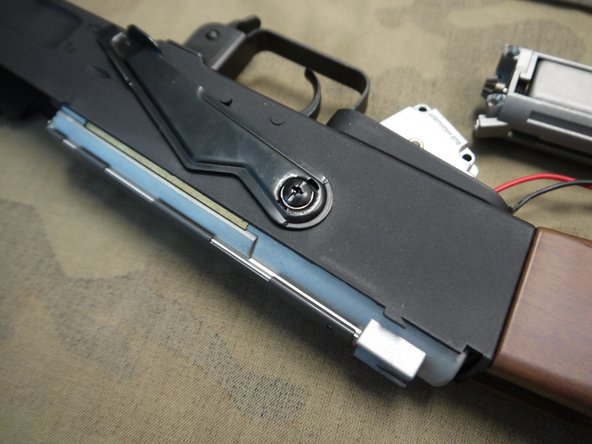
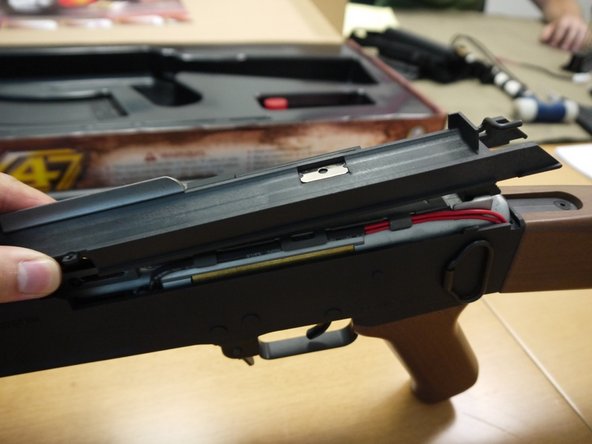
Slide the spring plate back along the top of the gearbox.
-
Push the wires under the tabs on the plate to hold them in place.
-
-
-
Este paso está sin traducir. Ayuda a traducirlo
-
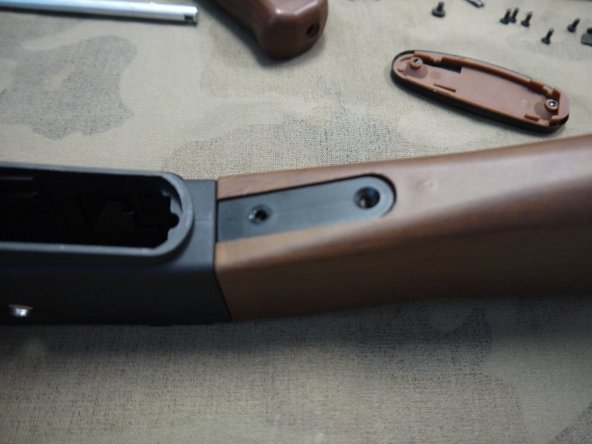
Slide the stock back on the receiver and reinstall the three screws that hold it in place.
-
-
Este paso está sin traducir. Ayuda a traducirlo
-
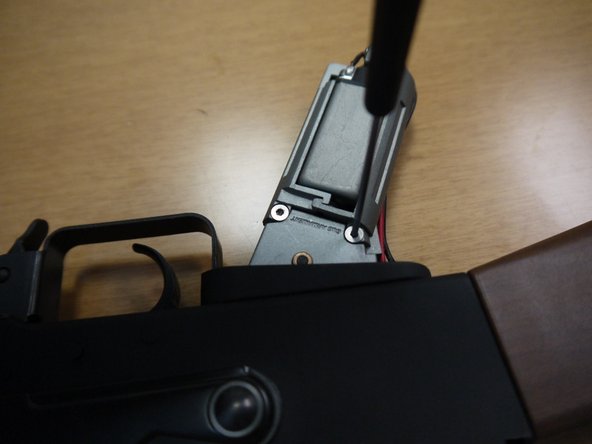
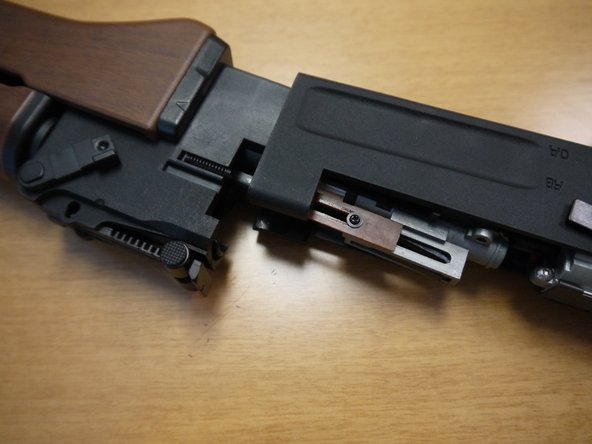
Slide the gearbox back into the receiver, starting with the rear wiring. After the wiring is in the stock, slide the motor cage through the grip opening.
-
Seat the gearbox in the receiver.
-
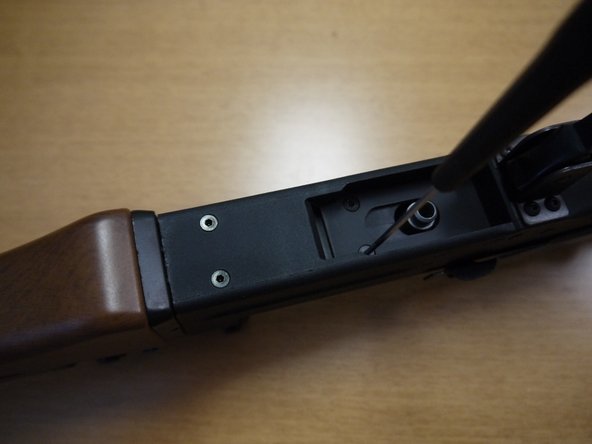
Reinstall the selector plate and gently tighten the screw.
-
-
Este paso está sin traducir. Ayuda a traducirlo
-
Snap the round cap for the selector lever back in place.
-
Attach the motor to the gearbox, and replace the two screws that hold it in place.
-
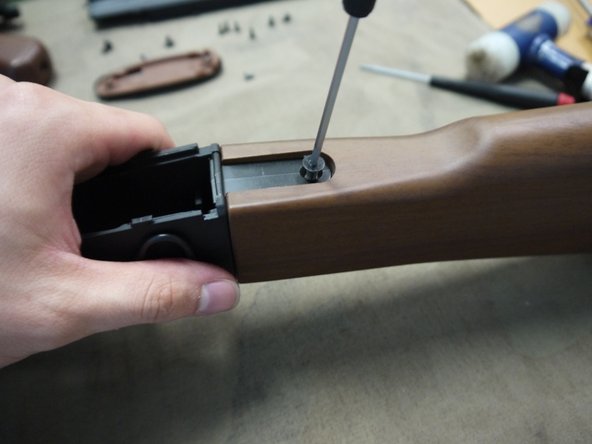
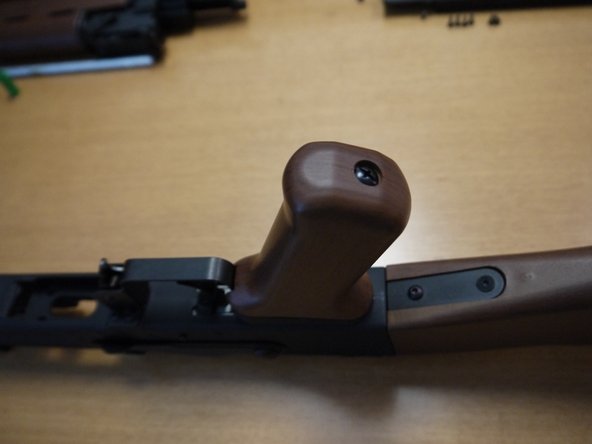
Slide the pistol grip over the motor cage, and reinstall the screw underneath that holds it in place.
-
-
Este paso está sin traducir. Ayuda a traducirlo
-
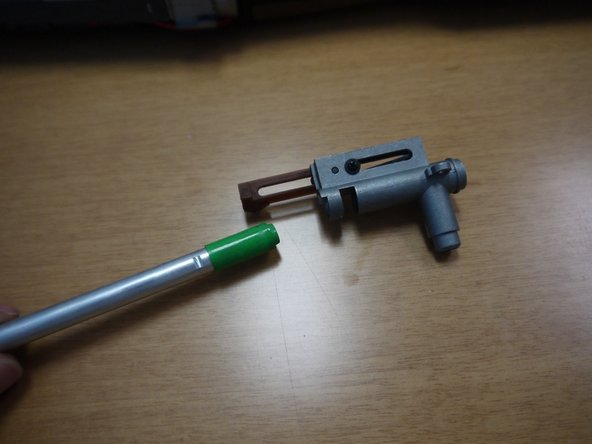
Slide the hop-up bucking on the inner barrel, aligning the thin protrusion in the bucking with the slot on the underside of the barrel.
-
Slide the inner barrel into the hop-up unit, and replace the plastic clip that holds the barrel in place, as well as the ring that slides onto the front of the hop-up unit.
-
-
Este paso está sin traducir. Ayuda a traducirlo
-
Slide the inner barrel into the outer barrel assembly. Also place the small spring back in the slot on the right side, under the rear sight.
-
Slide the entire assembly into the receiver, and reinstall the four screws that hold them together.
-
-
Este paso está sin traducir. Ayuda a traducirlo
-
Reinstall the two screws that hold the hop-up unit in place.
-
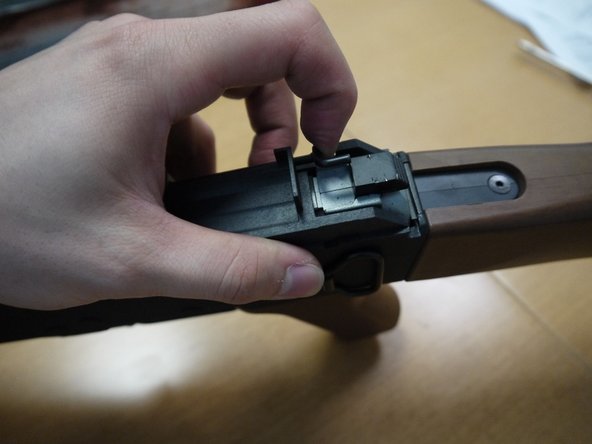
Reinstall the plastic receiver cover, making sure that the notches are lined up and that the metal rod is aligned with the small spring at the front of the receiver.
-
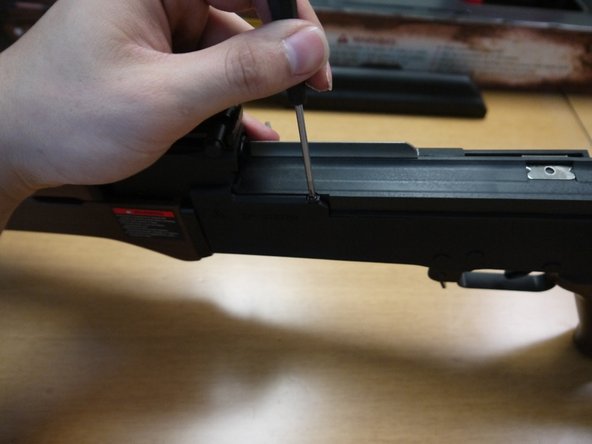
Reinstall the small screw that holds the cover in place.
-
-
Este paso está sin traducir. Ayuda a traducirlo
-
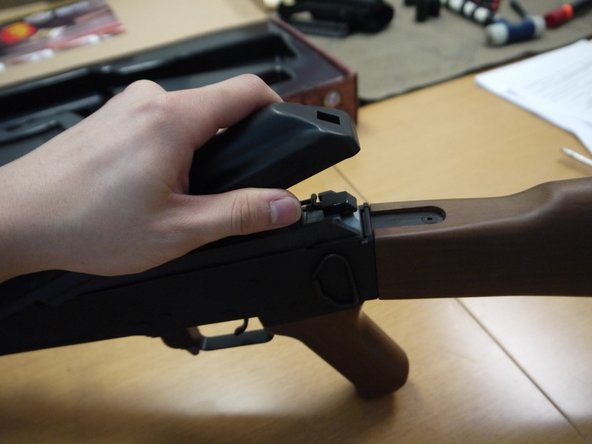
Slide the top cover retainer button into the groove in the gearbox.
-
Slip the metal rod into the retainer.
-
Reinstall the top cover.
-


Cancelar: No complete esta guía.
Una persona más ha completado esta guía.
