Introducción
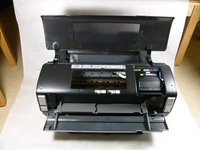
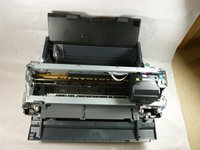
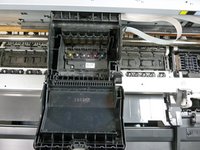
This guide shows how to replace the printhead of your Epson Stylus Photo 1400. Consistently poor print quality even after printing and replacing ink might be caused by a faulty printhead. This process requires the knowledge of how to use basic tools.
Qué necesitas
-
-
Turn off the printer.
-
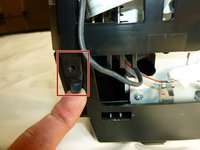
Disconnect all data connections coming into the printer such as USB, networkd cables, firewire, etc. as well as removing the power cord.
-
-
-
-
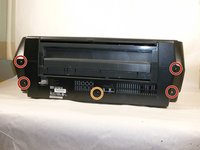
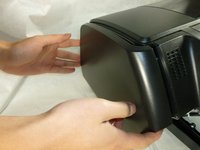
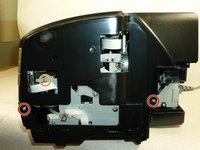
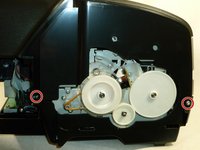
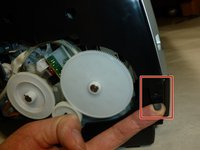
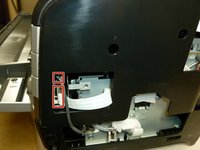
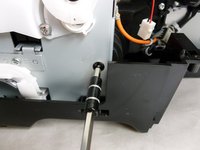
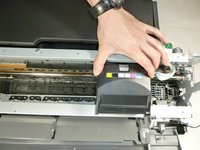
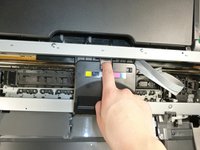
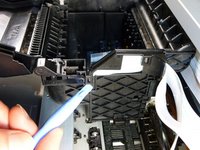
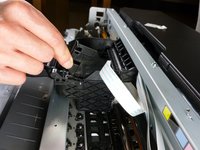
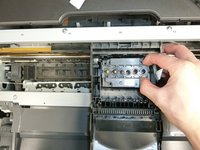
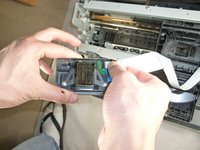
Insert a flathead screwdriver into the hole on the right side of the frame.
-
Turn the screwdriver counterclockwise until it stops.
-


To reassemble your device, follow these instructions in reverse order.
To reassemble your device, follow these instructions in reverse order.
Cancelar: No complete esta guía.
20 personas más completaron esta guía.
Equipo

Cal Poly, Team 17-11, Regan Fall 2011 Miembro de Cal Poly, Team 17-11, Regan Fall 2011
CPSU-REGAN-F11S17G11
4 Miembros
12 Guías creadas
16 comentarios
Dear Larry,
Thank you for your excellent, thorough guide.
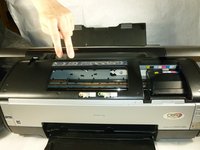
Since all I am replacing is the printhead, why do I need to remove the covers from the printer? In the later steps, you show clearly how to remove the printhead directly from the top front of the printer. Isn't that all I have to do to remove and replace the printhead?
After replacing the printhead on the Epson 1400, do I need to do some special kind of reset?
Thanks very much for your help and attention.
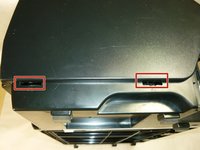
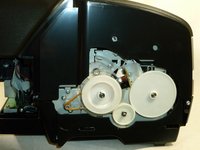
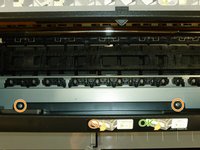
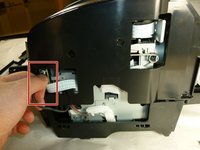
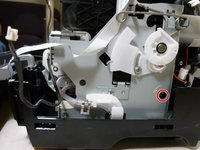
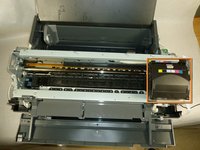
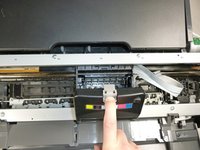
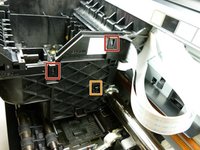
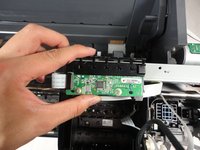
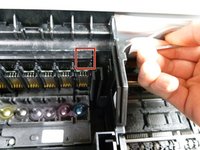
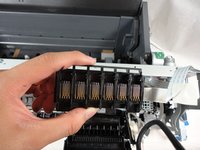
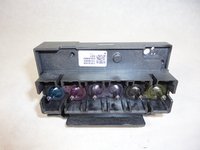
By default, the cartridge box is on the right most side of the printer. To get the printhead out, you need to disengage two tabs on the back of the cartridge box, shown on step 18. It's impossible to get to the right side one unless you can move the cartridge box close to the middle. And by default, you can't move the cartridge box by hand unless you unlock it on step 13, which is inside the side housing. If you can get away with sticking your hand inside the small rectangular hole of the top housing, then you don't have to take it off. But it's very difficult to maneuver your tweezers without lots of room. It's a tricky and awkward motion for your hand to disengage it, so we took off the housing first.
I'm not sure if any resets need to be done. You might have to realign the printhead using the printer software after you install it if the prints turn out strange.
With a simple hooked-end machinists scribe, it was easy to gently lift each little tab forward from the front and then easily lift the back board (over the printhead screws) straight up.
All I needed to do to let the printhead be moveable is turn the unit off, then turn it on. The printhead moves to center, then unplug the unit. Now the printhead is easy to move.
This "unplug it" method is common to most CISS retrofits to most Epson printers and it is not supposed to hurt anything.
Jon
I think Calfox is right - just turn printer on, then unplug as carriage starts to move. Then it can be moved freely.
Also a 4 - 5 mm Allen key can be used to unhook the CSIC plate - place angled end of key behind carriage, & feel for the edge of the clip. Then pull forward on allen key, & up on the CSIC plate. Do both sides. Take care not to damage the encoder strip.
Will try scribe method next -
So, I have the Epson Photo Stylus 1400 too. Mine was in storage for almost a year. When I tried to use it again, it didn't recognize that there was any ink in the cartridges. I replaced the cartridges and still didn't recognize that there was ink in the cartridges. I tried to clean it from the maintenance menu, but no luck. Any ideas on what I can do?