Esta guía ha sufrido modificaciones. Revisa la última versión sin revisar.
Introducción
This guide to replace all the fuel lines, grommet, fuel filter, ventilator, purge bulb and gas cap vent gasket. All of these parts come in a Echo Fuel Line Repower Kit.
Qué necesitas
-
-
Disconnect fuel lines from carburetor by pulling firmly.
-
After lines are disconnected, pry grommet from the gas tank. This can be done with a flat head screwdriver as shown or a pair of plyers.
-
-
-
-
It is going to be a tight fight so a little oil or grease on the grommet will help it to slide in a little easier.
-
Insert the fuel filter through small hole in the gas tank.
-
Use fingers to reset grommet into the fuel tank. It can be tough but it will squeeze in with enough effort.
-
-
-
Attach the black line firmly to the hose attachment towards the inside.
-
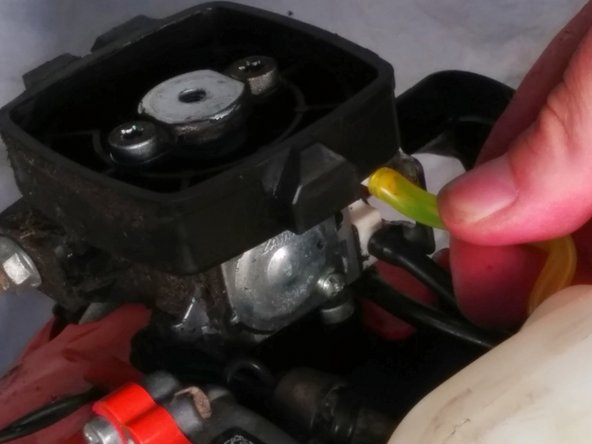
Attach the yellow line firmly to the outer hose attachment.
-
The black hose with the white attachment slides right into the area circled in the picture.
-
-
-
Loosen the two screws holding on the carburetor with a stardrive bit turning it counter clockwise.
-
Remove the four screws holding on the old purge bulb by turning counter clockwise.
-
Remove plate holding on purge bulb.
-
Old purge bulb should come right out and replace it with the new.
-
-
-
Unscrew and remove gas cap. The plastic piece bends that keeps it attached and will pull out of tank.
-
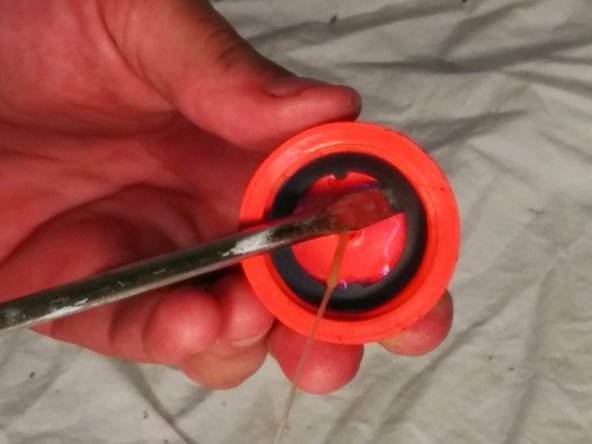
Pry old gasket out with screw driver or needle nose plyers.
-
Replace with new gasket using fingers to position it.
-


To reassemble your device, follow these instructions in reverse order.
To reassemble your device, follow these instructions in reverse order.
Cancelar: No complete esta guía.
7 personas más completaron esta guía.
Equipo

USF Tampa, Team 1-20, Donnelly Fall 2014 Miembro de USF Tampa, Team 1-20, Donnelly Fall 2014
USFT-DONNELLY-F14S1G20
1 Miembro
1 Guía escrita
3 comentarios
Really good information thanks.
all but,.... how long are the fuel lines need to be? Because they can't all be the same length