Introducción
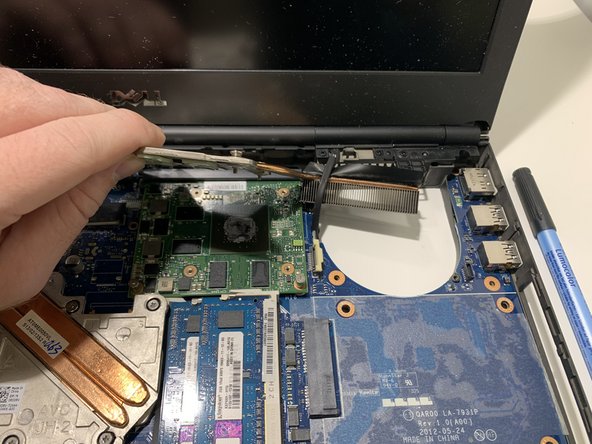
Use this guide to replace a faulty motherboard in your Dell Precision M4700.
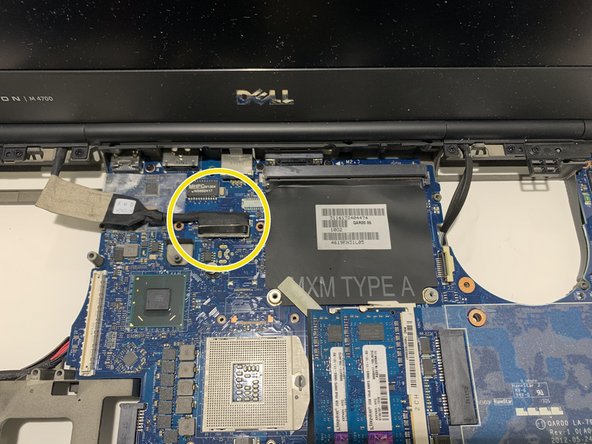
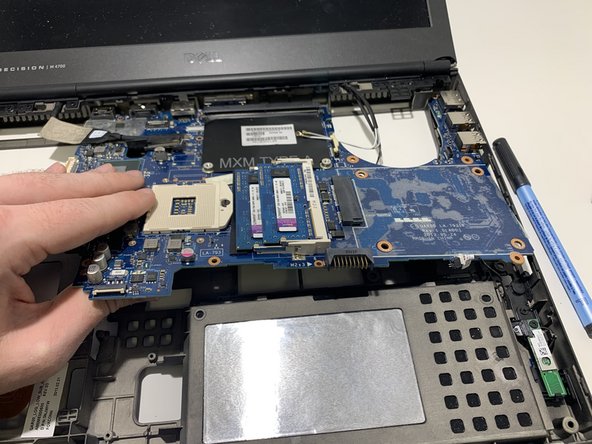
The motherboard is a sheet of plastic that holds all the circuitry to connect the various components of a computer system. A failing motherboard will often cause the entire computer to fail. These symptoms include the computer shutting down randomly and the blue screen of death error.
Before using this guide, be sure to review the troubleshooting page . Often times, it is unnecessary to replace the entire motherboard.
Qué necesitas
-
-
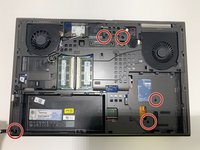
Slide the release latch to unlock the battery.
-
Flip and remove the battery from the computer.
-
-
-
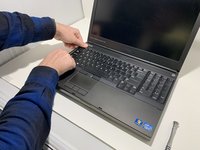
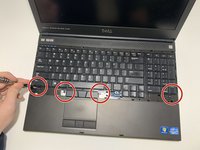
Pry up the keyboard trim starting from the top-inner edge with a plastic opening tool or spudger.
-
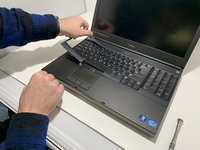
Pry up the bottom edge of the keyboard trim from the top-inner edge with a plastic opening tool or spudger.
-
-
-
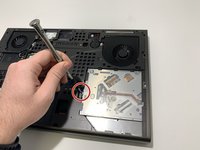
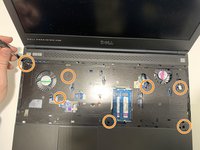
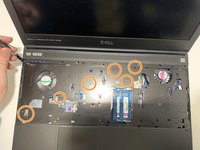
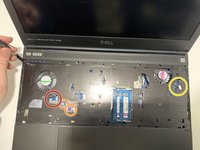
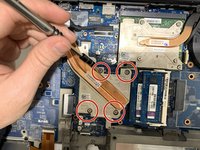
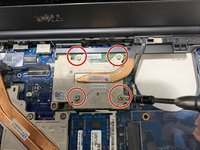
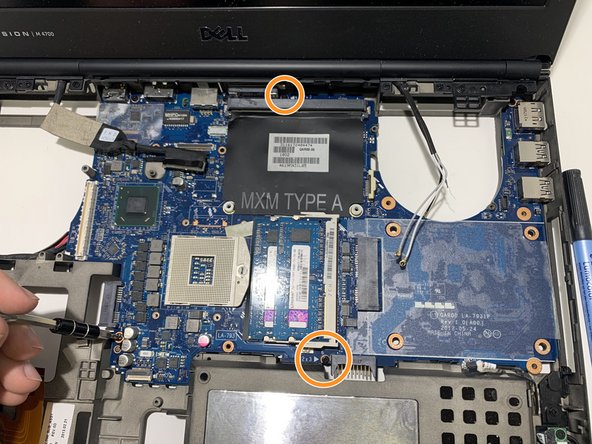
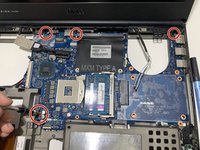
Remove the four 3mm screws that secure the keyboard to the computer with a Phillips #00 screwdriver.
-
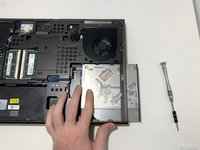
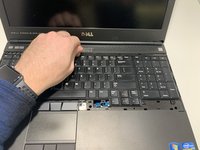
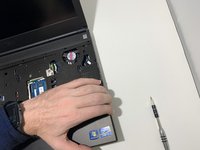
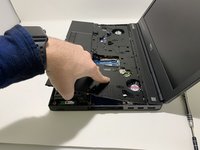
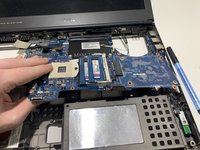
Starting from the bottom of the keyboard, separate the keyboard from the computer and flip the keyboard over.
-
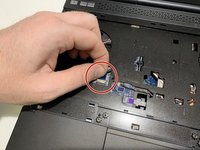
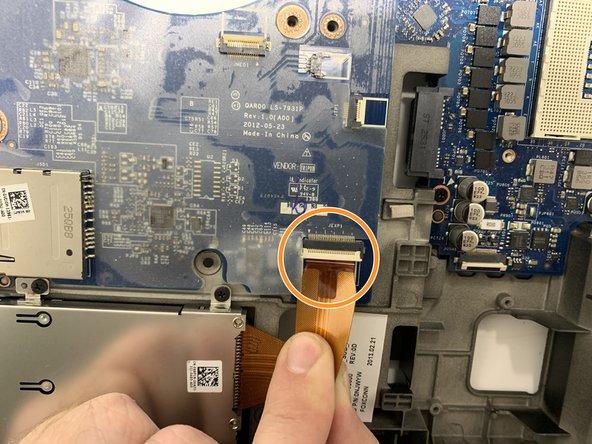
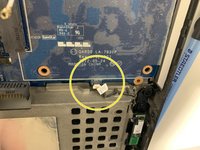
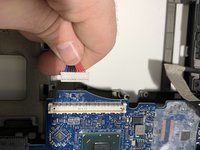
Disconnect the keyboard-data cable from the system board by flipping up the locking tab of the ZIF connector and gently pulling out the cable.
-
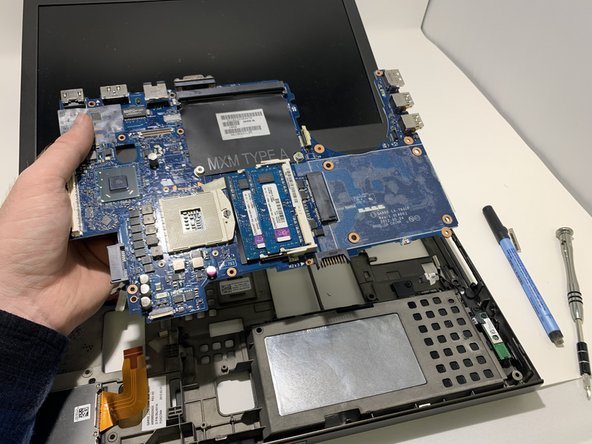
Remove the keyboard.
-
-
-
-
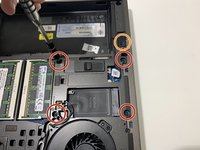
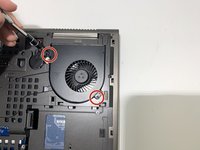
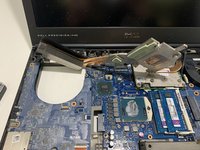
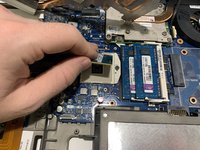
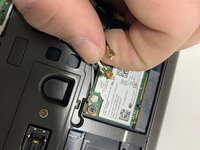
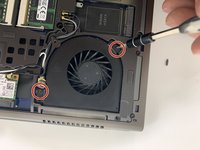
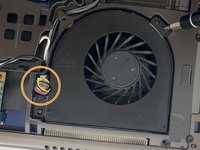
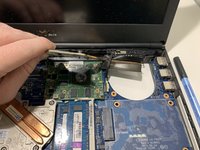
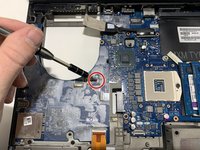
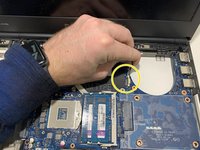
Disconnect the antenna cables from the WLAN card.
-
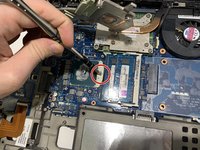
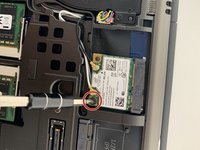
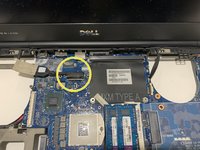
Remove one 3mm screw from the WLAN card with a Phillips #00 screwdriver.
-
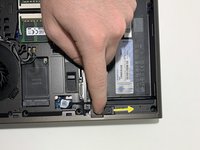
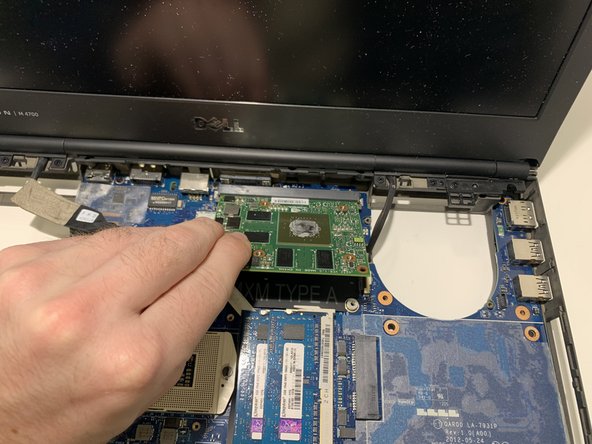
Pull the WLAN card out of its connection using two fingers on each side.
-


To reassemble your device, follow these instructions in reverse order.
To reassemble your device, follow these instructions in reverse order.
Cancelar: No complete esta guía.
Una persona más ha completado esta guía.
Equipo

University of Memphis, Team S4-G5, Kim Fall 2019 Miembro de University of Memphis, Team S4-G5, Kim Fall 2019
UM-KIM-F19S4G5
Miembros de 4
3 Guías creadas